


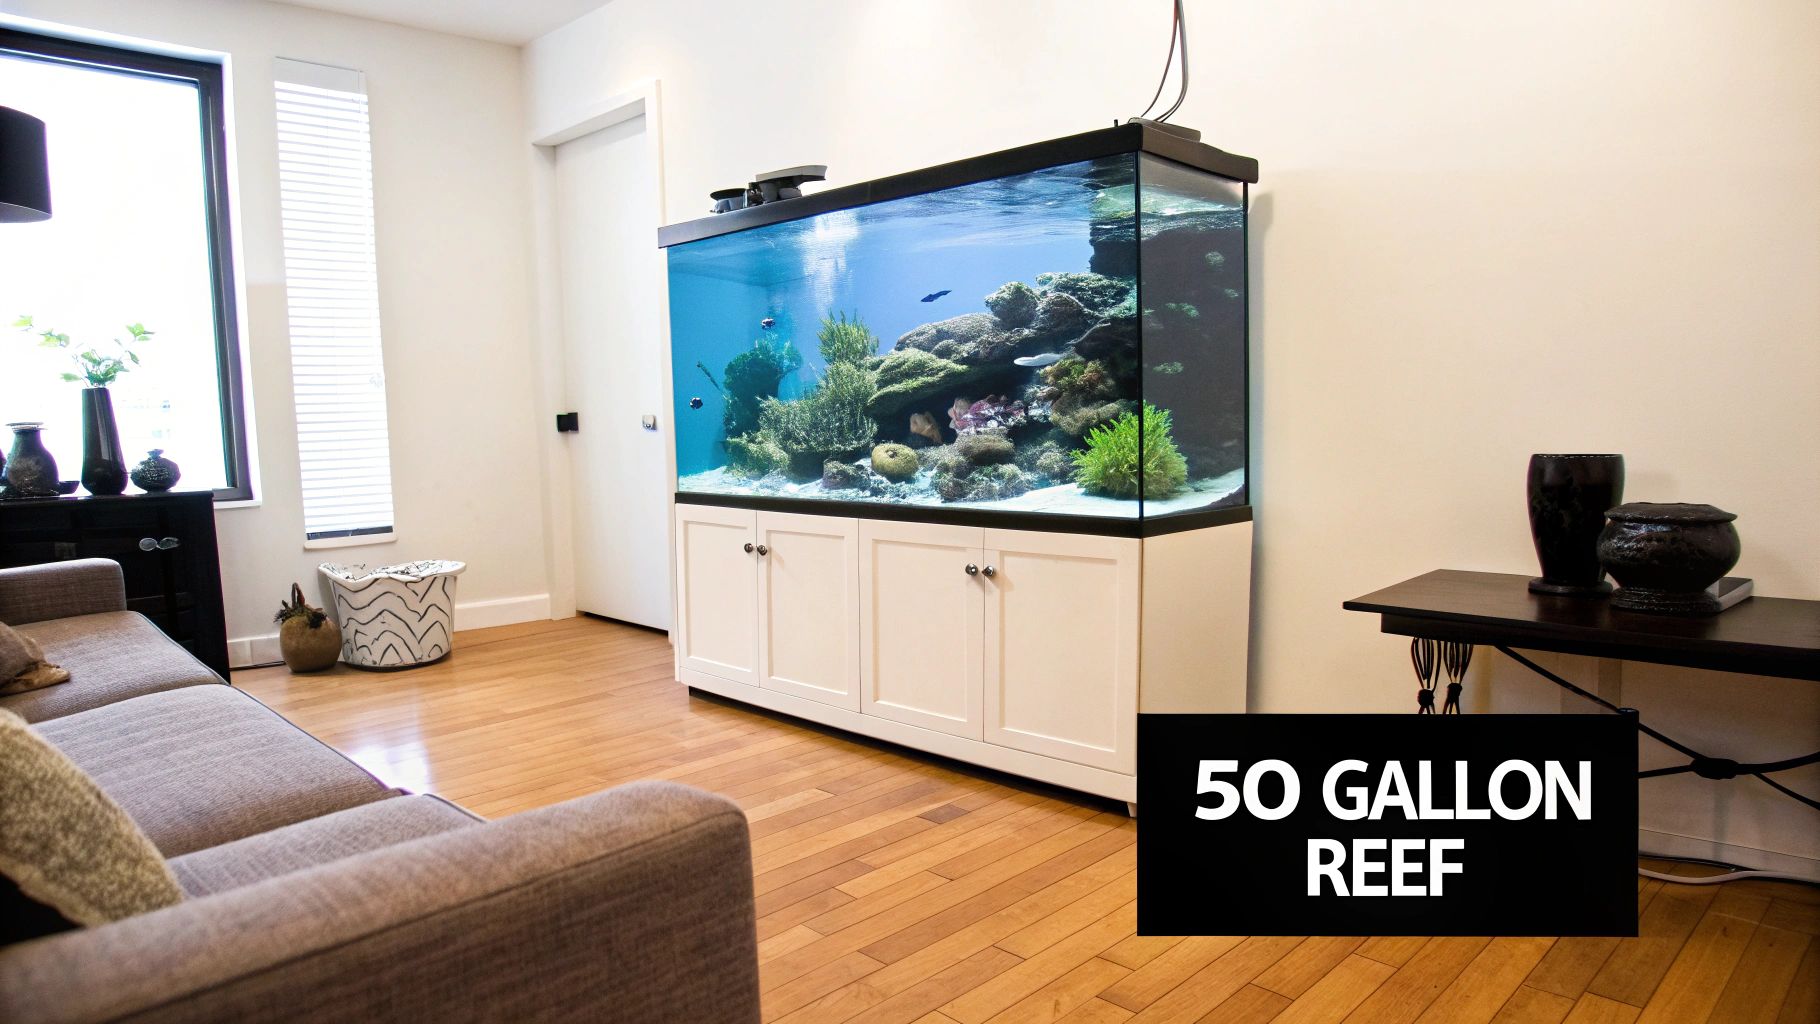
Your First 50 Gallon Reef Aquarium A Practical Guide
- fabianbehague
- 3 days ago
- 18 min read
Thinking about getting into reef keeping? If you're picturing a vibrant slice of the ocean in your living room but feel a bit lost on where to start, you've landed in the right spot. The 50-gallon reef aquarium is, in my experience, the perfect sweet spot for anyone diving into this incredible hobby.
Why a 50-Gallon Tank Is the Perfect Reef Starting Point
It’s tempting to start small. I see it all the time—beginners gravitate towards nano tanks, usually something under 20 gallons, thinking they'll be easier and cheaper. The hard truth is that those tiny ecosystems are notoriously unforgiving. One small mistake, like a single overfeeding or a minor temperature swing, can send your water parameters into a nosedive.
On the flip side, massive systems of 100 gallons or more are incredibly stable, but they come with a serious price tag and a major time commitment. We're talking more powerful (and expensive) equipment, back-breaking water changes, and a significant chunk of real estate in your home.
The Goldilocks Zone of Reef Keeping
This is exactly where the 50-gallon setup proves its worth. It’s the "Goldilocks" size: not too small to be volatile, and not too big to be overwhelming. That extra water volume provides a critical buffer against the common slip-ups every beginner makes.
A minor hiccup that would spell disaster in a 15-gallon nano often becomes a small, correctable learning moment in a 50-gallon tank. It gives you the breathing room to learn the ropes without the constant stress, which makes the whole journey far more enjoyable.
A larger volume of water dilutes toxins and resists rapid changes in temperature, pH, and salinity. This inherent stability is the single greatest advantage a 50-gallon tank offers a new reefer over a nano aquarium.
A Hobby That's More Than a Tank
Bringing a piece of the ocean into your home is a fascinating project, and it's a trend that's really taking off. More and more people are discovering the calming, aesthetic benefits of having a living piece of art in their space. In fact, the household segment of the aquarium market is booming as homeowners invest in these personal ecosystems for relaxation. You can explore more insights into the growing reef aquarium market and its trends.
This blend of stability and potential makes the 50-gallon reef aquarium an unbeatable choice. It’s a fantastic canvas for creating a thriving, diverse world that allows for:
A wider selection of fish: You can comfortably keep iconic species like clownfish, royal grammas, and firefish without constantly worrying about aggression or overcrowding.
Room for corals to grow: Beginner-friendly corals like zoanthids, mushrooms, and Duncan corals will have plenty of real estate to expand and mature.
Manageable maintenance: The weekly upkeep is reasonable, and the equipment costs won't completely drain your wallet.
Ultimately, starting with a 50-gallon tank just sets you up for long-term success. It turns what could be a daunting challenge into a deeply fulfilling journey.
Choosing the Right Gear for Your 50 Gallon System
Putting together your shopping list is one of the most exciting parts of a new build, but really understanding the why behind each piece of equipment is what separates a good tank from a great one. Making smart choices from the get-go will save you a world of headaches—and a surprising amount of money—down the road. Let’s move past the generic lists and dig into the practical decisions you’ll face for your 50 gallon reef aquarium.
This is more than just buying parts; you're building a reliable, efficient life support system for your animals. The market reflects this, too. The component aquarium segment, which covers the display tank, lights, filtration, and heating, actually accounts for 47% of revenue share. That statistic, highlighted in recent aquarium market findings on techsciresearch.com, underscores just how critical the right gear is for a healthy reef.
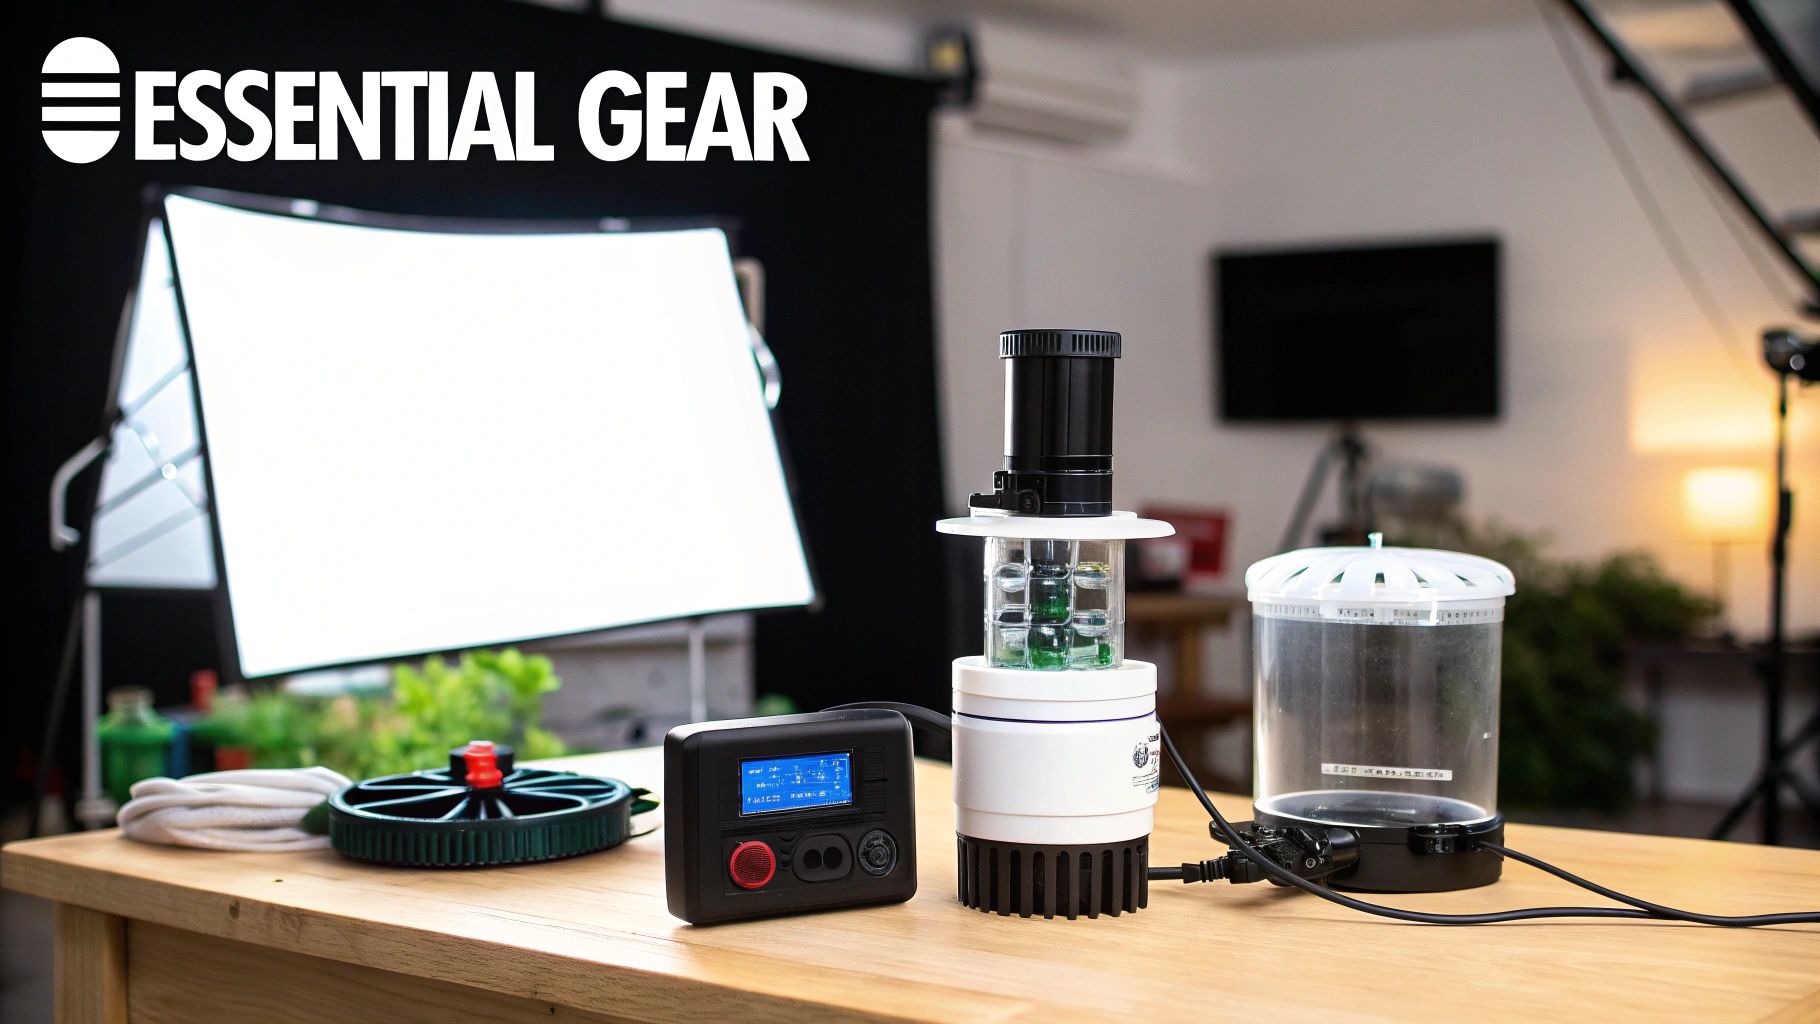
Here's a breakdown of the essential gear to help you start planning your build and budget.
Essential Equipment Checklist for a 50 Gallon Reef Tank
Component | Recommended Specification for 50 Gallons | Why It's Important | Estimated Cost |
|---|---|---|---|
Tank & Stand | 50-gallon, rimless, with overflow | The foundation of your system. An overflow is crucial if you plan to use a sump. | $500 - $1,200 |
Sump | 10-20 gallon capacity | Increases water volume, hides equipment, and centralizes filtration for easy maintenance. | $150 - $400 |
Return Pump | 300-500 GPH | Circulates water from the sump back to the display tank, driving your entire filtration loop. | $80 - $200 |
Protein Skimmer | Rated for 60-75 gallons | Your primary filtration workhorse. It removes organic waste before it breaks down. | $150 - $350 |
Lighting | 1-2 LED fixtures with PAR ~150-350 | The most critical piece for coral health, providing the energy for photosynthesis. | $300 - $800 |
Powerheads | Two units, totaling 1000-2000 GPH | Creates vital water movement, delivering food to corals and preventing waste buildup. | $100 - $500 |
Heater | 150-200 watts | Maintains a stable water temperature, which is essential for all metabolic processes. | $40 - $80 |
Auto Top-Off (ATO) | Optical or float switch sensor system | Automates freshwater replacement to keep salinity rock-solid stable. A non-negotiable. | $60 - $200 |
Live Rock & Sand | ~50 lbs rock, ~40 lbs sand | Provides the biological filtration base and the aquascape for your corals and fish. | $200 - $400 |
This list covers the core components, but remember to budget for plumbing, test kits, and other setup necessities. Let's explore some of these key choices in more detail.
Tank and Filtration: The Sump Decision
Your first major choice comes down to the style of the tank itself. For a 50-gallon system, you're generally looking at two paths: an All-in-One (AIO) tank or a more traditional setup with a separate sump.
All-in-One (AIO) Tanks: These tanks have a built-in filtration chamber in the back. They look clean, are super compact, and are fantastic for beginners because everything is self-contained. The trade-off? That built-in space is limited, making future equipment upgrades a bit of a puzzle.
Traditional Sump Setups: A sump is just a second, smaller tank hidden in your cabinet. It’s the perfect place to stash your heater, skimmer, and other gear, keeping the main display tank looking pristine and uncluttered. It also adds to your total water volume, which is a huge plus for stability.
For a 50-gallon reef, a sump offers a massive advantage. It gives you way more room to work with and makes maintenance tasks much, much easier. If you go this route, we've put together a straightforward guide on setting up a saltwater sump made simple that walks you through the process.
Pro Tip: Never underestimate the benefit of hiding your gear. A sump not only makes your filtration more efficient but also preserves that clean, natural look in your display, keeping the focus right where it belongs—on your corals and fish.
Illuminating Your Reef: Lighting Choices
You can argue all day about gear, but lighting is probably the single most important piece of equipment for a reef tank. It's the engine that lets your corals photosynthesize and truly pop with color. For a tank this size, LED fixtures are king due to their efficiency, low heat output, and incredible controllability.
When you’re shopping for an LED, don't just get blinded by the price tag. Look for the PAR value (Photosynthetically Active Radiation), which is a measure of the light intensity your corals can actually use. You need a light powerful enough for the corals you plan to keep. A tank full of softies has much lower light demands than one packed with light-hungry SPS corals like Acropora.
Modern LEDs also give you amazing control over the light spectrum and daily schedule. This allows you to mimic natural sunrise and sunset cycles, which is a great way to reduce stress on your fish and corals.
Water Movement and Purity
Creating the right internal environment in your 50 gallon reef aquarium boils down to two other critical factors: water flow and nutrient export. This is where powerheads and protein skimmers come in to do the heavy lifting.
Creating Ideal Flow with Powerheads
Stagnant water is the enemy of a healthy reef. Powerheads are basically small underwater fans that create current, and that current is vital for a few reasons:
It brings food and nutrients to your stationary corals.
It whisks waste products away from them.
It keeps detritus from settling on your sand and rocks.
It promotes proper gas exchange at the water's surface.
For a 50-gallon mixed reef, a good target is a total turnover of 20 to 40 times the tank's volume per hour. That means you’re looking for powerheads that collectively move between 1,000 and 2,000 gallons per hour (GPH). I’ve always found that using two smaller powerheads on opposite sides of the tank works better than one big one—it creates a more random, chaotic flow that feels much more like a natural reef.
The Role of a Protein Skimmer
Think of a protein skimmer as your reef’s primary garbage disposal. It works by injecting a column of fine air bubbles into a reaction chamber. Organic waste compounds (think fish poop and uneaten food) stick to the surface of these bubbles and get carried up into a collection cup, where you can easily remove them.
By pulling this gunk out before it can break down into nitrate and phosphate, a skimmer keeps your water crystal clear and starves out nuisance algae. For a 50-gallon system, a good rule of thumb is to buy a skimmer rated for a slightly larger tank, say 60-75 gallons. This ensures it has enough muscle to do the job without being overworked.
The Unsung Hero: An Auto Top-Off System
Finally, let’s talk about the one piece of gear that almost every beginner tries to skip but quickly regrets: an Auto Top-Off (ATO). Every day, freshwater evaporates from your tank, but the salt stays behind. This makes your salinity creep up, and that constant fluctuation is a huge source of stress for your corals and fish.
An ATO automates the simple but tedious task of replacing that evaporated water. A small sensor in your sump detects when the water level drops and triggers a pump to add fresh RO/DI water from a reservoir. It’s that simple. It keeps your salinity rock-solid, which is arguably one of the most important ingredients for long-term success. Seriously, this isn't a luxury item; it's a necessity for creating a stable environment.
Bringing Your Aquarium to Life: The Setup and Cycle
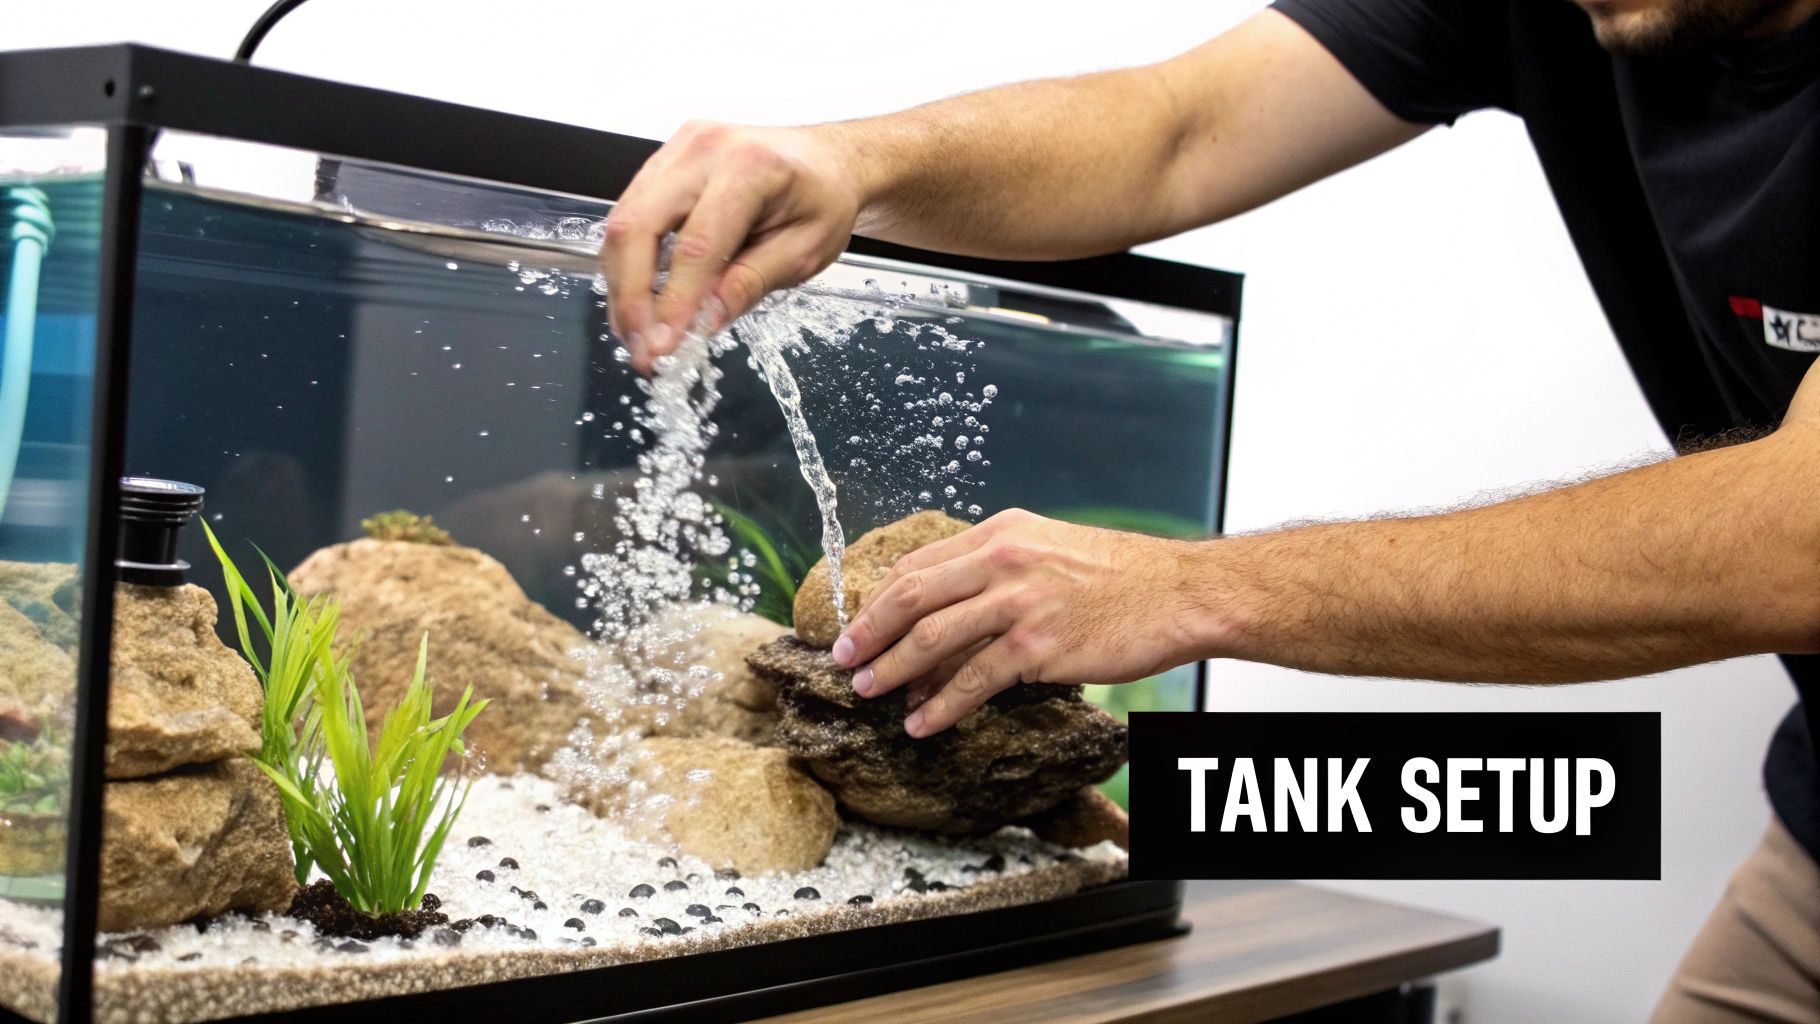
You've done the research, the boxes are piled up, and you've got a vision for your reef. Now for the fun part: putting it all together and turning that gear into a living, breathing 50-gallon reef aquarium. This is where your hands-on journey really begins, building the foundation for a stunning underwater world.
First thing's first: assemble the tank and stand on a perfectly level surface. Seriously, get out a level and check it. An uneven stand puts incredible stress on the glass seams, and that's a risk you just don't want to take. Once it's solid, you can start the creative work of aquascaping with your live or dry rock.
Crafting Your Underwater Landscape
Your rockwork, or "aquascape," is so much more than decoration. It's the primary home for your biological filter, it creates territories for your fish, and it gives you stable platforms for placing corals down the road.
I always recommend building an open structure with plenty of caves, arches, and ledges. This not only looks more natural but, crucially, promotes great water flow. Good flow prevents waste from settling in dead spots, which can cause all sorts of problems later.
When you’re happy with the rock arrangement, you can add your sand. Carefully pour it around the base of the rockwork—this helps lock everything in place and creates a more stable foundation. Now, you're finally ready for water.
Mixing saltwater is pretty simple. Grab a quality reef salt mix and RO/DI water, and mix them in a clean container like a Brute trash can. A small powerhead and a heater will get it mixed thoroughly and bring it up to your target temperature (78°F or 25.5°C) and salinity (1.025 specific gravity). Once the water is clear and the parameters are stable, you can start filling up the tank.
Take your time with the aquascape. It’s so much easier to move rocks around in an empty tank than a full one. A great 'scape provides visual depth and real practical benefits, so don't rush this creative step.
Kickstarting the Nitrogen Cycle
With your tank full and the equipment humming along, the most important waiting game begins: the nitrogen cycle. This is the biological process where beneficial bacteria colonize your rock and sand, learning to convert toxic fish waste into much less harmful substances. Rushing this step is easily the number one mistake new hobbyists make.
You'll be tracking three main stages with your test kits:
Ammonia (NH3) Spike: You need to give the bacteria something to eat. Add a source of ammonia to kick things off—a few drops of pure liquid ammonia or "ghost feeding" with a tiny pinch of fish food every couple of days both work perfectly. This ammonia feeds the first type of bacteria.
Nitrite (NO2) Spike: As that first bacteria colony grows, it converts the ammonia into nitrite, which is also very toxic. You'll see your ammonia levels start to drop as your nitrite levels shoot up.
Nitrate (NO3) Rise: A second type of beneficial bacteria then gets to work, consuming the nitrite and converting it into nitrate. Nitrate is far less toxic and is the final product of the cycle.
Your cycle is officially complete only when your tank can process a dose of ammonia all the way to nitrate within 24 hours, with both ammonia and nitrite reading zero. This whole process can take anywhere from 3 to 8 weeks. Patience here is absolutely non-negotiable. For a deeper dive, our guide on how to set up a new aquarium has some extra hands-on tips.
Patience is a Virtue (And Good Technology Helps)
The saltwater hobby has exploded in popularity, and a lot of that is thanks to technology making these biological processes easier to manage. Modern filtration, lighting, and testing equipment have empowered more people than ever to successfully keep a beautiful reef. This demand continues to push the industry forward, making a 50-gallon reef aquarium a more achievable goal than ever before.
During the cycle, keep your lights off. This prevents nuisance algae from getting a foothold before your system is mature enough to handle it. Test your water every few days and log the results. Watching the ammonia rise, then fall as nitrite takes its place, and finally seeing nitrate appear is a genuinely fascinating process. It’s the invisible heartbeat of your aquarium starting up for the first time. Giving it the time it needs is the single best investment you can make for the long-term health of your reef.
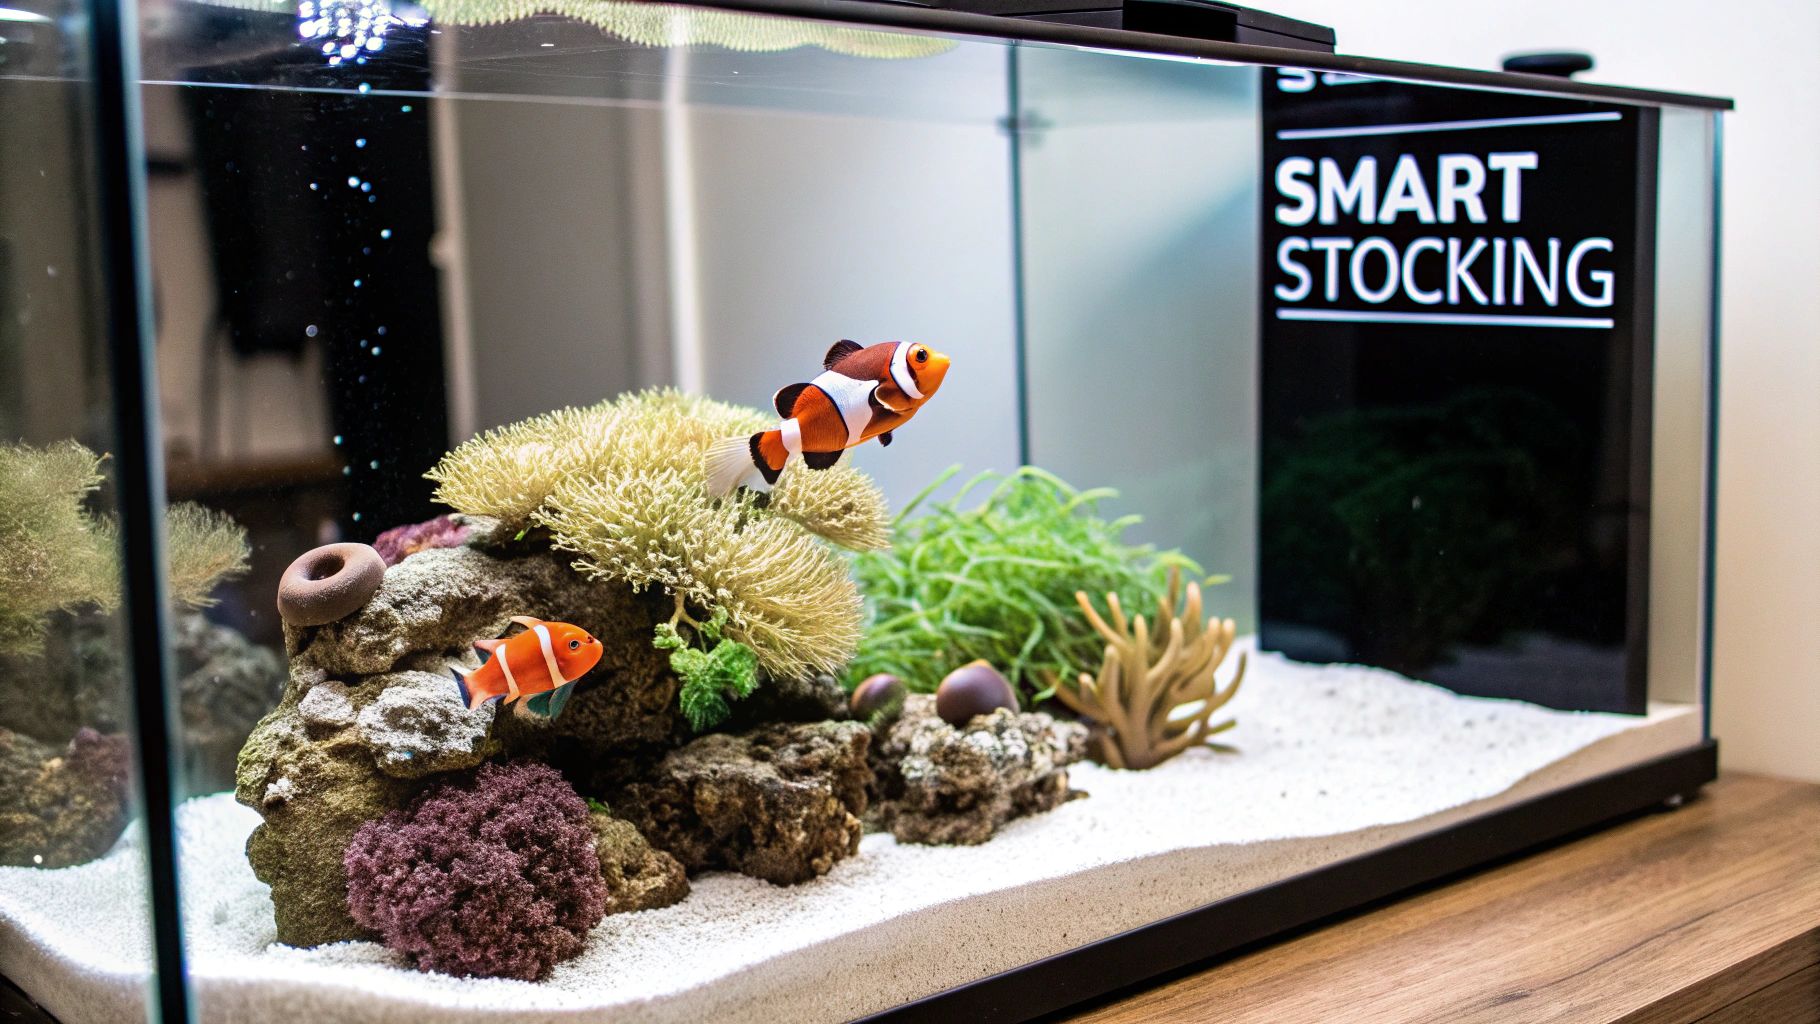
Wisely Stocking Your 50 Gallon Reef Aquarium
Alright, the cycle is finished, your water parameters are stable, and now the real fun begins. Adding life to your 50 gallon reef aquarium is hands-down the most exciting part of this journey, but it’s not something to rush. A smart stocking plan is about more than just grabbing pretty fish; it's about building a tiny, harmonious community from the rock up.
This isn't a race. The goal is to create a balanced ecosystem where every inhabitant has the space, food, and temperament to truly thrive. We'll start with the fish, then talk corals, and wrap up by assembling the perfect "clean-up crew" to keep your system looking sharp.
Building Your Fish Wish List
Before you even think about heading to the local fish store, make a list. Research is your absolute best friend at this stage. The most important thing to consider is the adult size of each fish—not the cute little juvenile you see for sale. A 50-gallon tank has a decent amount of room, but it gets crowded faster than you think.
Compatibility is everything. Ask yourself: will the fish on my list actually get along? Some species, like certain dottybacks or damselfish, can turn into territorial bullies in a tank this size. Others, like the iconic Yellow Tang, simply grow too large and need more swimming room than a 50-gallon system can offer. For a deeper dive into who plays well with others, our complete guide to reef-safe marine fish has some fantastic suggestions.
Here are a few classic, beginner-friendly choices that work great in a 50-gallon setup:
Ocellaris Clownfish (Pair): Is it even a reef tank without them? They're hardy, stay small, and might even host an anemone or soft coral.
Royal Gramma: That stunning split of purple and yellow adds an incredible pop of color. They tend to stick to their favorite rocky hideout and won't bother anyone.
Firefish Goby: An elegant, peaceful fish with a unique dorsal fin and a shy but charming personality.
Banggai Cardinalfish (Small Group): These slow-moving, beautifully patterned fish do well in small groups and bring a touch of class to the tank.
Stocking Tip: Add your fish slowly. I'm talking one or two at a time, spaced out over several weeks. This gives your biological filter time to catch up to the new bioload and prevents deadly ammonia spikes. Always, always add your most peaceful fish first.
Choosing Your First Corals
Corals are what make a reef tank come alive, but you don't need to jump into the deep end with difficult species. A 50-gallon tank is the perfect canvas for a ton of beautiful, forgiving corals that won't demand intense lighting or a complicated dosing regimen.
For beginners, the best place to start is with soft corals, mushrooms, and some of the hardier Large Polyp Stony (LPS) corals. These groups are generally much more forgiving of the small swings in water chemistry that happen while you're still learning.
Beginner-Friendly Livestock for a 50 Gallon Reef Tank
I've put together a quick-reference table with some fantastic, nearly bulletproof options to get you started. These are some of my go-to recommendations for anyone setting up their first 50-gallon reef because they offer a huge visual impact without a steep learning curve.
Organism Type | Species Example | Care Level | Primary Role / Appeal |
|---|---|---|---|
Fish | Ocellaris Clownfish | Easy | Iconic, hardy, and stays small. The classic reef fish. |
Fish | Royal Gramma | Easy | Vibrant color, peaceful temperament, stays in its territory. |
Soft Corals | Zoanthids, Star Polyps | Easy | Fast-growing and incredibly colorful, they create a living carpet. |
Mushrooms | Discosoma, Ricordea | Easy | Come in a rainbow of colors and textures; very low-maintenance. |
LPS Corals | Hammer Coral, Duncan Coral | Easy to Moderate | Offer beautiful movement and provide a classic reef aesthetic. |
LPS Corals | Blastomussa | Easy | Fleshy, colorful corals with low light and flow needs. |
Invertebrate | Cleaner Shrimp | Easy | A fascinating scavenger that also provides cleaning services for fish. |
Invertebrate | Nassarius Snails | Easy | The perfect sand-sifters, keeping the substrate clean and aerated. |
These choices will give your tank that classic, dynamic reef look and feel, allowing you to build confidence before considering more demanding Small Polyp Stony (SPS) corals like Acropora down the line.
Assembling the Perfect Clean-Up Crew
Often overlooked but absolutely vital, the "clean-up crew" (CUC) is your team of tiny janitors. These invertebrates are the unsung heroes of the reef tank, working around the clock to eat leftover food, graze on nuisance algae, and sift your sand bed.
For a 50-gallon system, balance is key—you don't want too many or too few. Here’s a solid starting recipe for a CUC:
15-20 Nassarius Snails: These guys live under the sand, erupting when they smell food. Their constant burrowing is fantastic for keeping the sand bed aerated and clean.
10 Cerith Snails: Excellent all-around algae eaters that will clean your rocks, glass, and sand surface.
5 Trochus or Astrea Snails: These are your primary glass cleaners, mowing down any film algae that pops up.
1-2 Emerald Crabs: Very helpful for dealing with pesky bubble algae. Just be aware they can be opportunistic with small fish or snails if they get hungry.
1 Cleaner Shrimp: Not only does this shrimp help clean parasites off your fish, but it’s also a great scavenger and is just plain cool to watch.
The global passion for creating these miniature oceans is huge. The reef aquarium market, which includes setups just like the 50 gallon reef aquarium, was valued at around USD 7.5 billion in 2022 and is expected to keep growing. This amazing interest fuels a vibrant market for livestock, ensuring there's always a wonderful variety of life for you to choose from as you create your own personal slice of the ocean.
Nailing a Simple and Sustainable Maintenance Routine
A stunning 50 gallon reef aquarium doesn't run on marathon cleaning sessions; it thrives on consistency. The real secret to a beautiful, long-lasting reef isn't some grand, complicated effort. It's all about building simple, repeatable habits. Let's map out a practical maintenance schedule that keeps your reef stable and vibrant without feeling like a chore.
The whole point is to turn upkeep into a series of small, almost meditative rituals rather than one big, daunting task you dread all week. By breaking things down into daily, weekly, and monthly buckets, you'll stay way ahead of problems and actually enjoy watching your little ecosystem flourish.
The Daily Five-Minute Check
This is less of a task and more of a quick, mindful moment with your tank. It shouldn't take more than five minutes, and the perfect time to do it is while you're feeding your fish. Think of it as your first line of defense—it’s how you’ll spot little issues before they snowball into big headaches.
Here’s what to eyeball every day:
Check the Temperature: A quick glance at your thermometer confirms the heater is doing its job and the temp is holding steady, right around 78°F (25.5°C).
Visually Inspect Livestock: Are all the fish out and about? Do they look healthy—no spots, torn fins, or weird behavior? Are the corals puffed up and happy?
Top Off Your ATO Reservoir: Make sure your Auto Top-Off reservoir is full of fresh RO/DI water. Rock-solid salinity is one of the absolute pillars of reef health.
Quick Glass Scrape: If you see a light film of algae starting, a quick once-over with a magnetic scraper keeps it from getting a foothold and keeps your view crystal clear.
The Weekly Water Change Ritual
If you only do one thing for your tank each week, this is it. The weekly water change is hands-down the most important piece of maintenance you'll perform. It does two critical things: replenishes the essential trace elements your corals are constantly consuming and, just as importantly, pulls out the nitrates and phosphates that fuel ugly nuisance algae.
For a 50 gallon reef aquarium, a weekly change of 10-15% is the sweet spot. That’s just 5 to 7.5 gallons. This small, regular swap is far less stressful on your system than a massive, infrequent one. It's the cornerstone of stability.
Think of your weekly water change as hitting the reset button on your tank's chemistry. It dilutes the bad stuff that builds up and restores the good stuff that gets used up. It's the most impactful 30 minutes you can spend on your reef each week.
While you've got the siphon out, it's the perfect time to knock out a few other key tasks. You can suck any detritus out of the sand bed, empty and rinse your protein skimmer's collection cup, and swap out any filter floss or carbon you might be running.
Monthly Deep Dive and Water Testing
Once a month, it's time for a slightly deeper clean and a more thorough check of your water chemistry. This is when you'll test for the "big three" parameters that are absolutely critical for coral growth: Alkalinity, Calcium, and Magnesium.
Consistent testing is how you learn what your corals are actually using. When your tank is new and the corals are small, those weekly water changes are often enough to keep these levels topped off. But as your corals grow and start packing on skeleton, you'll likely see these elements start to drop, which is your signal that it might be time to start thinking about a dosing regimen.
Here's a simple monthly checklist:
Test Key Parameters: Get a reading on your Alkalinity, Calcium, and Magnesium to see how much your corals are consuming.
Clean Equipment: Give your powerheads and return pump a quick scrub to make sure they aren't getting gunked up and losing flow.
Inspect Plumbing: Do a quick check on all your plumbing connections for any signs of salt creep or slow drips.
Observe Microfauna: Grab a flashlight and peek into the tank an hour after the lights go out. Seeing a healthy population of copepods and other tiny critters skittering over the rocks is one of the best signs of a thriving, mature ecosystem.
By adopting this simple, tiered approach, maintenance stops being a burden and becomes a manageable, even enjoyable, part of the hobby. It's this steady, consistent care that builds a truly spectacular and sustainable 50-gallon reef.
Your First Reef Tank: Questions You're Probably Asking
Even the most well-researched reefer has questions once the water is in the tank. It’s totally normal. Getting straight answers can save you a world of stress and help you navigate the inevitable learning curve. Let's dig into some of the most common things that come up when you're starting a 50-gallon reef aquarium.
How Much Is This Really Going to Cost Me?
Let’s be honest: the initial setup cost is usually the biggest hurdle. Depending on the gear you choose—especially your lights and whether you go for an all-in-one system versus a tank with a sump—you should be prepared to spend anywhere from $1,000 to over $3,000. Obviously, higher-end equipment will push you toward the top end of that range.
But the spending doesn't stop there. Once you're up and running, you've got monthly costs to think about. Electricity, salt mix, food, and various testing kits will likely run you somewhere between $40 and $80 a month. Just remember to budget for your fish and corals separately—that's an ongoing expense that can really add up over time.
What Are the Biggest Mistakes I Can Avoid?
If there are two virtues that separate a successful reefer from a frustrated one, they are patience and consistency. Nearly every catastrophic mistake I've seen in this hobby comes down to a lack of one or the other.
Rushing the Cycle: Tossing fish in before your tank's biological filter is fully mature is a surefire way to cause "new tank syndrome." This is when toxic ammonia and nitrite spike, overwhelming your brand-new ecosystem. Don't do it.
Overstocking and Bad Tank Mates: I get it, it’s exciting to fill the tank. But adding too many fish too quickly spikes your bioload, causes aggression, and creates a ton of stress. You need to plan your stocking list carefully and add new inhabitants one at a time, slowly.
Skipping Maintenance: That weekly water change? It's your single most powerful tool for keeping your tank stable. When you neglect it, you're basically rolling out the welcome mat for nitrates and phosphates to build up, which is jet fuel for nuisance algae.
A patient reefer is a successful reefer. More problems in this hobby are caused by doing too much, too quickly, than by any other single factor. Taking your time is always the right move.
How Do I Get a Handle on Nuisance Algae?
A little bit of algae is normal in any aquatic ecosystem. But when you're dealing with a full-blown outbreak, it's almost always a symptom of one thing: excess nutrients. So, managing algae is really all about controlling its food source—nitrates and phosphates.
First, always use purified RO/DI water for water changes and top-offs. This makes sure you aren't adding fuel to the fire straight from your tap. Next, be really careful not to overfeed your fish. A good rule of thumb is to only give them what they can eat in a minute or two.
A solid clean-up crew of snails and crabs is your frontline defense, constantly grazing on new growth. And if you have a sump, setting up a small refugium with chaetomorpha algae is one of the best natural filters you can have; it directly outcompetes the bad algae for those same nutrients.
Ready to build a vibrant, self-sustaining food web in your new aquarium? Seeding your tank with live nutrition is the best way to support picky eaters and boost overall biodiversity. PodDrop Live Aquarium Nutrition delivers fresh, lab-cultured copepods and phytoplankton directly to your door, giving your reef the high-quality food it needs to thrive. Explore our live nutrition options at https://www.getpoddrop.com.
Comments