


A Complete Guide to Baby Brine Shrimp for Aquariums
- fabianbehague
- Dec 14
- 16 min read
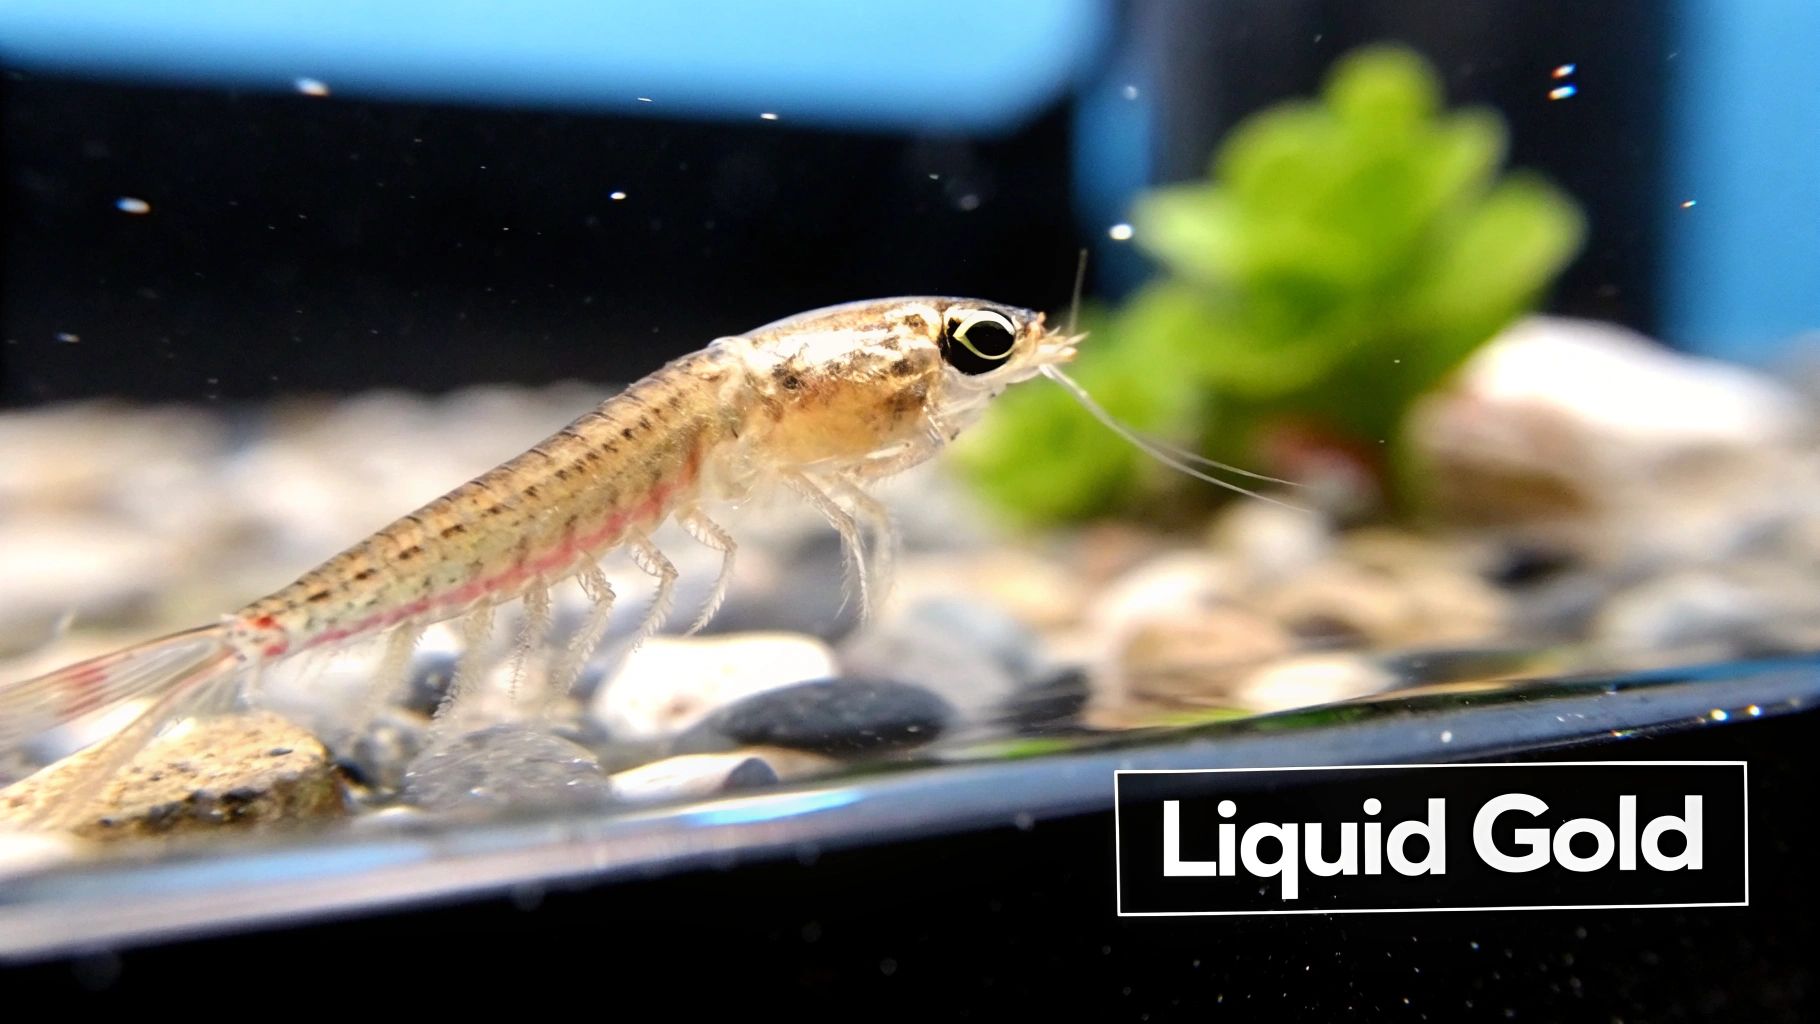
Often called "liquid gold" in the aquarium hobby, baby brine shrimp (Artemia nauplii) are the ultimate superfood for newborn fish, delicate corals, and other picky eaters. Their tiny size and instinctive, jerky movements trigger a powerful feeding response that dry or frozen foods simply can't match.
For many aquarists, especially those trying to breed fish, this live food is the critical difference between success and failure.
Why Baby Brine Shrimp Are the Ultimate First Food
Think of baby brine shrimp as the perfect first meal for a newborn fish. They’re small enough for the tiniest mouths, naturally packed with essential fats and proteins from their own yolk sac, and their constant wiggling is like ringing a dinner bell for fish fry and filter-feeding inverts.
This non-stop motion is a biological cue that processed foods just don't have, making Artemia nauplii an indispensable tool. For many challenging species, from mandarin dragonets to seahorse fry, a steady supply of live food isn't just a preference—it's a requirement for survival.
More Than Just a Hobbyist Staple
The importance of baby brine shrimp extends far beyond our home tanks. They are a fundamental building block of the global aquaculture industry, supporting the production of an estimated 10 million metric tons of seafood every year.
Harvested primarily from Utah's Great Salt Lake, which supplies over a third of the world's demand, these tiny crustaceans are essential for raising the larval stages of countless fish and shrimp species in commercial hatcheries. It's a fascinating look into how our hobby connects with much larger industries.
The real magic of baby brine shrimp lies in their convenience. They start as dormant cysts—basically microscopic seeds—that can be stored for years and then hatched on demand within just 24-48 hours. This gives you complete control over your live food supply.
The Key Advantages of Using Live Nauplii
Putting this "liquid gold" to work in your tank offers some serious advantages, especially if you have demanding inhabitants. The ability to provide a consistent, high-quality food source can dramatically improve breeding success and the overall health of your animals. It all comes back to understanding the importance of live plankton in creating a truly thriving ecosystem.
Triggers Natural Feeding Instincts: That wiggling motion is simply irresistible to picky eaters and young fish that might otherwise ignore lifeless food.
Highly Nutritious: Freshly hatched nauplii are rich in lipids and proteins from their yolk sac, providing the perfect fuel for rapid growth and development.
Perfectly Sized: At around 400-500 micrometers, they are the ideal first food for fry with tiny mouths that can't handle anything larger.
Convenient and Controllable: The cysts are shelf-stable and easy to hatch, ensuring a fresh supply is always available exactly when you need it.
The Remarkable Journey from Cyst to Nauplius
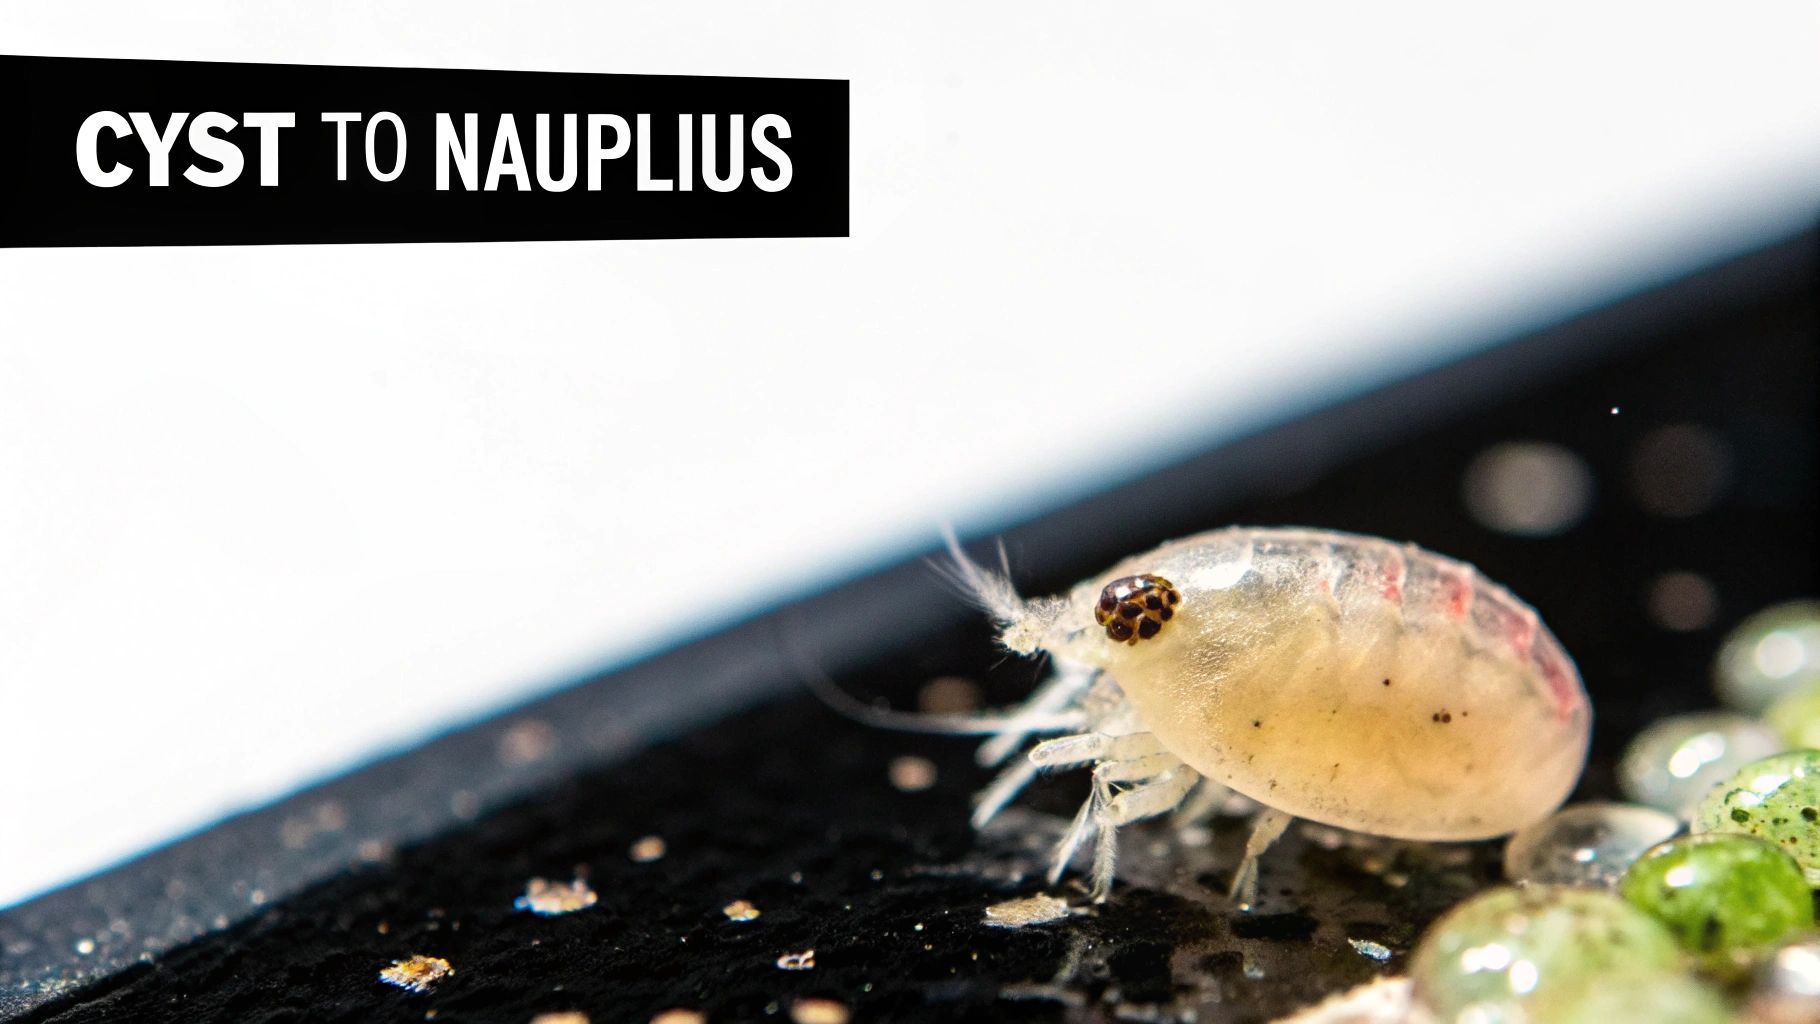
The ability to hatch baby brine shrimp on demand is one of the coolest little miracles of biology we get to play with in this hobby. The whole process starts with a cyst, a tiny, hardened sphere that's so much more than just an egg. Think of it as a biological time capsule, perfectly engineered by nature to survive pretty much anything you can throw at it for years.
This state of suspended animation is called diapause. Just like a plant seed waits for that perfect mix of spring rain and warmth, a brine shrimp cyst is patiently waiting for a very specific set of environmental cues. When the conditions are just right, this dormant organism wakes up and kicks off one of the fastest transformations in the animal kingdom.
Waking the Sleeping Giant
That journey from a dry, sand-like speck to a twitching, swimming nauplius is triggered by a few key signals from the environment. Without them, the cysts stay dormant, which is how the species survives droughts or freezes that would otherwise wipe them out. Getting these triggers right is the entire game when it comes to a successful hatch.
Here are the three essential signals:
Hydration and Salinity: First, the cysts need to be submerged in saltwater. While they’re pretty tolerant, a specific gravity of 1.018-1.022 really is the sweet spot for getting a great hatch rate.
Temperature: Warmth is what jumpstarts their metabolism. The ideal range is 77-82°F (25-28°C). At these temps, you’ll typically see a full hatch in under 24 hours.
Light: A constant light source is the final "go" signal. Light actually activates enzymes inside the cyst, pushing the embryo into its final, rapid stage of development.
Once all three conditions are met, the cyst soaks up water, its tough outer shell cracks open, and the embryonic brine shrimp wriggles free. This whole process is incredibly reliable. In fact, female brine shrimp can produce these amazing cysts under stress, ovulating every 140 hours to ensure their lineage survives, a cycle perfectly suited for aquaculture. You can get a deeper dive into their unique reproductive strategies and how they're utilized in commercial hatcheries.
The Nutritional Peak: If you only remember one thing, make it this: a baby brine shrimp’s nutritional value is at its absolute highest the moment it hatches. It hasn't used up any of its precious, built-in energy reserves yet.
The Two Critical Nauplius Stages
Immediately after hatching, the baby brine shrimp is called a nauplius (or nauplii for plural). But here's the crucial part: not all nauplii are created equal. This tiny creature zips through two distinct stages in its first day of life, and knowing the difference is the key to giving your tank the best nutritional bang for your buck.
Stage 1: Instar I (The Non-Feeding Stage) This is the freshly hatched baby. At this point, it doesn't even have a developed mouth or digestive system. Instead, it's powered entirely by its rich, energy-dense yolk sac, which is jam-packed with essential fatty acids and proteins. This makes the Instar I nauplius a perfect little "superfood" bite.
Stage 2: Instar II (The Feeding Stage) After about 12 hours, the nauplius molts and enters the Instar II stage. Now it has a working mouth and starts actively looking for food. While it's still a fantastic food source, its own yolk sac is now mostly gone. It burned through that initial energy just to develop, so its nutritional profile has fundamentally changed.
This distinction is everything. If you want to feed your fish and corals the most nutrient-dense meal possible, you need to harvest and feed the nauplii within the first few hours of hatching. But if you plan to "gut-load" or enrich them with supplements, you have to wait until they reach the Instar II stage so they can actually eat the enrichment product. It all comes down to timing.
How to Hatch Your Own Baby Brine Shrimp
Ready to become a live food producer? Hatching your own baby brine shrimp is way easier than you might think. You don't need a lab coat or complicated gear—just a simple setup and the right "recipe" will have you consistently culturing one of the best foods for your aquarium.
Think of it like baking, but for your fish. You mix a few basic ingredients, provide the right environment, and in about a day, you've got a fresh, wiggling meal ready to go. It's a reliable, cheap, and seriously rewarding process, especially when you see how your fish and corals go wild for it.
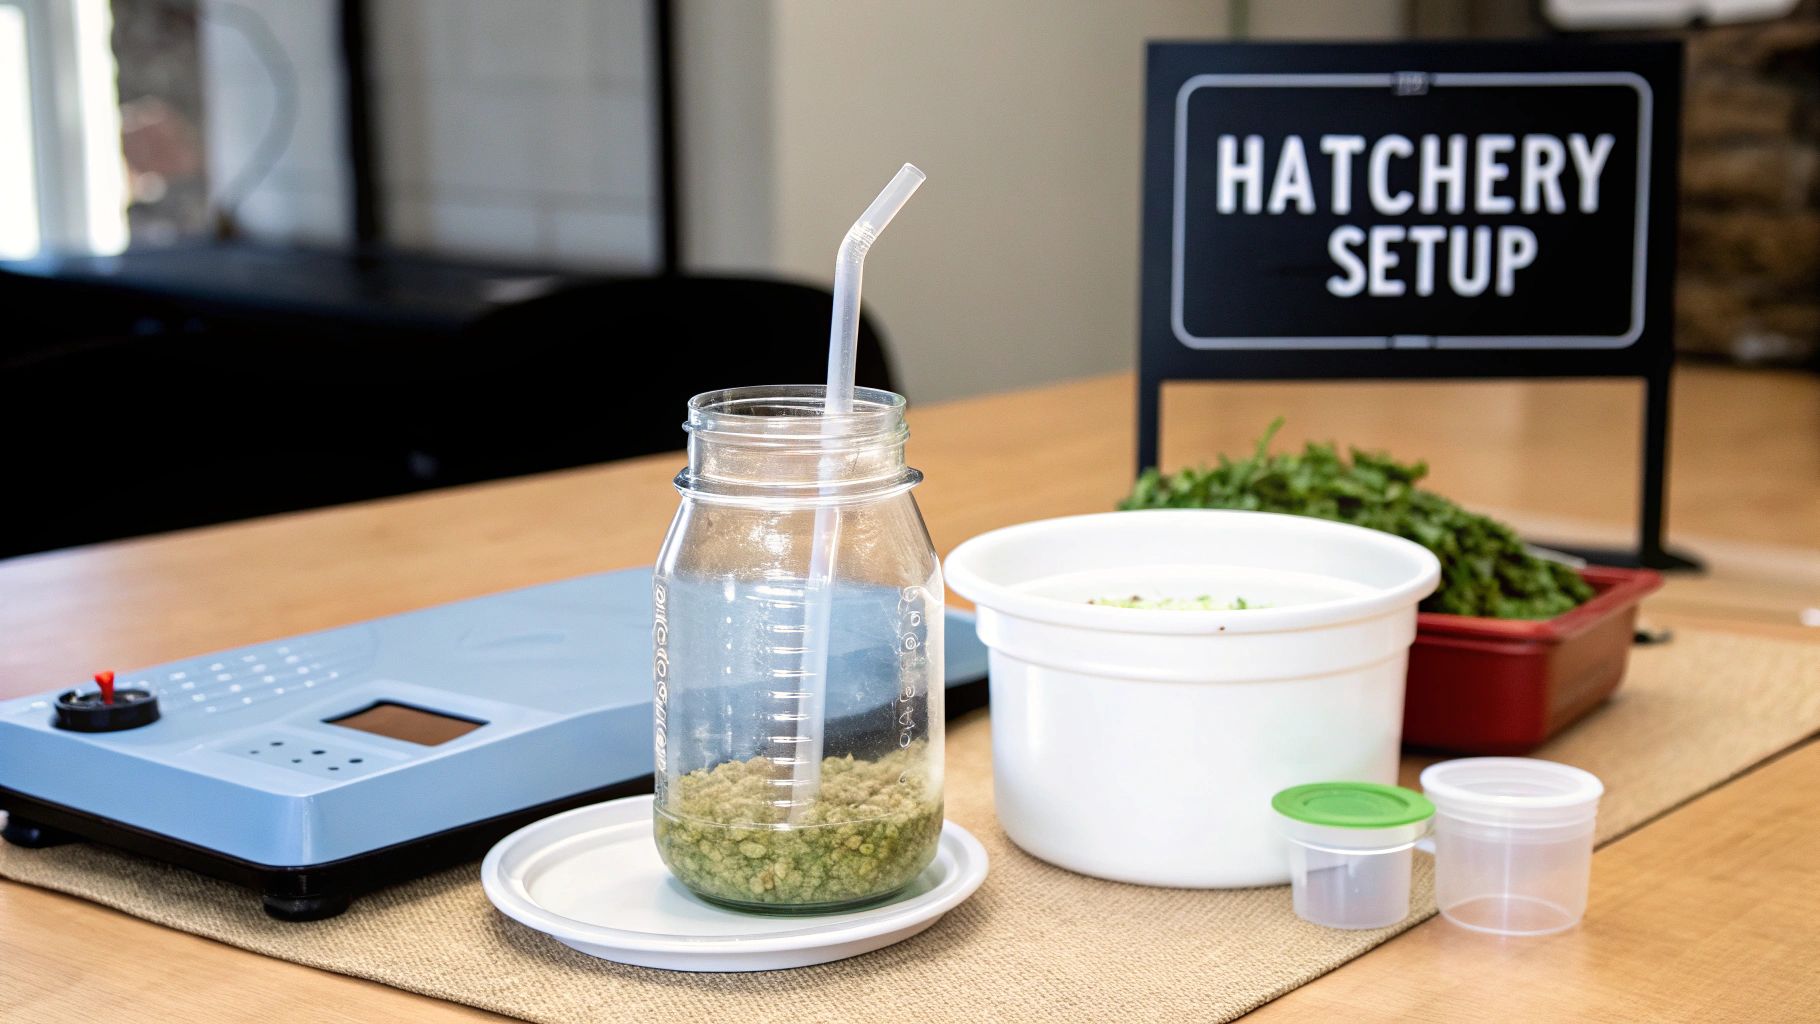
The Hatching Recipe for Success
Getting a great hatch rate with Artemia all comes down to dialing in a few key parameters. The cysts themselves are incredibly tough, but giving them exactly what they want will make a huge difference in your final yield. More nauplii for less effort is always the goal.
The best part? It's all incredibly simple to achieve. You just need a container, an air pump, some salt, and the cysts. Plenty of reefers get their start with a DIY hatchery made from an old two-liter soda bottle, which tells you just how accessible this is.
To get started, here's a quick-reference table with the ideal conditions for a successful hatch.
Baby Brine Shrimp Hatching Recipe
Parameter | Optimal Range | Notes |
|---|---|---|
Salinity | 1.018 - 1.022 SG | Roughly 1.5 to 2 tablespoons of salt per liter of water. Basic aquarium salt works perfectly; no need for pricey reef salt here. |
Temperature | 77-82°F (25-28°C) | Warmth is the accelerator. At this temp, you'll see nauplii in as little as 18-24 hours. |
Aeration | Gentle, rolling boil | Keeps the cysts suspended and oxygenated. They can't clump at the bottom. An air stone is crucial. |
Light | Constant light source | Light is the final "go" signal for the cysts. A simple desk lamp aimed at the hatchery is all it takes. |
By sticking to this simple formula, you can turn a pinch of what looks like fine sand into a dense, orange cloud of nutritious live food. The process is so dependable that breeders often run multiple hatcheries on a staggered schedule to ensure there's always a fresh batch ready.
From Cysts to Nauplii: A Step-by-Step Guide
Once you've got your gear and ingredients, the actual process is a breeze. A dedicated brine shrimp hatchery kit can make things a bit tidier, but the classic soda bottle method works just as well.
Mix Your Water: In your hatchery, combine dechlorinated water and your salt. Give it a good stir until everything is completely dissolved.
Add the Cysts: Sprinkle in the Artemia cysts. A good starting point is about a quarter teaspoon per liter of water.
Get the Bubbles Going: Drop your air stone in and fire up the air pump. You're looking for a steady, rolling boil—not a violent Jacuzzi. You just need enough movement to keep every single cyst tumbling in the water.
Turn on the Lights: Position your lamp, and let nature take its course. Within 24 to 36 hours, you'll see the water transform from a murky brown to a vibrant orange as the nauplii hatch and start swimming.
Pro Tips for a Clean Harvest
Hatching is the easy part. The real trick is harvesting the live nauplii without getting all the gunk—like unhatched eggs and empty shells—into your display tank. Thankfully, a neat biological quirk of the nauplii makes this surprisingly simple.
Use Their Instincts: When you're ready to harvest, turn off the air pump and let everything settle for about 10 minutes. The heavy, unhatched cysts will sink, and the lightweight empty shells will float. The live nauplii are phototactic, meaning they swim toward light. Just shine a flashlight against the side of the container, and they'll gather into a dense orange ball, making it super easy to siphon them out with some airline tubing.
Rinse Before You Feed: That salty, funky hatchery water has no place in your pristine reef tank. Always siphon the nauplii into a fine mesh net (a coffee filter works in a pinch!) and give them a quick rinse with either fresh or clean saltwater before feeding.
Level Up with Decapsulation: For the truly dedicated, you can decapsulate the cysts using a bleach solution before you even start the hatch. This process dissolves the hard outer shell, which gives you a higher hatch rate, eliminates the shell separation step entirely, and makes the nauplii even more nutritious since they don't waste energy breaking free.
Supercharge Your Live Food with Enrichment
Freshly hatched baby brine shrimp are an incredible first food, but their nutritional value is like a rapidly draining battery. That initial yolk sac is loaded with goodness, but it gets burned through incredibly fast. The secret to fixing this? A simple process called enrichment, which is really just a fancy way of saying you’re going to feed the brine shrimp a super-healthy meal right before they become a meal themselves.
Think of it as "gut-loading." You are literally stuffing their tiny stomachs with high-value nutrients that get passed directly to your fish and corals. This technique turns an already excellent food into a customized nutritional powerhouse, tailored to boost the health, growth, and vibrant colors of your tank’s inhabitants. It’s the difference between giving them a decent snack and a superfood smoothie.
The Right Time to Enrich
Timing is absolutely everything when it comes to enrichment. If you try to feed freshly hatched nauplii (the Instar I stage), nothing will happen. They don't have a developed mouth or digestive system yet, so they are physically incapable of eating.
You have to wait until they molt into the Instar II stage, which usually happens around 12 hours after hatching. At this point, they've developed a working mouth and are actively hunting for microscopic food particles. This is your window of opportunity to supercharge them.
The whole point of enrichment is to load the nauplii with essential nutrients they don't naturally have in high amounts after their yolk is gone—especially Highly Unsaturated Fatty Acids (HUFAs) like DHA and EPA.
What to Feed Your Baby Brine Shrimp
Choosing the right enrichment food is the key to unlocking all that nutritional potential. You need something small enough for them to eat that is also packed with the building blocks your fish and corals need to truly thrive.
Here are the most effective options for enrichment:
Lipid-Rich Formulas: Commercial products like Selcon are specifically designed for this. They're emulsions loaded with HUFAs, which are critical for the neurological development and immune function of marine life.
Phytoplankton: Live microalgae is a natural and highly effective choice. Strains like Nannochloropsis are rich in EPA, while others like Isochrysis are a great source of DHA. Using a blend gives you a more complete nutritional profile. You can even learn how to culture phytoplankton at home for a never-ending supply.
Spirulina Powder: This fine, high-protein algae powder also works well. It’s a great source of vitamins and carotenoids, which can help bring out the brilliant colors in your fish.
The global demand for Artemia is massive, driven largely by its role in commercial aquaculture. The market, valued at USD 144 million in 2022, is projected to soar to USD 740 million by 2033. Over 68% of these cysts fuel commercial operations where enrichment isn't just an option—it's standard practice.
The Enrichment Process Step-by-Step
Once your nauplii have reached that crucial Instar II stage, the process is pretty straightforward. It’s just a short, final step before you feed your tank.
Prepare the Nauplii: After harvesting your baby brine shrimp, move them into a clean container with fresh saltwater.
Add the Enrichment: Dose your chosen enrichment product into the water. A few drops of a lipid concentrate or a green haze of phytoplankton is all it takes.
Keep Them Suspended: Gently aerate the container. This keeps both the nauplii and their food suspended in the water column, ensuring they have plenty of chances to eat.
Wait and Feed: Let the brine shrimp feast for 8 to 12 hours. Any longer, and you risk fouling the water.
Rinse and Serve: After the enrichment period, harvest the nauplii one last time. Give them a quick rinse to wash off any excess enrichment liquid, and feed them to your tank immediately.
This last step is critical. You want to get those enriched baby brine shrimp into your tank right away to ensure your fish and corals get the maximum nutritional benefit before the nauplii use it all up themselves.
Mastering Feeding Techniques for Your Aquarium
You’ve successfully hatched a vibrant, orange cloud of baby brine shrimp. Awesome! Now comes the fun part—getting this premium live food to your eager tank inhabitants. The trick is to deliver it in a way that ensures every last nauplius counts, providing maximum nutrition right where it's needed without messing up your pristine water quality.
Just as you wouldn't serve a gourmet meal on a dirty plate, the single most important rule is to always rinse your baby brine shrimp before feeding. The hatching water is a salty, messy soup loaded with waste and unhatched cysts. Pouring this gunk directly into your display tank is a one-way ticket to algae blooms and whacky water chemistry.
Always strain the nauplii through a fine mesh net and give them a quick rinse with clean saltwater. It’s a simple step, but it protects your aquarium's delicate balance and makes sure your fish and corals only get the good stuff.
Choosing Your Feeding Method
How you introduce the baby brine shrimp into your tank depends entirely on who you're feeding. Fish fry are frantic, opportunistic hunters that need food scattered all over the place. Corals, on the other hand, are stationary animals that appreciate a more direct delivery.
Broadcast Feeding: This is the easiest way to feed fish fry or a tank full of small, active planktivores. Just release the rinsed nauplii into an area of high flow. The current will do the heavy lifting, distributing the wiggling shrimp throughout the tank and kicking off a natural feeding frenzy.
Target Feeding: For your corals, anemones, and other sessile invertebrates, a turkey baster or pipette is your best friend. This lets you gently puff a concentrated cloud of nauplii right onto their polyps, guaranteeing they get a real meal without having to compete with faster tank mates.
Feeding Frequency and Quantity
The nutritional needs across your aquarium can vary wildly. Newborn fish fry have a lightning-fast metabolism and need almost constant access to food to fuel their insane growth. Corals? Their metabolic rates are much, much slower.
Pro-Tip: For newborn fish fry, it's way better to offer several small feedings throughout the day instead of one big one. This keeps food constantly available and avoids the waste from uneaten shrimp settling and decaying on the bottom.
A good starting point is to feed an amount that your tank can devour within a few minutes. If you still see a thick orange cloud of uneaten shrimp swimming around after half an hour, you’re probably overdoing it. Watch your tank, see how everyone reacts, and adjust your quantities to keep your system clean and your animals well-fed.
Beyond Baby Brine Shrimp
While baby brine shrimp are an exceptional food source, a varied diet is the true cornerstone of a healthy aquarium ecosystem. They are a fantastic tool for triggering a feeding response in picky eaters like Mandarin Dragonets and for raising fry, but they are just one piece of the puzzle.
To provide a complete nutritional profile, it’s essential to incorporate other live foods. For a truly biodiverse system, many reefers find immense value in the top benefits of adding live copepods to their aquariums. Pods offer a different nutritional profile and help sustain a natural microfauna population that benefits the entire tank. By combining different live foods, you create a more resilient and vibrant aquatic environment.
Of course. Here is the rewritten section, crafted to sound completely human-written and natural, following the provided style guide and examples.
Troubleshooting Common Hatching Issues
Even with the best intentions, a hatch can sometimes go sideways. Getting your first few batches of baby brine shrimp going can feel a bit like a high school science experiment, and hitting a few bumps in the road is totally normal. The good news? Most common problems are simple to diagnose and even easier to fix with a few small tweaks.
Don’t get discouraged if a batch doesn't turn out perfectly. Whether you’re looking at a low yield, dealing with a funky smell, or making a mess trying to separate the shrimp, there's almost always a straightforward fix. Just think of it as part of the learning curve on your way to becoming a live food pro.
Diagnosing Low Hatch Rates
One of the most common frustrations is ending up with a low hatch rate—way more unhatched cysts than actual swimming nauplii. When this happens, it's time to play detective and run through the essentials. More often than not, a tiny adjustment is all it takes to see a massive improvement.
Several culprits could be behind a poor yield:
Old or Poorly Stored Cysts: Artemia cysts have an incredible shelf life, but they don't last forever. Cysts that are several years old or have been exposed to heat and humidity will quickly lose their viability. For the best results, always store your cysts in a cool, dry place—the fridge is perfect.
Incorrect Salinity: Brine shrimp are tough, but they're still picky about the saltiness of their water for hatching. You want to aim for a specific gravity of 1.018 to 1.022. That’s the sweet spot. Too much or too little salt will seriously stall the hatching process.
Temperature Swings: Temperature is what really kicks the whole process into gear. If the water is too chilly (below 75°F or 24°C), the hatch will slow to a crawl or just stop altogether. Keeping your hatchery in a consistent 77-82°F (25-28°C) range is absolutely crucial for a quick, successful hatch.
Solving Foul Odors and Separation Problems
Another thing you might run into is a culture that starts to smell foul, almost like sulfur. This is a dead giveaway for a bacterial bloom, which usually happens when cysts settle at the bottom of the hatchery and don't get enough oxygen.
A healthy baby brine shrimp culture should smell earthy and briny, never rotten. If you catch a whiff of something bad, it’s a clear signal to crank up the aeration. You need enough bubbles to keep every single cyst tumbling in the water column.
Getting the live nauplii separated from the leftover shells can also be a real headache. If you keep scooping up a mix of live shrimp and empty casings, your separation game just needs a little refinement.
Here's the fix: After you turn off the air pump, let the hatchery settle for a good 10-15 minutes. Seriously, don't rush this part. The unhatched cysts will sink, the empty shells float, and the live baby brine shrimp will gather in the middle, attracted to the light. Shine a flashlight on the side to draw them into a dense orange ball, making it super easy to siphon out a clean harvest and leave all the gunk behind.
With a little practice, these troubleshooting steps will become second nature.
Common Questions About Baby Brine Shrimp
Once you get the hang of hatching and feeding baby brine shrimp, a few questions inevitably surface. Having some quick, clear answers in your back pocket can make all the difference, helping you troubleshoot on the fly and really dial in your technique.
The whole point is to make culturing live food feel less like a chemistry experiment and more like a simple, rewarding part of keeping a beautiful aquarium. Let's tackle some of the most common sticking points so you can get on with having consistent success.
Can I Use Baby Brine Shrimp in Freshwater?
You absolutely can! While you have to hatch Artemia cysts in saltwater, the live nauplii themselves are a phenomenal food for freshwater fish. They're especially great for conditioning breeding pairs or giving fry the best possible start. They'll even survive in freshwater for several hours, which gives your fish plenty of time to hunt them.
There's just one golden rule you have to follow: always rinse the nauplii thoroughly in fresh water before adding them to your tank. This simple step washes off the salt from the hatching water, preventing it from slowly creeping up your aquarium’s salinity over time.
How Long Can I Store Hatched Shrimp?
For the best nutritional punch, you'll want to feed baby brine shrimp within the first 8-12 hours after they hatch. This is their peak; they are still running on their incredibly nutrient-rich yolk sac. If you absolutely have to store them, you can pop them in the fridge in a small container of clean saltwater for up to 24 hours.
The cold slows down their metabolism, helping them conserve that precious yolk sac energy. But make no mistake, their nutritional value starts to drop the longer they sit. Fresh is always best.
What is the Difference Between Brine Shrimp and Copepods?
This is a fantastic question, and it gets to the heart of a solid live food strategy. While both are tiny crustaceans used as live food, they play very different roles in an aquarium. Baby brine shrimp are an excellent, high-motion food that you hatch on demand and feed directly. They're perfect for triggering an aggressive feeding response and power-feeding hungry fry.
Copepods, on the other hand, are all about building an ecosystem. You introduce them to establish a self-sustaining, breeding population right in your tank. They become a living cleanup crew, grazing on nuisance algae, eating detritus, and providing a constant, natural food source for picky eaters like mandarins and pipefish. Think of it this way: brine shrimp are a single, nutritious meal; copepods are the foundation of a living pantry.
This idea of combining resources isn't just for hobbyists; it's used in large-scale aquaculture, too. For instance, integrated solar salt farming has been shown to dramatically boost incomes, with over 80% of families in some projects earning more than USD 5,000 annually from the co-production of brine shrimp. You can learn more about these aquaculture advancements and their economic impact.
At PodDrop Live Aquarium Nutrition, we're focused on the other half of a complete live food strategy. While you master hatching baby brine shrimp for those direct, high-impact feedings, let us help you build a resilient, self-sustaining microfauna population with our premium live copepods and phytoplankton. Explore our curated blends and pure cultures at https://www.getpoddrop.com.
Comments