


Your First Saltwater Coral Reef Tank A Step-by-Step Guide
- fabianbehague
- 7 hours ago
- 19 min read
So, you're thinking about diving into the world of saltwater coral reef tanks? It's an incredible journey, one that blends the quiet art of building a beautiful underwater landscape with the fascinating science of keeping a delicate ecosystem alive and kicking. This isn't just about keeping fish in a glass box; it's about cultivating a living, breathing slice of the ocean right in your home, complete with vibrant corals and a hidden world of microscopic life.
Getting it right comes down to one thing: stability. It's about understanding how every single piece of the puzzle—from the lights to the water flow to the tiniest critters—works together in harmony.
Bringing a Piece of the Ocean into Your Home
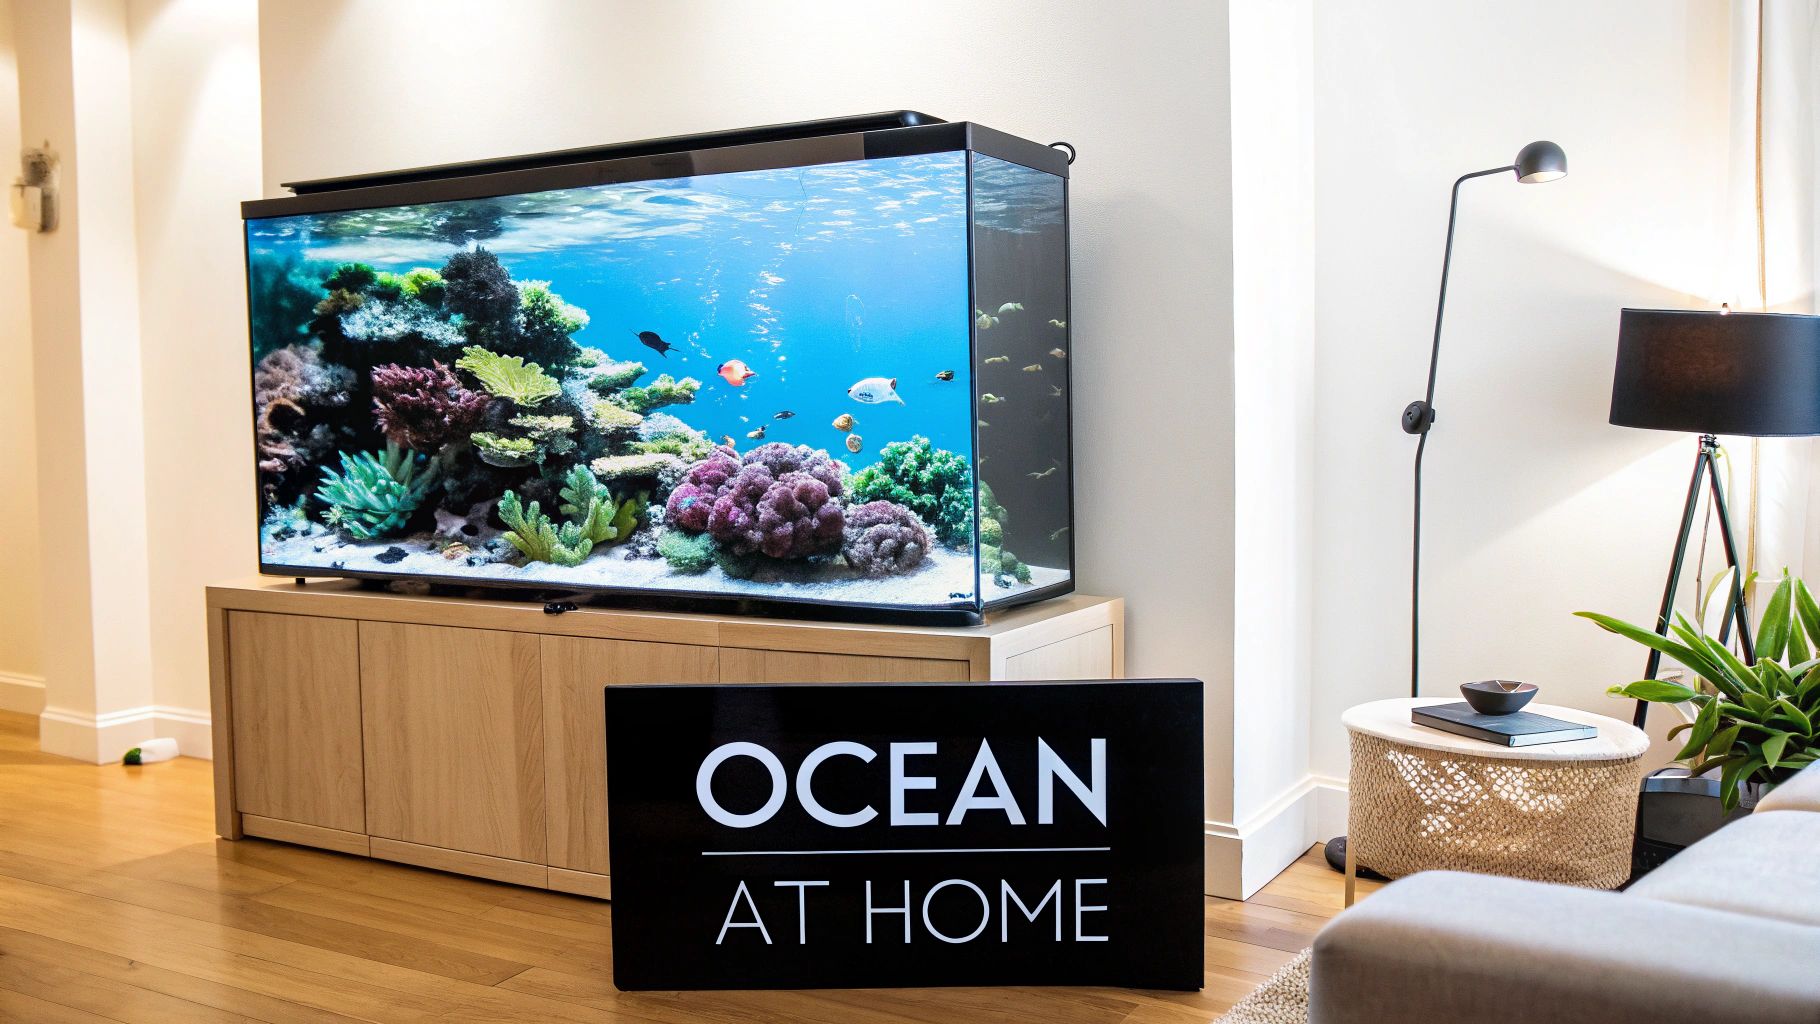
Welcome to the captivating world of reef keeping. Creating your own saltwater coral reef tank is a journey that mixes science, artistry, and a healthy dose of patience into one of the most rewarding hobbies you can imagine. It’s far more than a typical aquarium; it's a dynamic ecosystem that brings the unmatched beauty of a coral reef right into your living room.
This guide is here to pull back the curtain and break down the core concepts you need for success. We'll show you that while the biology might seem intimidating at first, building a stunning reef is completely within your reach with the right knowledge and a step-by-step approach.
The Foundations of a Thriving Reef Tank
Think of your reef tank as a miniature, self-contained world that absolutely depends on balance. There are three foundational pillars that hold up this delicate environment. Get these right, and you're well on your way to long-term success.
Stable Water Chemistry: This is the invisible lifeblood of your entire system. Keeping your temperature, salinity, and key mineral levels (like calcium and alkalinity) locked in provides the consistent conditions corals need to build their skeletons and truly flourish.
Proper Lighting and Flow: Corals are fascinating animals that get most of their energy from light, just like plants. The right light spectrum and intensity will fuel their growth and make their colors pop. At the same time, good water flow, driven by pumps, acts like a circulatory system, delivering food and washing away waste.
A Healthy Biological Engine: The most successful tanks are always built on a robust biological foundation. This starts with cultivating colonies of beneficial bacteria to process waste, but it doesn't stop there. The real magic happens when you establish a vibrant population of microfauna—tiny critters that form the very base of the coral reef food web.
This hobby is exploding in popularity, becoming a major part of the lifestyle and home decor scene. The global market for reef aquariums was valued at USD 5.05 billion in 2024 and is on track to hit USD 11.0 billion by 2028. That's a huge surge, reflecting just how many people are getting hooked on building their own piece of the ocean.
Assembling Your Reef Tank Life Support System
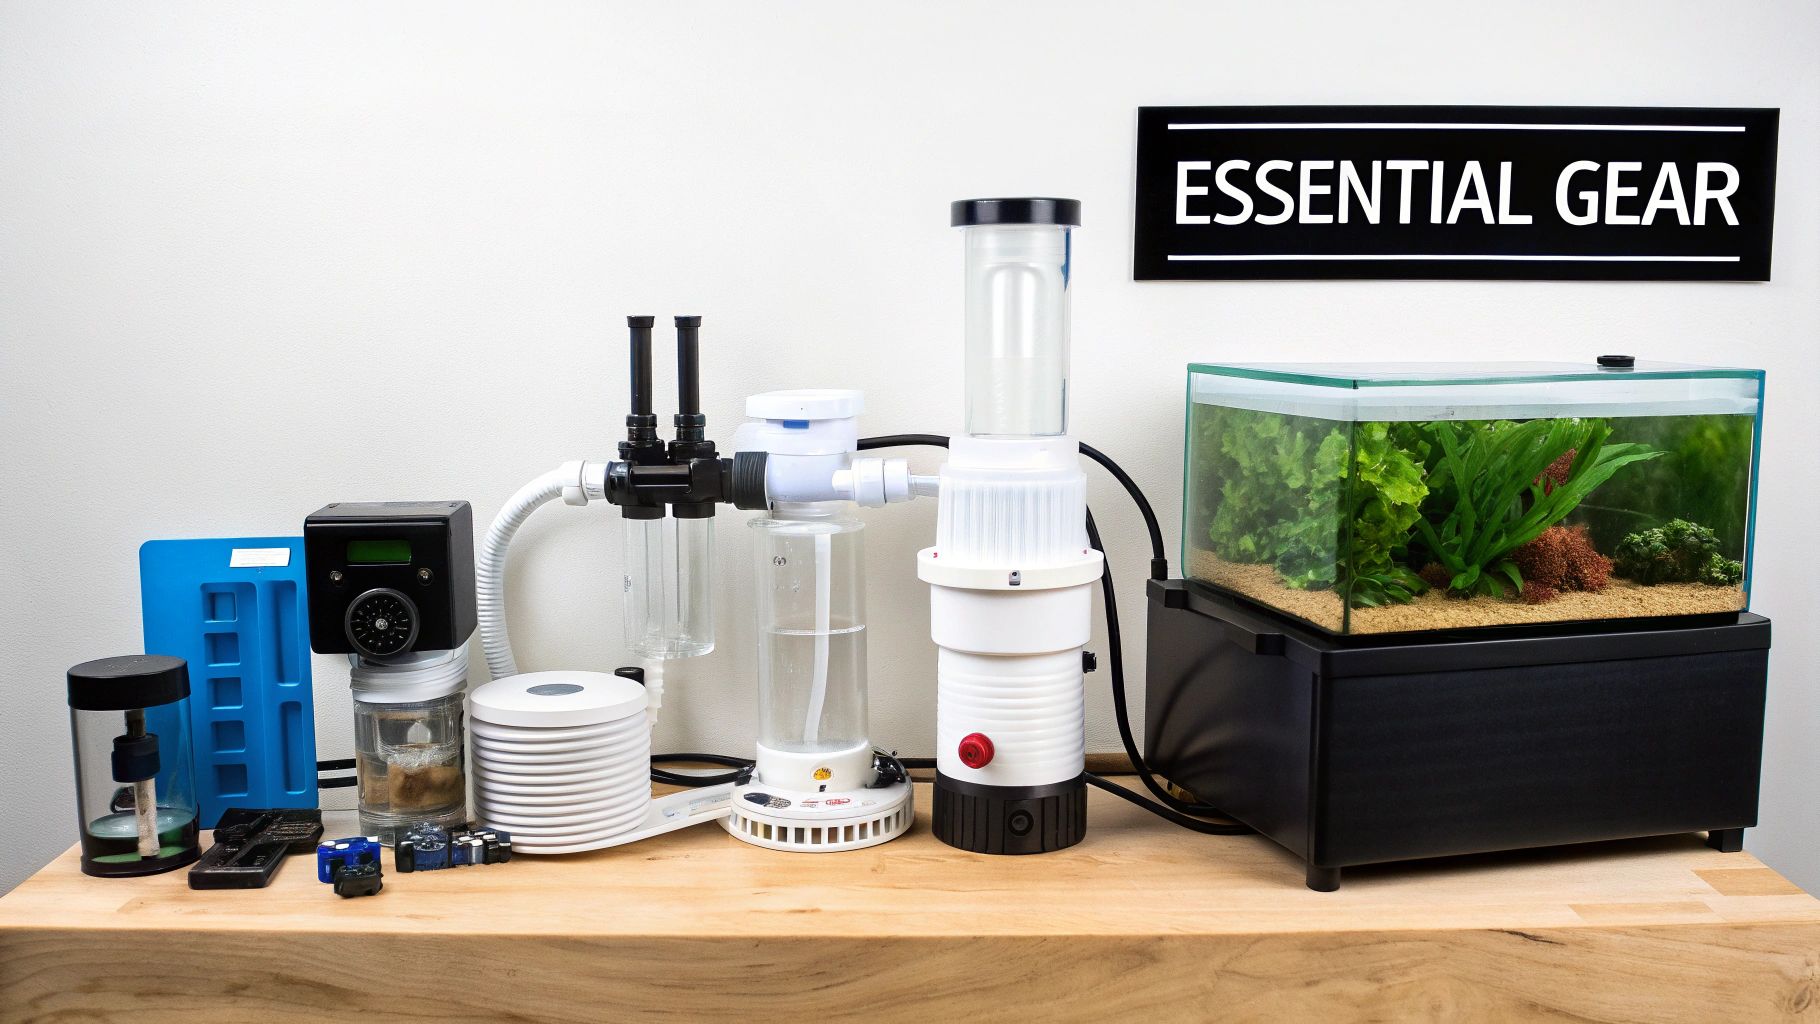
Let's be honest: a successful saltwater coral reef tank is less about the glass box and more about the life-support system humming away behind the scenes. Think of your gear as the vital organs of your private ocean. Each piece has a critical job, and when they all work together, they create the stable, pristine world your corals and fish need to flourish.
Investing in the right hardware from day one is the single best way to avoid future headaches and costly mistakes.
Tank Philosophy: AIO vs. Sump
Your first big choice is the style of tank. Modern All-In-One (AIO) tanks are a fantastic starting point, especially for beginners. They cleverly tuck the filtration compartments into the back of the aquarium itself, creating a clean, compact, and straightforward setup. If you're dreaming of a nano reef, an AIO is often the perfect entry point.
On the other hand, if you want maximum flexibility and power, a custom setup with a sump is the way to go. A sump is simply a second, smaller tank hidden in the cabinet below. It acts as the central command hub, housing all your gear—heaters, skimmers, and reactors—completely out of sight. This keeps the main display tank looking clean and natural, just like a slice of the ocean.
Before diving in, here’s a quick look at the core components every reef tank needs to get started. This isn't an exhaustive list, but it covers the non-negotiables for creating a stable environment where life can thrive.
Core Equipment for a Beginner Reef Tank
Equipment | Primary Function | Key Consideration |
|---|---|---|
Aquarium & Stand | The main display and its support. | Choose a size you can manage. Bigger is often more stable. |
Protein Skimmer | Removes organic waste before it breaks down. | The single most important piece of filtration. Don't skimp here. |
Return Pump | Moves water from the sump back to the display tank. | Reliability is everything. Look for a quiet, adjustable model. |
Heater & Controller | Maintains a stable water temperature. | Get a reliable heater and an external controller for safety. |
Powerheads | Creates water flow and circulation in the tank. | Mimics ocean currents, essential for coral health. |
Lighting | Provides the energy for coral photosynthesis. | LEDs are the standard for control and efficiency. |
RO/DI System | Purifies tap water to remove impurities. | Absolutely essential. Using tap water is a recipe for disaster. |
This table highlights the "engine" of your reef. Getting these pieces right from the start puts you on a solid path to success.
The Engine Room: Your Sump and Skimmer
A sump is the hardworking engine room of your reef. By adding a significant amount of water to your system, it makes the entire environment more stable by diluting toxins and buffering against sudden changes. This is also where your most important piece of filtration equipment, the protein skimmer, lives.
Think of a protein skimmer as your tank's personal waste treatment plant. It works by injecting a column of fine air bubbles into the water, creating a thick foam. This foam attracts and captures dissolved organic gunk—fish waste, uneaten food, and other nasty stuff—and pulls it out of the water before it can break down into nitrates and phosphates. Removing this junk at the source is a complete game-changer for maintaining water clarity and promoting coral health.
A well-tuned protein skimmer can pull out up to 80% of organic waste before it even has a chance to enter the nitrogen cycle. It's hands-down the most critical investment for keeping nutrients low, which is exactly what corals crave.
If you’re planning a system with a dedicated sump, knowing how to set it up is crucial. We break down the whole process in our guide on setting up a saltwater sump made simple.
Creating the Perfect Climate: Light and Flow
With filtration handled, the next priority is dialing in the climate inside your tank. This really comes down to two things: temperature and water movement.
Heaters are absolutely non-negotiable. Corals are incredibly sensitive to temperature swings. A reliable aquarium heater, paired with a separate controller for safety, is essential to lock your water temperature in at a stable 75-78°F (24-26°C).
Powerheads are the submersible pumps that create currents inside your tank. They replicate the natural surge and flow of a real reef, which is vital for bringing nutrients to your corals and whisking away their waste. Without good flow, corals will literally suffocate.
Finally, there’s the lighting. This is what truly brings your reef to life, both visually for you and biologically for the corals. Light is the fuel for the symbiotic algae living inside coral tissue, allowing them to photosynthesize, grow, and show off those incredible colors.
LED (Light Emitting Diode) fixtures are the undisputed modern standard. They give you complete control over the color spectrum, intensity, and daily schedule. While some old-school hobbyists still have a soft spot for T5 fluorescent lighting for its even, blanket-like coverage on SPS corals, a quality LED system offers the best mix of performance, efficiency, and customization for any new saltwater coral reef tank.
From Empty Tank to a Living Ecosystem
With all your gear in hand, the real fun begins: bringing your saltwater coral reef tank to life. This is the moment you start turning a simple glass box into the foundation for a breathtaking underwater world. It’s a process that calls for a bit of patience and a methodical approach, but trust me, getting these first steps right will pay off for years to come.
Your journey starts with the core building blocks: the sand and the rock. Both need a thorough rinse with RO/DI water to wash away any dust or debris that could turn your tank into a cloudy mess. Once they're clean, you can lay down your sand bed and start the most creative part—the aquascape.
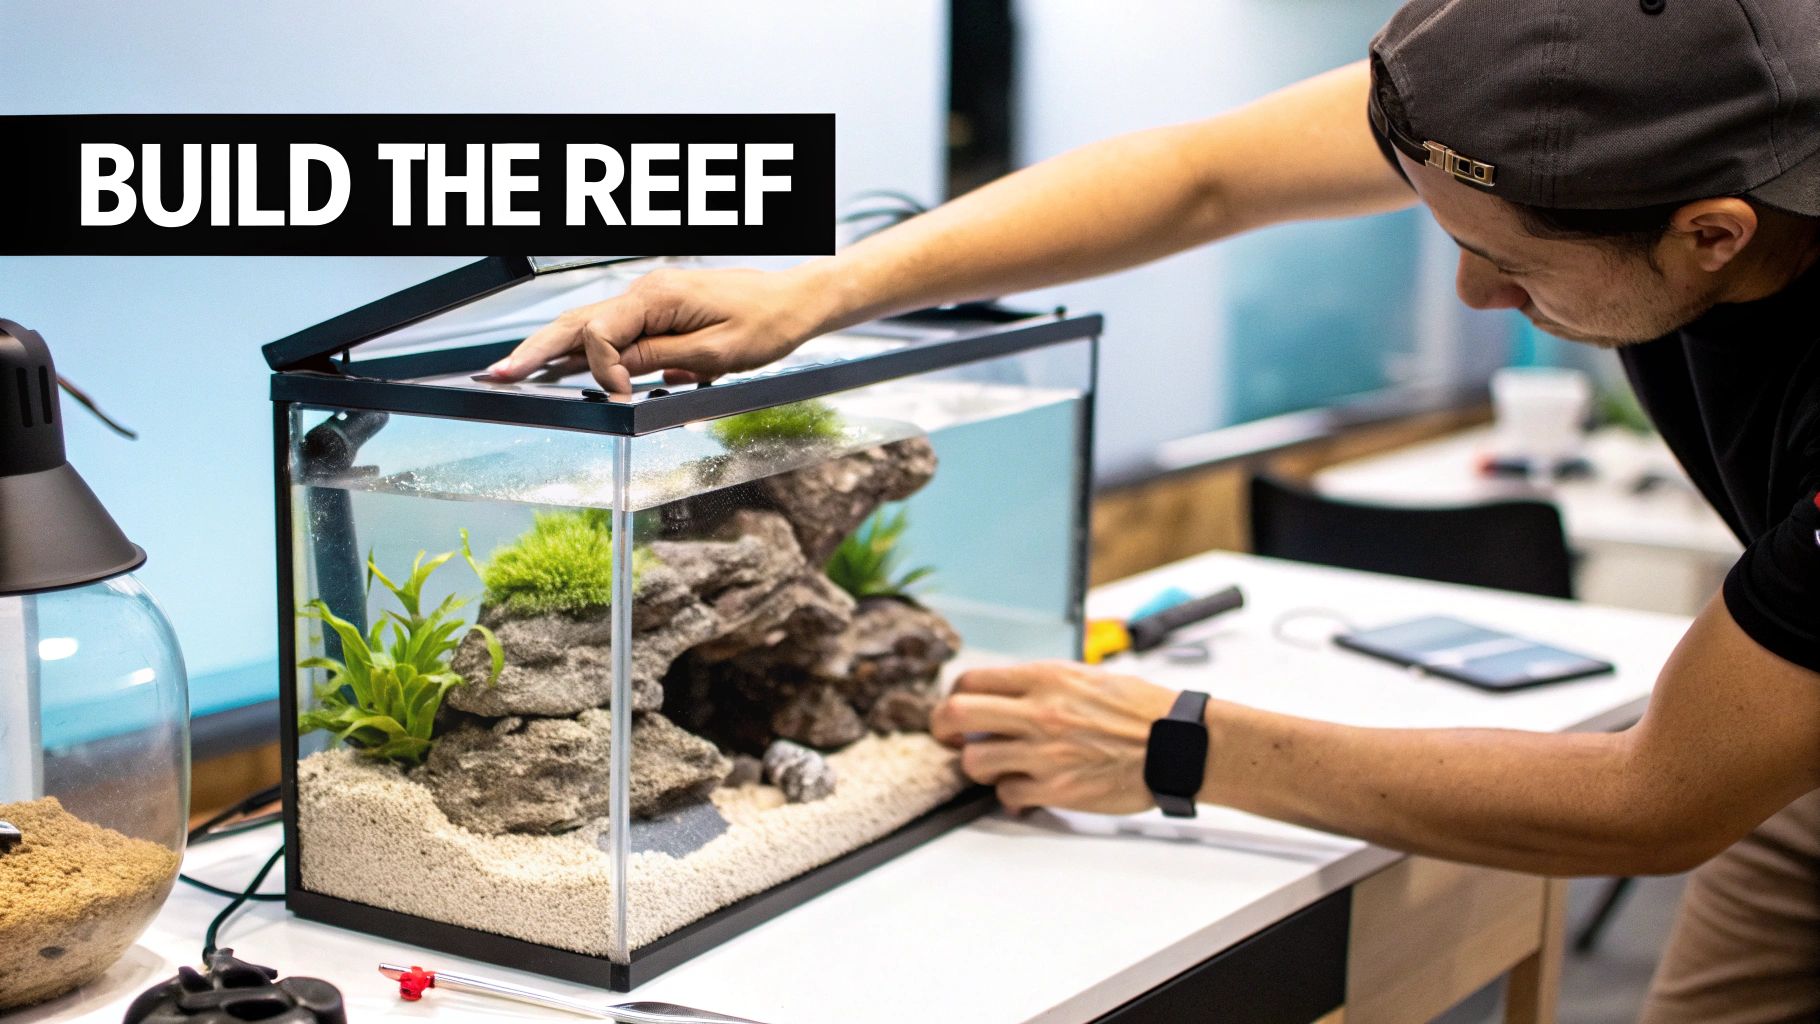
Designing Your Underwater Landscape
Aquascaping is so much more than just piling rocks into a tank. You're building a functional, beautiful structure that will dictate water flow, give fish places to hide, and create stable platforms for all the amazing corals you'll add later.
Try to create an open, dynamic structure with plenty of caves, arches, and open water. The classic beginner mistake is building a dense "wall of rock," which inevitably creates dead spots where gunk collects and water stagnates. A great aquascape promotes circulation through the entire system, and that's absolutely critical for a healthy reef. Once you love the design, it’s time to fill 'er up with freshly mixed saltwater.
With the tank full and the pumps humming, the most important biological process can finally get started. This is how you turn sterile water and rock into a living, breathing ecosystem that can actually support life.
Kickstarting the Nitrogen Cycle
Picture a brand-new aquarium as a city with no waste management system. If you add residents right away, their waste (ammonia) would pile up and become toxic in no time. The process of "cycling" your tank is like building a massive, sophisticated waste-processing factory staffed by billions of microscopic workers.
This factory has two main departments:
Ammonia Converters: The first crew of beneficial bacteria shows up to eat toxic ammonia (from fish waste, leftover food, etc.) and convert it into a slightly less toxic compound called nitrite.
Nitrite Converters: A second crew of bacteria then consumes that nitrite and turns it into nitrate, a much less harmful substance you can easily manage with regular water changes.
This entire sequence is called the nitrogen cycle. It is the absolute, non-negotiable biological engine of any successful aquarium. You simply can't add fish or corals until this cycle is fully established and running smoothly.
The whole point of cycling is to grow a big enough bacterial colony to process waste as fast as your tank produces it. Rushing this stage is the number one reason new reefers fail. A proper cycle can take anywhere from 2 to 8 weeks, so settle in and be patient.
To get the cycle going, you need to add a source of ammonia to "ghost feed" the bacteria. You could use a small piece of shrimp from the grocery store, but a bottled ammonia solution made for aquariums offers much more control. Once you've added your ammonia source, the waiting game—and the testing—begins. For a deeper look at building a stable foundation, check out our guide on creating a self-sustaining aquarium ecosystem.
Monitoring Your Cycle Progress
During the cycle, you’ll need to test your water every few days for three key parameters. You're going to watch a predictable series of spikes and falls as your biological factory comes online.
Ammonia Spike: First, you’ll see ammonia levels shoot up as your initial source breaks down. This is the dinner bell for the first set of bacteria.
Nitrite Spike: As that bacterial colony grows, you'll see the ammonia level start to fall. Right behind it, nitrite will begin to rise.
Nitrate Rise: Finally, as the second bacterial colony gets established, the nitrite level will drop to zero, and you'll see nitrates begin to accumulate for the first time.
Your cycle is officially complete only when you can add a full dose of ammonia and see it completely converted into nitrates within 24 hours. When both your ammonia and nitrite tests consistently show zero, your microscopic workforce is ready for action, and your saltwater coral reef tank is finally prepared for its first inhabitants.
If there’s one golden rule in this hobby, it’s this: stability is everything.
Think about it. Wild coral reefs live in the biggest, most stable body of water on the planet. Our goal with a saltwater coral reef tank is to create a tiny slice of that unwavering consistency. Getting a handle on your water chemistry isn't about becoming a chemist overnight; it's about building a predictable, safe world where your corals can truly flourish.
Your water parameters are like the invisible foundation of your reef. When that foundation is rock-solid and unchanging, your corals can pour all their energy into growing and showing off those incredible colors. But when things swing wildly, they get stressed, and stressed corals are vulnerable corals. The real secret isn't just knowing the "right" numbers, but understanding why they matter and how to lock them in place.
The Core Six Parameters
You'll quickly fall into a routine of testing for a handful of key measurements. Keeping these in check is your first big step toward a stunning reef.
Temperature: Corals are incredibly sensitive to heat. You want to hold a steady temperature between 75-78°F (24-26°C). A good heater plugged into a separate, reliable temperature controller is your absolute best defense against dangerous swings.
Salinity: This is just a measure of how salty your water is. Aim for a specific gravity of 1.025-1.026. A properly calibrated refractometer or a quality digital probe is non-negotiable for getting this right.
pH: A simple measure of acidity, your tank's pH should hang out between 8.1 and 8.3. It’s normal for it to drift a tiny bit between day and night, so don't panic over small fluctuations.
Alkalinity (dKH): This is arguably the most important parameter you'll track. It measures the water's ability to buffer itself and resist sudden pH drops. Keep it locked in somewhere between 8-12 dKH.
Calcium (Ca): This is one of the main building blocks corals use to construct their stony skeletons. Your target here is 400-450 ppm.
Magnesium (Mg): Think of magnesium as the mediator. It helps keep alkalinity and calcium balanced and available in the water, preventing them from just clumping together and becoming useless. Keep it between 1250-1350 ppm.
This hobby we love is part of a surprisingly huge industry. The global aquarium market was valued at a whopping USD 6.33 billion in 2024 and is expected to climb to USD 8.70 billion by 2032. That steady growth shows just how much people are invested in bringing a piece of the ocean home. You can dive deeper into these trends in this detailed report on the global reef aquarium market.
The Coral Skeleton Building Blocks
It's crucial to understand how Alkalinity, Calcium, and Magnesium play together. It’s actually pretty simple if you think of it like building a house.
Calcium is your pile of bricks. Alkalinity is the mortar you use to stick them together. To build anything, you need a constant supply of both. Magnesium is the job site foreman, making sure the bricks and mortar are ready to be used properly instead of just hardening into a useless clump on the ground.
If you run out of any one of these "building blocks," coral growth grinds to a halt. This is why we test and dose regularly—to keep the construction materials supplied. For most new tanks, the easiest way to do this is by manually dosing two-part solutions (one for calcium, one for alkalinity) or using an all-in-one supplement like Kalkwasser.
Managing Your Nutrients
Finally, let's talk about the leftovers—nitrates and phosphates. These are just the natural end-products of fish waste, leftover food, and all the other life happening in your tank. For years, the hobby was obsessed with chasing zero nitrates and phosphates. We know better now. That approach can actually starve your corals and make them lose their color.
The goal is nutrient control, not total elimination.
Nitrates (NO3): You want a low but still readable level, usually somewhere between 2-10 ppm.
Phosphates (PO4): This one you want to keep very low, ideally around 0.03-0.05 ppm, because high phosphates are rocket fuel for nuisance algae.
Keeping these nutrients in the sweet spot comes down to a three-pronged attack: a good protein skimmer pulling out waste, a healthy clean-up crew munching on leftovers, and a consistent schedule of water changes. Together, these practices export nutrients from your saltwater coral reef tank before they build up, giving your corals just enough to eat without handing the keys over to an algae farm.
Choosing Your First Corals Fish and Invertebrates
After weeks of letting your tank cycle, you've finally reached the moment you've been dreaming of—it's time to add life to your aquarium. Stocking your tank is hands-down the most exciting part of this adventure, but it's also where a little patience and planning go a long way. The goal is to build a peaceful, vibrant community, and that all comes down to choosing inhabitants that get along and are tough enough for a newly matured system.
It's tempting to rush out and buy the most exotic fish you can find, but that often leads to stress, disease, and disappointment. The real secret to success is to start slow. Add one or two new arrivals at a time, always beginning with the hardiest species you can find. This gradual approach gives your biological filter a chance to catch up with the increased bioload and lets you actually enjoy your new pets without instant chaos.
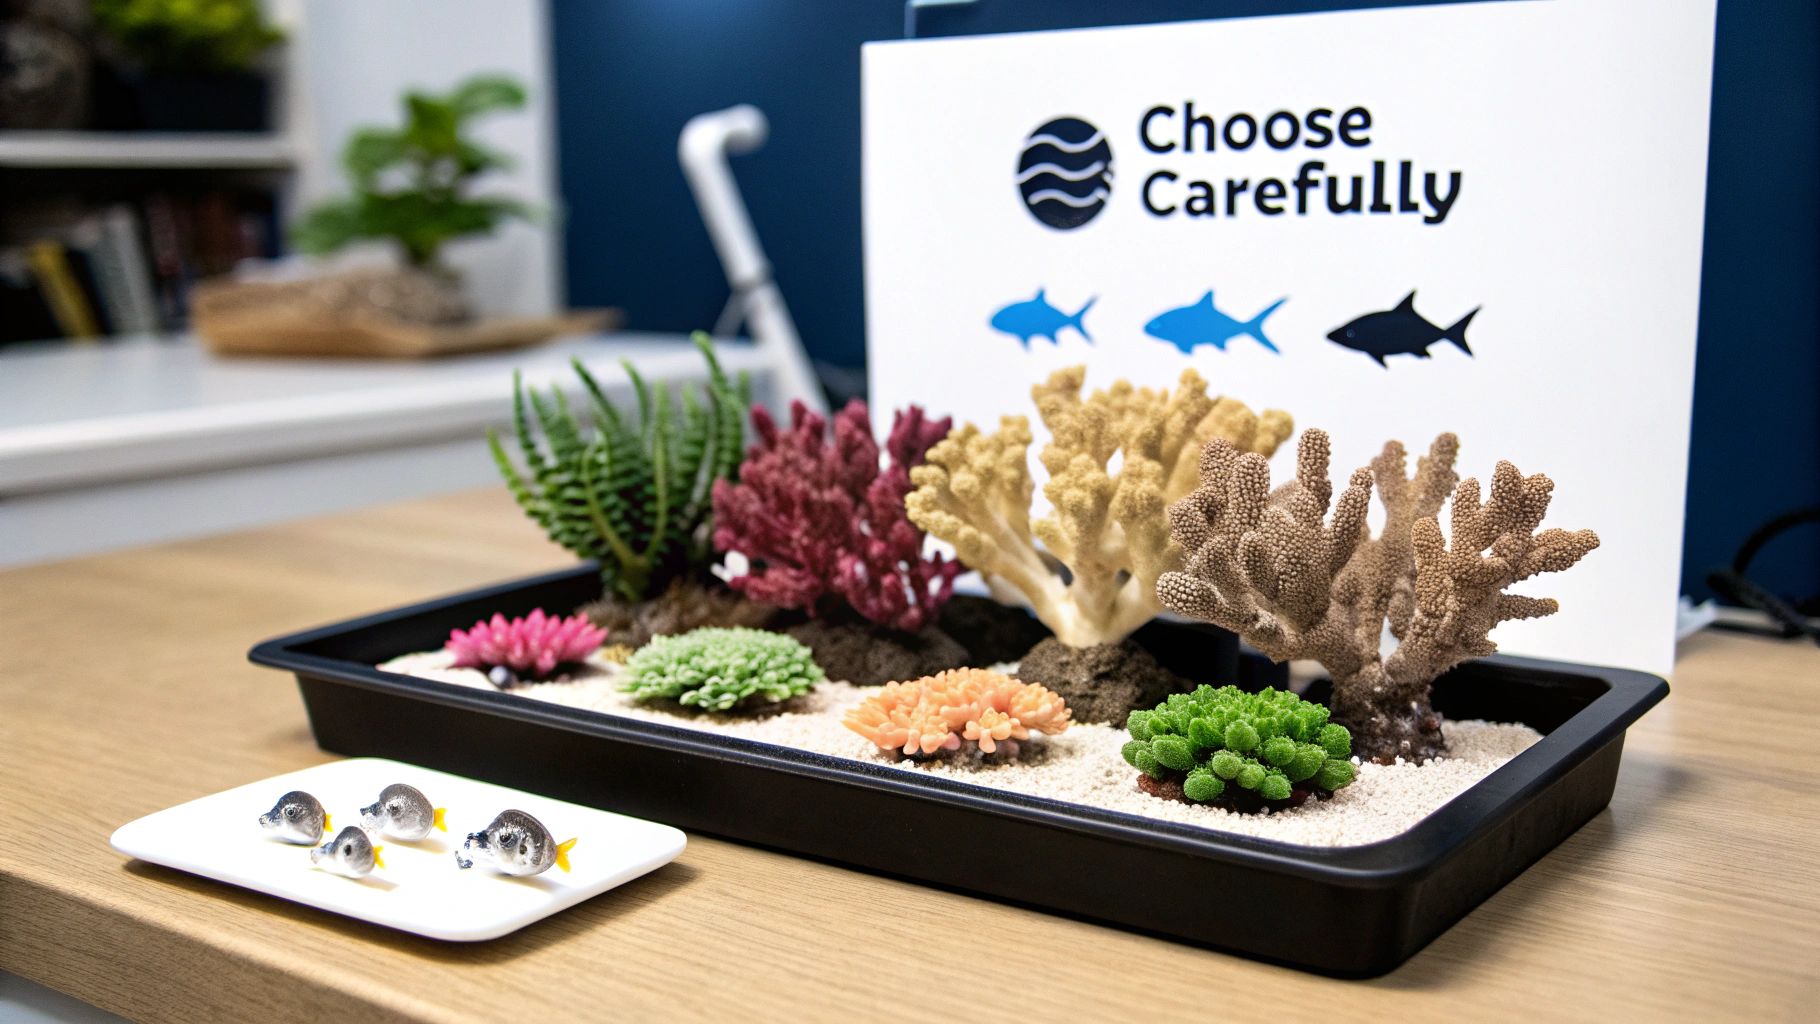
Selecting Your First Hardy Corals
Your first corals need to be beautiful, but more importantly, they need to be tough. You want forgiving species that can handle the minor parameter swings common in a new tank while you're still mastering water chemistry. Luckily, there are plenty of amazing beginner options that bring stunning color and motion without needing an expert's touch.
We can split these starter corals into two main groups: soft corals and certain Large Polyp Stony (LPS) corals.
Soft Corals: These guys lack a rigid calcium carbonate skeleton, making them more flexible and generally more forgiving of less-than-perfect conditions. They tend to do well in a wide range of lighting and flow. Great picks include Zoanthids, which grow into colorful mats of "buttons," and Mushroom Corals (like Discosoma or Rhodactis), which come in spectacular, otherworldly colors.
LPS Corals: Large Polyp Stony corals do build a skeleton, but they have big, fleshy polyps that extend out to grab light and food. While some can be sensitive, many are quite durable. Hammer Corals (Euphyllia ancora), Torch Corals (Euphyllia glabrescens), and Frogspawn (Euphyllia divisa) are hugely popular for their hypnotic, flowing movement and are fairly easy to please once a tank is stable.
When placing your first corals, pay close attention to their light and flow preferences. A classic rookie mistake is blasting a low-light coral with intense light, causing it to bleach. A good rule of thumb is to place new corals lower in the tank—even on the sand bed—and slowly move them up over a week or two until you find their "happy place."
Your First Reef-Safe Fish and Invertebrates
Choosing your first fish is a massive milestone! The best starter fish for a new reef are peaceful, hardy, and "reef-safe"—a term that just means they won't nibble on your expensive corals. Remember the golden rule: add fish slowly. No more than one or two every few weeks to keep from crashing your biological filter.
A few excellent beginner fish include:
Ocellaris Clownfish: Famous for a reason! They are incredibly hardy, packed with personality, and will often host in anemones (though they don't actually need one to be happy).
Gobies and Blennies: Small, peaceful bottom-dwellers like a Watchman Goby or Tailspot Blenny add tons of character and double as a cleaning service for your sand and rocks.
Firefish: These slender, colorful fish are a bit timid but absolutely elegant. They tend to hover in the water, darting into the rockwork if they get spooked.
Of course, no reef is truly complete without its Clean Up Crew (CUC). This little team of invertebrates is your tank's janitorial staff, working 24/7 to manage algae and leftover food. A basic CUC should include a mix of snails (like Trochus and Nassarius) and a handful of small hermit crabs.
The Quarantine Rule: A Non-Negotiable Step for SuccessIf there is one piece of advice you take away from this entire guide, let it be this: quarantine every single new addition. A small, separate quarantine tank (QT) is your single best defense against introducing a devastating disease or pest that could wipe out your whole display. A simple 10-gallon tank with a heater and a filter is all it takes. Observing new arrivals in the QT for four weeks lets you spot and treat problems before they ever touch your main system. Skipping this step is a gamble no reefer should ever take.
Selecting compatible tank mates is crucial for a peaceful aquarium. Here’s a quick guide to some popular beginner-friendly options to help you get started.
Beginner Coral and Fish Compatibility Guide
Inhabitant | Type | Care Level | Reef Safe? |
|---|---|---|---|
Ocellaris Clownfish | Fish | Beginner | Yes |
Firefish Goby | Fish | Beginner | Yes |
Tailspot Blenny | Fish | Beginner | Yes, with caution |
Zoanthids | Soft Coral | Beginner | N/A |
Mushroom Coral | Soft Coral | Beginner | N/A |
Hammer Coral | LPS Coral | Beginner | N/A |
Trochus Snail | Invertebrate | Beginner | Yes |
Nassarius Snail | Invertebrate | Beginner | Yes |
This table provides a starting point, but always do your own research before making a purchase. A well-planned community is a happy community, giving you a beautiful and thriving reef to enjoy for years to come.
Your Weekly Maintenance Routine and Troubleshooting Guide
Long-term success in this hobby is built on consistency, not grand, heroic efforts. A stable, gorgeous reef tank doesn't just happen on its own; it's the direct result of a simple, repeatable maintenance schedule you can actually stick with. Think of this routine as your first line of defense—the key to keeping your underwater world clean, stable, and thriving.
Your weekly maintenance is like a regular health checkup for your tank. It’s less about massive deep cleans and more about sharp observation and consistent care. By building these small habits, you’ll catch minor issues long before they can snowball into full-blown emergencies, ensuring your reef remains a source of joy, not stress.
The Essential Weekly Checklist
This simple routine is the backbone of a healthy reef and should take you less than an hour.
Do a Water Change: Swap out 10-20% of your tank’s water. This is hands-down the most effective thing you can do to export nitrates and phosphates that have built up, while also replenishing the trace elements your corals are constantly using.
Test Key Parameters: Get a quick read on your core water chemistry. At the very minimum, test for alkalinity (dKH), calcium, and nitrate. Catching an alkalinity dip early can save your corals a world of hurt.
Clean the Glass: Grab an algae scraper or a magnetic cleaner and give the inside of the glass a quick wipe-down. This simple task keeps your view pristine and stops stubborn algae from getting a foothold.
Empty the Skimmer Cup: Your protein skimmer is the workhorse pulling all sorts of organic gunk out of the water 24/7. Emptying the collection cup is crucial for it to keep working at peak efficiency.
It's fascinating to see how global interest in reefing is booming. The Asia-Pacific region has exploded onto the scene, becoming the fastest-growing market for reef aquariums. It's projected to expand at a compound annual growth rate of 7.3% between 2023 and 2030. This wave is being driven by a new generation of hobbyists who really appreciate the beauty and the rewarding challenge of these delicate ecosystems. You can learn more about these fascinating reef aquarium market trends if you're curious.
First-Response Troubleshooting
Even with a perfect maintenance schedule, things can still go sideways. Here’s how to spot and react to common problems before they spiral out of control.
Coral bleaching is a visual scream for help. When a coral gets stressed by things like high temperatures or a sudden change in lighting, it kicks out its symbiotic algae (the zooxanthellae) and loses its color. This doesn't mean it's dead, but it's a serious warning that you need to fix the underlying conditions—fast.
Nuisance Algae (Diatoms, Hair Algae): This is almost always a nutrient problem—specifically, too much nitrate and phosphate. The first thing to do is test your water. If your nutrients are high, step up your water changes, double-check that your skimmer is pulling out dark, nasty gunk, and maybe dial back how much you're feeding.
Coral Stress (Bleaching, Not Opening): When corals clam up or start losing color, it's a red alert. The usual suspects are sudden swings in temperature, alkalinity, or salinity. Test your parameters right away and make sure your heater and all your pumps are running correctly.
Fish Health Issues (White Spots, Lethargy): The absolute best defense here is having a quarantine tank for every new fish—no exceptions. If you see signs of illness in your main display, the first step is to ensure your water quality is perfect, as poor conditions hammer a fish's immune system, making it vulnerable.
Reef Tank Questions I Hear All The Time
Jumping into your first saltwater coral reef tank is a blast, but let's be real—it comes with a ton of questions. Getting good, straight-up answers is the best way to build confidence and dodge those early mistakes that catch a lot of new hobbyists off guard. Here are some of the most common questions I get, with practical, no-fluff answers.
What’s the Real Cost to Start a Reef Tank?
Honestly, the startup cost for a saltwater coral reef tank is all over the map. You could get a small nano tank (that's anything under 30 gallons) up and running for around $500. But if you're dreaming bigger, a more tricked-out system can easily push past $2,000.
What drives the price? It really comes down to three things: the size of the glass box, the quality of your lights, and how beefy your protein skimmer is.
And don't forget the living stuff! You've got to budget for live rock, sand, and a good salt mix. Then comes the fun part: your first corals, fish, and clean-up crew. Pro tip: always set aside a little extra for the ongoing stuff like food, test kits, and supplements that keep the whole system humming along.
What’s the Deal with Soft, LPS, and SPS Corals?
You'll hear these three terms constantly. They're just simple categories for corals based on how they're built and what they need to be happy. Getting this right from the start is your ticket to a tank full of thriving corals instead of sad, brown skeletons.
Soft Corals: Just like they sound, these guys don't have a hard, bony skeleton. This makes them way more forgiving and a fantastic starting point for beginners. Think Zoanthids, Mushroom Corals, and leathery-looking Toadstools.
LPS (Large Polyp Stony) Corals: These corals have a solid skeleton but show off with big, fleshy, flowing polyps. They're the perfect "next step" coral, bringing incredible color and movement to your tank without being too demanding. Fan favorites include Hammers, Torches, and Frogspawn.
SPS (Small Polyp Stony) Corals: Welcome to the big leagues. These are the most challenging corals, with tiny polyps on a dense, rock-hard skeleton. They demand perfectly stable, clean water, blazing lights, and lots of flow to truly shine.
How Often Do I Need to Do a Water Change?
For almost any new reef tank, a weekly water change of 10-20% is the gold standard. It’s a simple routine, but it's powerful. You're pulling out junk like nitrates and phosphates that build up, and at the same time, you're putting back the essential trace elements your corals are eating up every day.
Consistency is everything. A regular, small water change creates a stable world for your inhabitants. Big, rare water changes can be a massive shock to the system.
Do I Actually Need a Clean Up Crew?
One hundred percent, yes! Your "clean up crew" (or CUC) is the janitorial staff that works 24/7. This little team of invertebrates is your first line of defense against algae and grime, constantly scavenging for leftovers and keeping things tidy. Without them, waste builds up fast and fuels ugly algae outbreaks.
A good CUC is a team of specialists. You'll want:
Snails: Algae-scraping machines like Trochus and Astrea snails are amazing for keeping your glass and rocks clean.
Hermit Crabs: These little opportunists are perfect for getting into the nooks and crannies of your rockwork to find uneaten food.
Nassarius Snails: These guys are the sand sifters. They live under the sand, popping up when they smell food, which helps keep your sandbed from turning into a swamp.
Putting together a solid clean up crew isn't just a suggestion; it's a core part of building a balanced, healthy little slice of the ocean in your home.
Fuel your reef with the best live nutrition available. PodDrop Live Aquarium Nutrition provides lab-grown, high-density copepods and phytoplankton to boost coral health, fish vitality, and overall biodiversity. Visit https://www.getpoddrop.com to bring life to every drop in your tank.
Comments