
How to Get Rid of Cyanobacteria in a Reef Tank for Good
To beat cyanobacteria, you have to get your hands dirty. The process involves physically siphoning out those slimy mats, knocking out a solid water change, and, most importantly, fixing the root cause—usually an imbalance of nutrients like nitrates and phosphates. For the really stubborn patches, a blackout period or specific chemical treatments can work. But if you want it gone for good, you’ve got to improve your water flow and get your nutrient management dialed in.
Accurately Identifying a Cyanobacteria Outbreak

Before you declare war, you need to be absolutely sure you're fighting the right enemy. Misidentifying the problem can send you down a rabbit hole of useless treatments and endless frustration. That classic reddish-purple slime coating your sandbed is the textbook look, but cyanobacteria can be a real chameleon.
This photosynthetic bacteria shows up in a whole range of colors—from deep maroons and reds to dark greens, blue-greens, and even black. It always forms slimy, sheet-like mats that can completely smother your sand, rockwork, and the base of your corals. One of the biggest giveaways of a mature patch is the tiny trapped oxygen bubbles you'll see on its surface, which are a byproduct of its photosynthesis.
Is It Really Cyano? A Quick Comparison
It's incredibly common for reefers to mistake cyanobacteria for diatoms or the dreaded dinoflagellates. At a glance, they can all look a bit similar, but their texture and behavior are worlds apart. Diatoms usually look like a dusty, light-brown film that you can easily blow off the rock with a turkey baster, and it often vanishes overnight.
Dinoflagellates are typically more brownish and slimy, sometimes forming long, snotty-looking strings with larger, more noticeable air bubbles. Like diatoms, they also tend to recede significantly after the lights go out. Cyanobacteria, on the other hand, sticks around.
To make it easier, here's a quick cheat sheet to help you tell these common pests apart.
Cyano vs. Dinos vs. Diatoms: A Quick Comparison
| Characteristic | Cyanobacteria (Red Slime) | Diatoms (Brown Algae) | Dinoflagellates |
|---|---|---|---|
| Color | Reddish-purple, maroon, dark green, black | Dusty light brown or golden brown | Golden brown, sometimes with a snotty appearance |
| Texture | Slimy, sheet-like mat | Fine, dusty, powdery film | Slimy, often with long, stringy mucus strands |
| Behavior | Lifts off in a single sheet; persists overnight | Easily blows off surfaces; disappears at night | Can have visible bubbles; recedes at night |
| Bubbles | Small, trapped oxygen bubbles on the surface | None | Often has larger, more prominent air bubbles |
This table should give you a good starting point, but the real test is how it behaves when you try to remove it.
The single best way to identify cyanobacteria is by its structure. When you try to remove it, it comes off in a single, cohesive sheet or mat, almost like you're peeling a slimy blanket off the sand. Other algae and organisms just don't do that.
If you can grab a corner with your siphon and watch it lift off in one piece, you can be almost certain you're dealing with cyano.
The Underlying Causes of an Outbreak
Knowing what cyano looks like is only half the battle; you also have to understand why it showed up in the first place. Think of it as an opportunistic pest that exploits specific weaknesses in your reef tank's balance.
The primary culprits behind an outbreak almost always fall into one of these categories:
- Nutrient Imbalance: This is the big one. While high nitrates and phosphates are a common trigger, tanks with "zero" readings are also prime candidates. Cyano thrives on imbalance. When one of these key nutrients bottoms out while the other is still available, cyanobacteria can step in and take over.
- Low Water Flow: Cyano absolutely loves settling in "dead spots" where water movement is minimal. In these quiet zones, detritus and dissolved organics pile up, creating the perfect buffet for it to feast on.
- Inconsistent Maintenance: Skipping water changes, letting your filter socks get nasty, or never cleaning your sandbed all contribute to the buildup of organic waste that cyano uses as fuel.
- Lighting Spectrum: This is less of an issue with modern LEDs, but older T5 or metal halide bulbs with an expired or improper spectrum have long been known to encourage cyanobacteria growth.
By figuring out which of these factors are at play in your own tank, you can shift from just treating the symptom (the slime) to fixing the problem at its source. For more strategies that work well alongside a cyano-fighting plan, check out our guide on reef aquarium algae control tips at home.
Mastering Nutrient and Flow Management

While it's tempting to reach for a chemical fix for a quick knockdown, that's just treating the symptom. A truly cyano-free reef tank is built on a foundation of stability, and that starts with getting a handle on your nutrients and water flow. This is the real, sustainable path to kicking cyanobacteria to the curb for good.
The goal is simple: create an environment where cyano just can't get a foothold. You want to starve it out and blow it away before it ever has a chance.
At its core, a cyano outbreak is almost always tied to an imbalance of nitrates (NO3) and phosphates (PO4). These bacteria are masters of exploiting nutrient chaos. They can pop up in a dirty tank with sky-high nutrients, but they're just as happy to appear in an "ultra-low nutrient" system where one of those key nutrients has bottomed out to zero while the other is still present. That imbalance is the open door they've been waiting for.
This isn't just a reefer's problem; it's a global one. The exact same principles are used to fight massive cyanobacteria blooms in lakes and rivers. Those blooms thrive on excess nitrogen and phosphorus runoff. In fact, global studies have found that just getting phosphorus under control can slash the frequency and intensity of these blooms by as much as 70% in large lakes. We can apply that same "cut off the fuel" strategy right in our own glass boxes.
Dialing in Your Nutrient Export
The mission isn't to chase absolute zero on your test kits. That often causes more problems than it solves. Instead, you're aiming for a stable, balanced, and consistently low-nutrient environment. This means your nutrient "export" methods need to be working harder than the "import" (food, waste, etc.).
Your Protein Skimmer: The First Line of Defense
Think of your protein skimmer as the non-stop workhorse of your filtration system. Its job is to pull out all the nasty dissolved organic compounds before they have a chance to break down into the nitrates and phosphates that fuel cyano.
- Go for Dark, Dry Gunk: If your skimmer is producing a light-colored, watery liquid, you're just pulling out saltwater. Tweak the settings to get a dark, thick, stinky skimmate. That’s the concentrated waste you want out of your tank.
- A Clean Neck is a Happy Neck: A dirty, gunked-up skimmer neck can cut its efficiency in half. Give it a quick wipe-down every few days to keep it running at peak performance.
GFO and Carbon: The Dynamic Duo
Granular Ferric Oxide (GFO) is a magnet for phosphates, and activated carbon is fantastic for polishing the water and removing dissolved organics. But you have to use them right.
- Get a Reactor: Don't just toss a media bag in your sump and hope for the best. A dedicated media reactor tumbles the GFO and carbon, ensuring water makes contact with every last bit of surface area. It's a night-and-day difference in effectiveness.
- Go Easy on GFO at First: GFO can strip phosphates out of the water so fast it can shock your corals. Start with half the manufacturer's recommended dose and test your phosphate levels every couple of days to see how your tank responds.
- Swap It Out on Schedule: Once GFO is full, it's just a rock. It stops working. Plan on replacing your media every 4-6 weeks or whenever you notice phosphate levels starting to creep back up.
The biggest mistake I see reefers make is letting their nutrient export gear become a nutrient source. An overflowing skimmer cup that dumps back into the sump or a filter sock that's been clogged for a week is actively working against you. Consistency is everything.
Nitrate is the other half of this equation. For a deeper dive into tackling it, check out our complete guide on how to reduce nitrates in a saltwater aquarium with practical tips.
Waging War on Dead Spots
Nutrient control is only half the battle. Cyanobacteria is a flimsy, weak organism that simply cannot settle and grow in areas with good water movement. It almost always shows up in "dead spots" where the flow is sluggish, allowing detritus to pile up.
Your job is to become a flow detective. Look for the valleys and corners in your tank where waste settles. It's usually behind your rockwork, in the back corners, or at the base of coral colonies. These are the cyano hotspots.
Your powerheads are your weapons in this war. The goal is to create random, chaotic flow that keeps particles suspended in the water column so your filtration can grab them.
- Create Turbulence: Instead of aiming all your pumps in one direction, point them towards each other. This collision of currents creates the kind of turbulent, unpredictable flow that pests hate.
- Bounce Flow Everywhere: Aim one powerhead towards the surface for good gas exchange, and point another down your rockscape to lift detritus off the rocks and sand.
- Upgrade to a Wavemaker: If you can, investing in a controller that varies the speed and pulse of your powerheads is a game-changer. Those shifting flow patterns are far more effective at preventing dead spots than a constant, steady stream.
Here’s a perfect real-world example: A reefer I know had a stubborn patch of red cyano in the back-left corner of their tank. Their parameters were perfect, but it just wouldn't budge. The fix? A single, tiny powerhead aimed directly at that corner. Within two days, the detritus was gone, and the cyano vanished a day later. It never came back.
Combine aggressive nutrient export with relentless, random flow, and you create a system where cyanobacteria is not only outcompeted for food but is physically unable to find a place to land.
Getting Your Hands Dirty: Immediate Cyano Control Tactics
While you're working on the long-term fixes like nutrients and flow, that ugly red slime currently blanketing your sand and rocks needs to go. Now. Physically removing the cyanobacteria is your frontline assault—it not only makes the tank look better instantly but also pulls the nutrients locked inside the bacteria right out of your system.
https://www.youtube.com/embed/KAr-z9bJ0WI
The best way to tackle it is simple and direct: siphoning. Grab a gravel vac or just a piece of airline tubing during your next water change and suck those slimy sheets straight off the sandbed and rockwork. Be methodical. Try to lift the mats up in whole pieces if you can, which helps prevent you from just blasting spores all over the tank.
Don't want to do a full water change just to remove cyano? No problem. You can easily recycle the water. Just run the end of your siphon hose into a filter sock draped over a bucket. The sock will catch all the thick cyano gunk, and the clean water that passes through can go right back into the aquarium.
The Three-Day Blackout Secret Weapon
If you're facing a more serious outbreak that's taken over a good chunk of your tank, a blackout is one of the most effective, chemical-free tools you have. Cyanobacteria is photosynthetic, meaning it absolutely depends on light to live and spread. Take away the light, and you starve it out.
A three-day blackout is the gold standard. It's just long enough to cripple the cyano but short enough that most corals can handle it just fine. Your fish and inverts won't even notice.
Think of a blackout as hitting the reset button on your tank's ecosystem. It breaks the cycle of photosynthesis fueling the cyano, giving you a critical window to get control while you fix the root causes.
But a successful blackout is more than just flipping a switch. You need to prep your tank to make sure the process is both safe for your livestock and devastating for the cyano.
Your Three-Day Blackout Action Plan
Follow these steps exactly to knock back the bloom while keeping your reef inhabitants safe and sound.
Day 0: Prep is Everything
- Siphon, Siphon, Siphon: Before you do anything else, manually remove as much of that red slime as you possibly can. The less cyano there is to die and rot in the tank, the better.
- Boost Aeration: This is the most important step for protecting your fish. As the cyano dies off, it will consume a ton of oxygen. Add an airstone or aim a powerhead at the water's surface to maximize gas exchange and keep oxygen levels up.
- Stop Dosing: Hit pause on your alkalinity, calcium, and trace element supplements. Without light, your corals' metabolism will slow way down, and they won't be using these elements. Continuing to dose could lead to a dangerous overdose.
Day 1: Lights Out
It’s go time. Turn off all your aquarium lights. For this to really work, you need to block all ambient room light, too. Cover the tank completely with thick blankets, towels, or even cardboard. You want it pitch black in there—no light leaks.
Day 3: The Big Reveal
After a full 72 hours, you can take off the covers and turn the lights back on. Don't be shocked if the water is a bit cloudy—that's totally normal. Your corals might look a little pale or retracted, but they should bounce back and open up within a few hours.
The cyanobacteria should be mostly gone, maybe leaving behind some pale, dead-looking patches. Do another water change and siphon out any of that leftover gunk. This is the perfect moment to introduce some biodiversity to help keep it from coming back. Adding different species of copepods can help clean up the detritus and leftover organics that cyano loves. While you won’t find a cleanup crew member that eats cyano directly, you can learn more about how different grazers contribute in our guide to the best algae eaters for a reef aquarium.
These immediate tactics give you a clean slate, which makes your long-term prevention efforts so much more effective.
Using Chemical Treatments Safely and Effectively
Alright, let's talk about the nuclear option. Sometimes, despite your best efforts with nutrient control and manual removal, a cyano outbreak just digs in its heels. When you've tried everything else and the red slime is still winning the war, a targeted chemical treatment might be the only way to get back on track.
This should always be your last resort, not your first move.
Think of it this way: chemical treatments don't fix the underlying problem. Instead, they act like a hard reset. They can completely wipe out the existing bloom, giving you a clean slate to finally get ahead of the nutrient and flow issues that caused the outbreak in the first place.
The key is to approach this with a healthy respect for the risks and a solid plan to support your tank's delicate ecosystem through the process.
Understanding the "Cyano Nukes"
When you hear reefers talk about products like Chemiclean or Red Cyano RX, they're referring to treatments that are erythromycin-based. This is a type of antibiotic, and it’s brutally effective against the bacteria causing your outbreak.
Because cyanobacteria is, well, bacteria and not algae, these products can obliterate it without harming your corals or inverts—but only when used correctly. This power comes with a major risk you absolutely must prepare for.
When that massive population of cyanobacteria dies off all at once, its decomposition sucks a huge amount of oxygen out of the water. This sudden crash in dissolved oxygen levels can be catastrophic, suffocating your fish and anything else that breathes.
Safety is paramount. The single most critical step when using any erythromycin-based treatment is to dramatically increase aeration. An airstone running at full blast isn't a suggestion—it's mandatory safety equipment for this procedure.
To pull this off safely and effectively, you need to follow these precautions to the letter:
- Add an Airstone: Get an active airstone into your display tank or sump. You want it churning the water surface to maximize gas exchange.
- Turn Off Your Gear: Your protein skimmer, GFO, and carbon reactors will just remove the medication, so turn them off. The same goes for any UV sterilizers or ozone.
- Follow Dosing Instructions Exactly: This is not the time to eyeball it or add "a little extra for good measure." Overdosing puts your entire tank at risk.
- Prep a Water Change: Before you even start, have saltwater mixed and ready for a large water change (25-40%) the moment the treatment period ends. This helps get the dead cyano and leftover medication out.
Using these treatments is a serious step, but when you're prepared, it can give you the reset your aquarium desperately needs.
Spot Treating with Hydrogen Peroxide
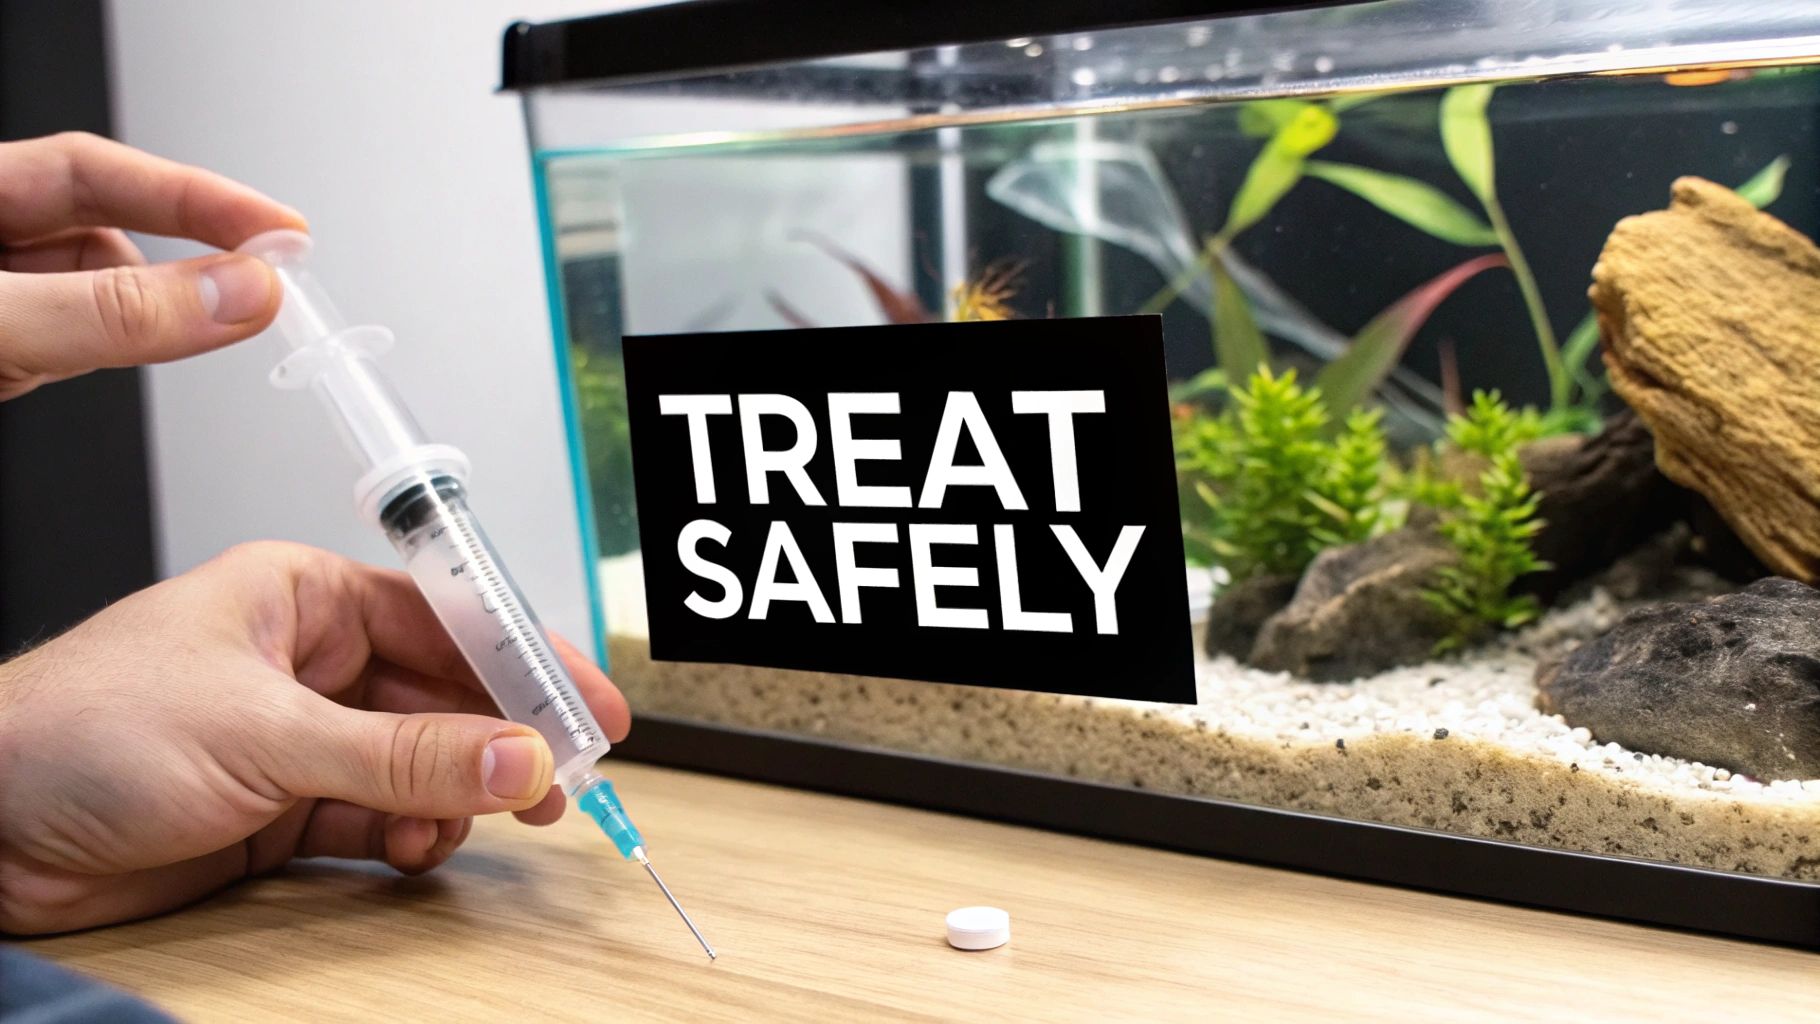
For smaller, more stubborn patches of cyano that just won't quit, spot treating with hydrogen peroxide (H2O2) offers a much more targeted approach. This is less of a full-on assault and more of a surgical strike, letting you avoid dosing the entire tank.
The process is simple: use a syringe or pipette to apply a small amount of 3% hydrogen peroxide—the regular stuff in the brown bottle from any pharmacy—directly onto the cyano mats. You'll see the cyano start to fizz and bubble as the H2O2 rapidly oxidizes and kills it.
This isn't some new-fangled reefing hack; using hydrogen peroxide to control cyanobacteria is one of the oldest tricks in the book. Scientific studies on large bodies of water have shown that H2O2 can be incredibly effective at knocking back cyanobacterial blooms, even at very low concentrations. The key, as explained in research about how hydrogen peroxide works on cyanobacteria, is using controlled doses to suppress the target bacteria without harming other organisms.
Safe Dosing for Spot Treatments
When you're spot treating, less is always more. The goal is just to kill the cyano without stressing out nearby corals or fish.
- Kill the flow. Turn off every pump and powerhead. You need the water to be perfectly still so the peroxide stays concentrated on the target.
- Calculate your dose. A safe and effective starting point is 1 mL of 3% hydrogen peroxide for every 10 gallons of total water volume. Do not exceed this dose in a single day.
- Apply slowly and directly. I like to attach a piece of rigid airline tubing to a syringe to get right up to the cyano. Gently release the H2O2 right onto the slime. It should start bubbling almost instantly.
- Wait it out. Give the peroxide 15-20 minutes to work its magic before you turn the pumps back on. This gives it enough contact time before it disperses throughout the tank.
This method is fantastic for those annoying patches on the sandbed or on rocks away from your prized corals. Always be careful not to squirt the H2O2 directly onto coral tissue, as it can cause chemical burns.
And remember, after any chemical treatment, the root cause is still there. Now that you have a clean slate, it's time to double down on fixing the nutrient or flow issues so you can build a tank that's naturally resistant to the next outbreak.
Building a Cyano-Proof Reef for the Long Term
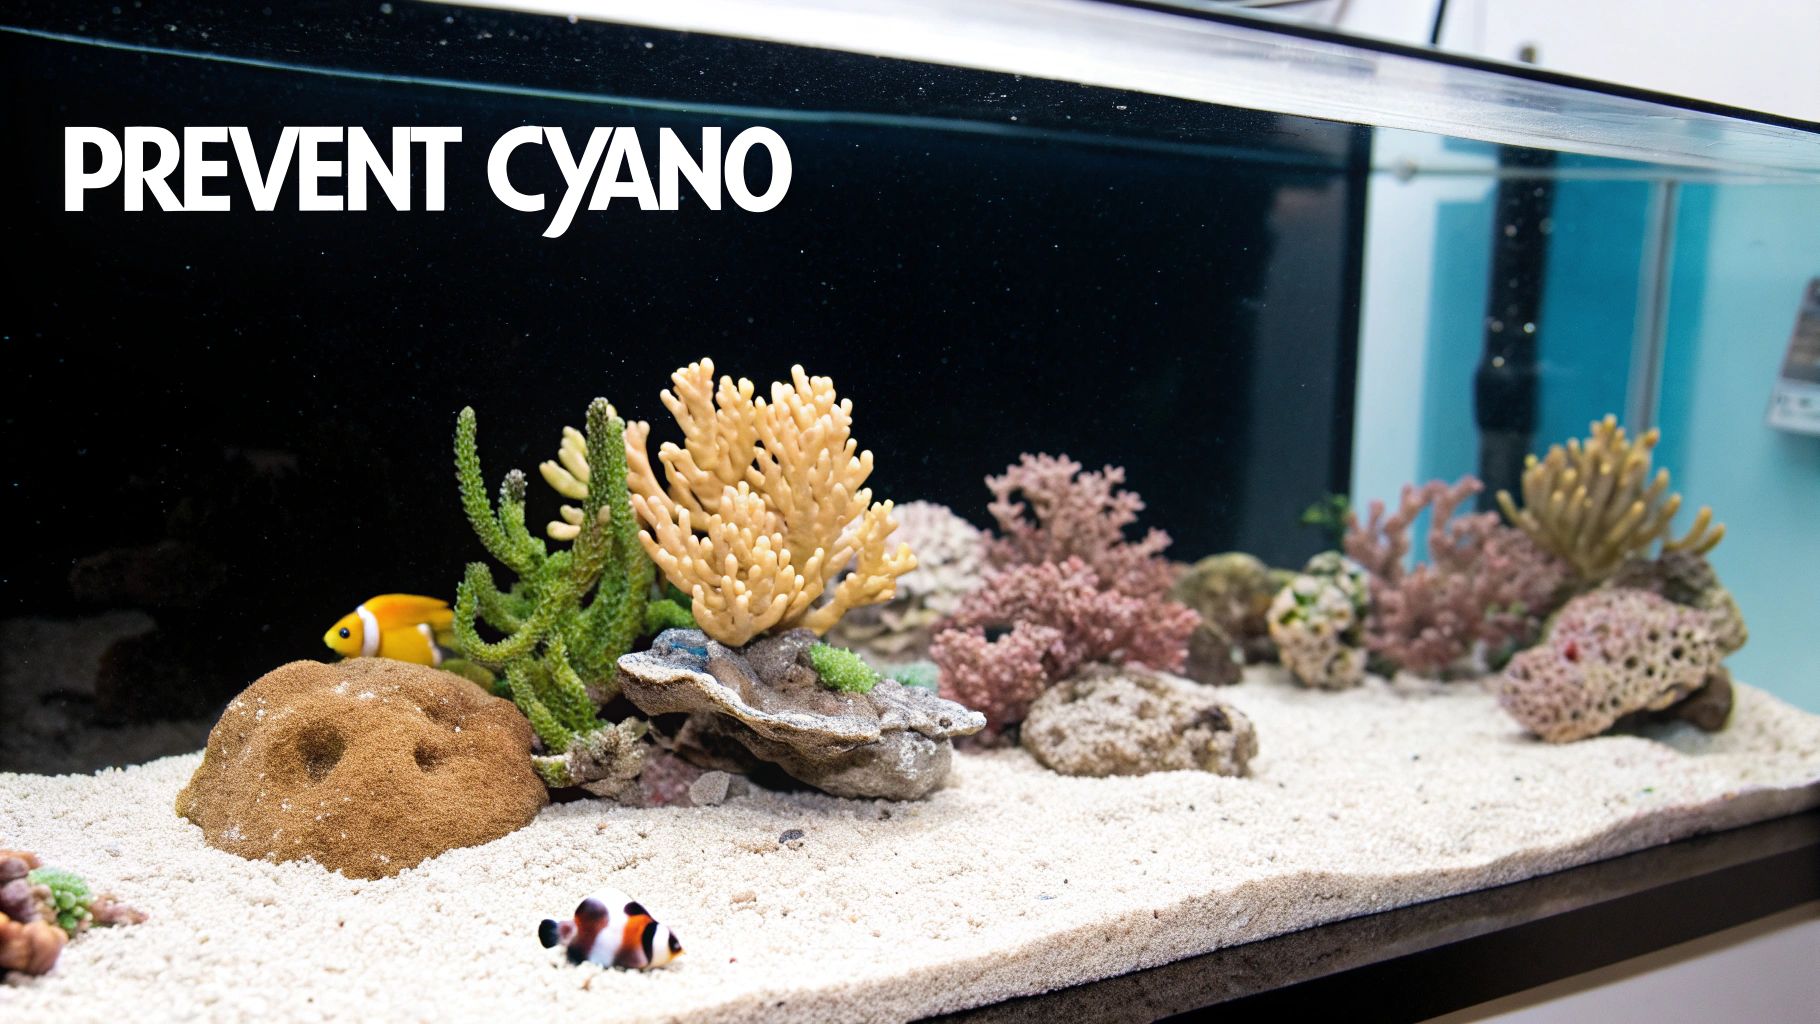
Beating a cyanobacteria outbreak feels great, but the real win is building a tank where it struggles to come back. This is where we shift from frantically scrubbing rocks to proactively managing the entire ecosystem. A cyano-proof reef isn't about magic potions; it's about consistency, balance, and making your tank an environment where cyano is always outcompeted.
This isn't a quick fix. It's about developing a set of smart, sustainable habits. When you get these right, you create a system where beneficial life thrives, leaving no room for pests like cyano to get a foothold.
Foundational Stability Through Maintenance
Your absolute first line of defense is a rock-solid, predictable maintenance routine. Sporadic, chaotic care is exactly the kind of instability cyanobacteria loves. Think of consistent water changes, timely filter media swaps, and diligent detritus removal as non-negotiable pillars of a healthy tank.
The quality of your source water is a huge piece of this puzzle. Every single top-off and water change needs to be done with high-quality RO/DI water that reads 0 TDS (Total Dissolved Solids). It’s so easy to let those RO/DI filters run too long, but when you do, you're just pumping silicates and phosphates—premium cyano fuel—right back into your tank. A TDS meter isn't a "nice-to-have" gadget; it's essential gear in this fight.
The most powerful weapon against any aquarium pest is a healthy, diverse microbiome. When beneficial bacteria and microfauna occupy every available surface and niche, there’s simply no space or food left for cyanobacteria to move in.
By strictly controlling what goes into your aquarium from the start, you stop the slow buildup of nutrients that eventually ignites an outbreak. This solid foundation makes every other preventative step you take infinitely more effective.
Bolstering Your Microbial Army
Imagine your reef tank as a microscopic battlefield. To prevent an invasion, you need a powerful army already on the ground, defending the territory. This is exactly what you do when you foster a robust population of beneficial bacteria and microfauna.
These good microbes are in a direct food fight with cyanobacteria, competing for the same dissolved organics, nitrates, and phosphates. By regularly seeding your tank with diverse bacterial strains, you ensure the good guys always have the upper hand, snapping up available nutrients before cyano ever gets a chance.
This strategy gets a massive boost from a healthy population of copepods.
* Detritus Control: Many copepod species are absolute machines when it comes to eating detritus. They're constantly cleaning your sandbed and live rock, removing organic waste before it can break down and fuel a bloom.
* Filling Niches: A thriving pod population covers the biofilm on every surface in your tank. This physical occupation leaves less real estate for unwanted pests to settle down and start growing.
An amazing way to kickstart this microbial diversity is by adding a blend of live copepods. The different species in a mix like PodDrop Ultimate Copepod Blend will spread out and inhabit different zones of the aquarium, from the sand to the rockwork. You end up with a comprehensive, resilient cleanup crew that works for you 24/7.
Smart Feeding and Cleanup Crew Choices
Finally, long-term prevention means being strategic about how nutrients enter your system. Overfeeding is probably the fastest way to spike phosphates and nitrates. Only feed your fish what they can greedily consume in a minute or two, and stick to high-quality foods that are less likely to foul the water.
When picking a cleanup crew, remember this: almost no common snail or crab actually eats cyanobacteria. So, instead of trying to find a cyano-eater, choose animals that are masters at managing other waste. Cerith snails are fantastic sand sifters, and Trochus snails are brilliant at keeping the rocks and glass clean. Their daily work prevents the buildup of the very waste that cyano feeds on.
Combine consistent maintenance, pure water, a diverse microbial team, and smart feeding, and you’ll create a reef that isn’t just surviving—it’s thriving. You’ll find yourself spending way less time battling pests and a lot more time enjoying the stable, beautiful aquarium you’ve worked so hard to build.
Your Top Cyanobacteria Questions, Answered
When you're fighting cyanobacteria, it feels like everyone on the forums has a different opinion. Sorting through the noise and conflicting advice is frustrating, to say the least. Let's cut through the myths and tackle the most common questions I hear from fellow reefers.
Think of this as your quick-reference guide to navigating your cyano battle with confidence. We'll make sure you're making the right moves for your reef's long-term health, not just chasing a quick fix that could cause more problems down the road.
Will Raising My Nitrates Get Rid of Cyano?
This is a classic piece of forum advice, and it's rooted in a concept called the Redfield Ratio. The theory goes that cyano thrives when your nitrates bottom out to zero but phosphates are still kicking around. So, some reefers try to dose nitrates to "balance" the ratio and starve out the cyano.
Frankly, this is a dangerous game that almost always backfires. You're far more likely to trade your red slime problem for a raging green hair algae outbreak. The safer, more reliable path is always to lower the available phosphates. Focus on nutrient reduction, not adding more fuel to the fire.
Can My Clean-Up Crew Eat Cyanobacteria?
It's a nice thought, but this is a persistent myth. Your typical clean-up crew members want absolutely nothing to do with cyanobacteria. Snails like Ceriths and Nassarius, along with nearly all hermit crabs, will steer clear of it. The slime is not only unpalatable but can also be toxic to many invertebrates.
You simply can't rely on a cleanup crew to solve a cyano outbreak. Your best tools are manual removal, getting your nutrients in check, and fixing any dead spots in your flow. Your cleanup crew is fantastic for dealing with leftover food and other types of nuisance algae—just not red slime.
While you might see a brave Cerith snail nibble on a brand-new patch, they will never make a dent in an established bloom. Don't waste your money buying a cleanup crew specifically to fight cyano; it's a losing battle and isn't fair to the animals.
Is It Safe to Use Chemiclean with Corals?
Products like Chemiclean are generally considered reef-safe and, when used exactly as directed, won't directly harm your corals. The real danger isn't from the chemical itself, but from what happens right after it works.
As the cyanobacteria dies off all at once, the decomposition process sucks a massive amount of oxygen out of the water. This rapid oxygen crash can easily suffocate your fish and other tank inhabitants.
If you go this route, it is absolutely critical to crank up the aeration. Get an airstone bubbling and ensure you have strong surface agitation throughout the entire treatment. While most corals handle it okay, sensitive SPS can definitely show signs of stress. Always treat chemical solutions as a last resort, and be ready with a big water change if things start to look bad.
At PodDrop Live Aquarium Nutrition, we're all about building a resilient ecosystem from the ground up. By seeding your tank with a diverse population of live copepods, you create a stable microfauna that naturally outcompetes pests for resources. This is the foundation of a truly cyano-proof reef. Check out our blends at https://www.getpoddrop.com to build your biological defense today.