


A Practical Guide to algae control saltwater aquarium: Tips & Techniques
- fabianbehague
- Dec 6
- 18 min read
Fighting algae in a saltwater tank isn't about declaring chemical warfare. It's about creating a balanced world where nuisance algae simply can't get a foothold. The real secret is getting ahead of the problem by managing nutrients, controlling your lighting, and maintaining a robust clean-up crew. This shifts the whole game from constant, reactive cleanups to sustainable, long-term prevention.
Why Proactive Algae Management Is a Game Changer
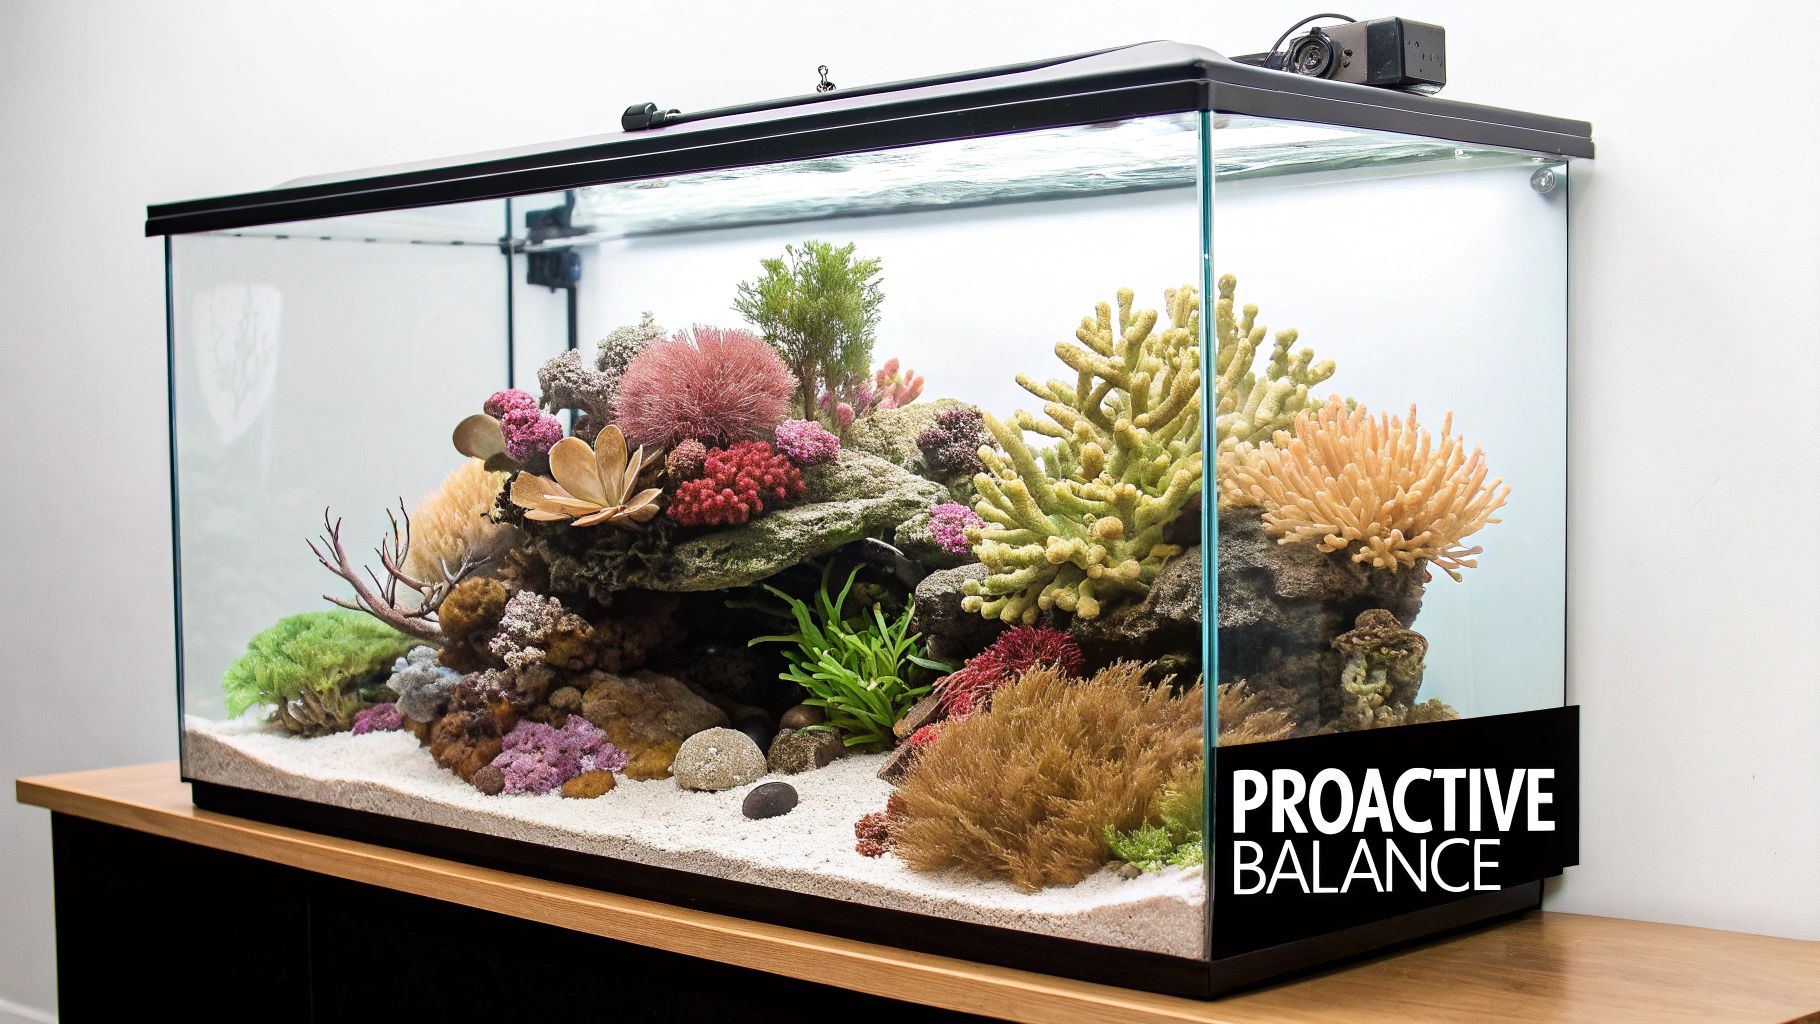
Too many reefers get stuck in a frustrating loop: scrape the glass, siphon the slime, dose some chemicals, and watch it all come roaring back. This approach treats the algae itself as the enemy, but that's a fundamental misunderstanding of what's happening in your tank. Nuisance algae is just a symptom—a big, green, ugly sign that your aquarium's delicate ecosystem is out of whack.
A proactive strategy changes the goal entirely. You're not aiming for a sterile, algae-free box. Instead, you're building a healthy, resilient reef where good things, like coralline algae and beneficial microfauna, flourish and actively outcompete the pests for resources.
The Core Principles of Proactive Control
At its heart, this approach is all about mastering the trifecta of light, nutrients, and flow. Get these three things dialed in, and you're pulling the rug out from under nuisance algae.
Nutrient Limitation: Algae needs fuel to grow, and its favorite foods are nitrates and phosphates. By being smart about feeding, running efficient filtration, and staying on top of maintenance, you're essentially putting the algae on a starvation diet.
Light Management: Just like your corals, algae is photosynthetic. The trick is to fine-tune your lighting schedule and spectrum to favor coral growth, not fast-growing pests. You want to give your corals what they need without throwing an all-you-can-eat buffet for the algae.
Biological Competition: A thriving population of beneficial bacteria, copepods, and a diverse clean-up crew are your best allies. They consume waste and take up real estate, leaving no room for nuisance algae to move in and take over.
The ultimate goal is not a tank that's completely sterile. It's a tank where the balance is tipped so heavily in favor of your corals, fish, and beneficial critters that pest algae just can’t find a foothold.
This guide will give you a clear roadmap to get there. We’ll move past the temporary fixes and debunk some common myths, giving you the power to implement real, sustainable solutions. You'll learn how to identify the specific algae plaguing your tank, figure out the root cause, and apply targeted strategies that actually work for the long haul. The result? A more stable, beautiful reef that requires way less frantic scrubbing and offers a whole lot more enjoyment.
Know Your Enemy: Identifying Common Saltwater Algae
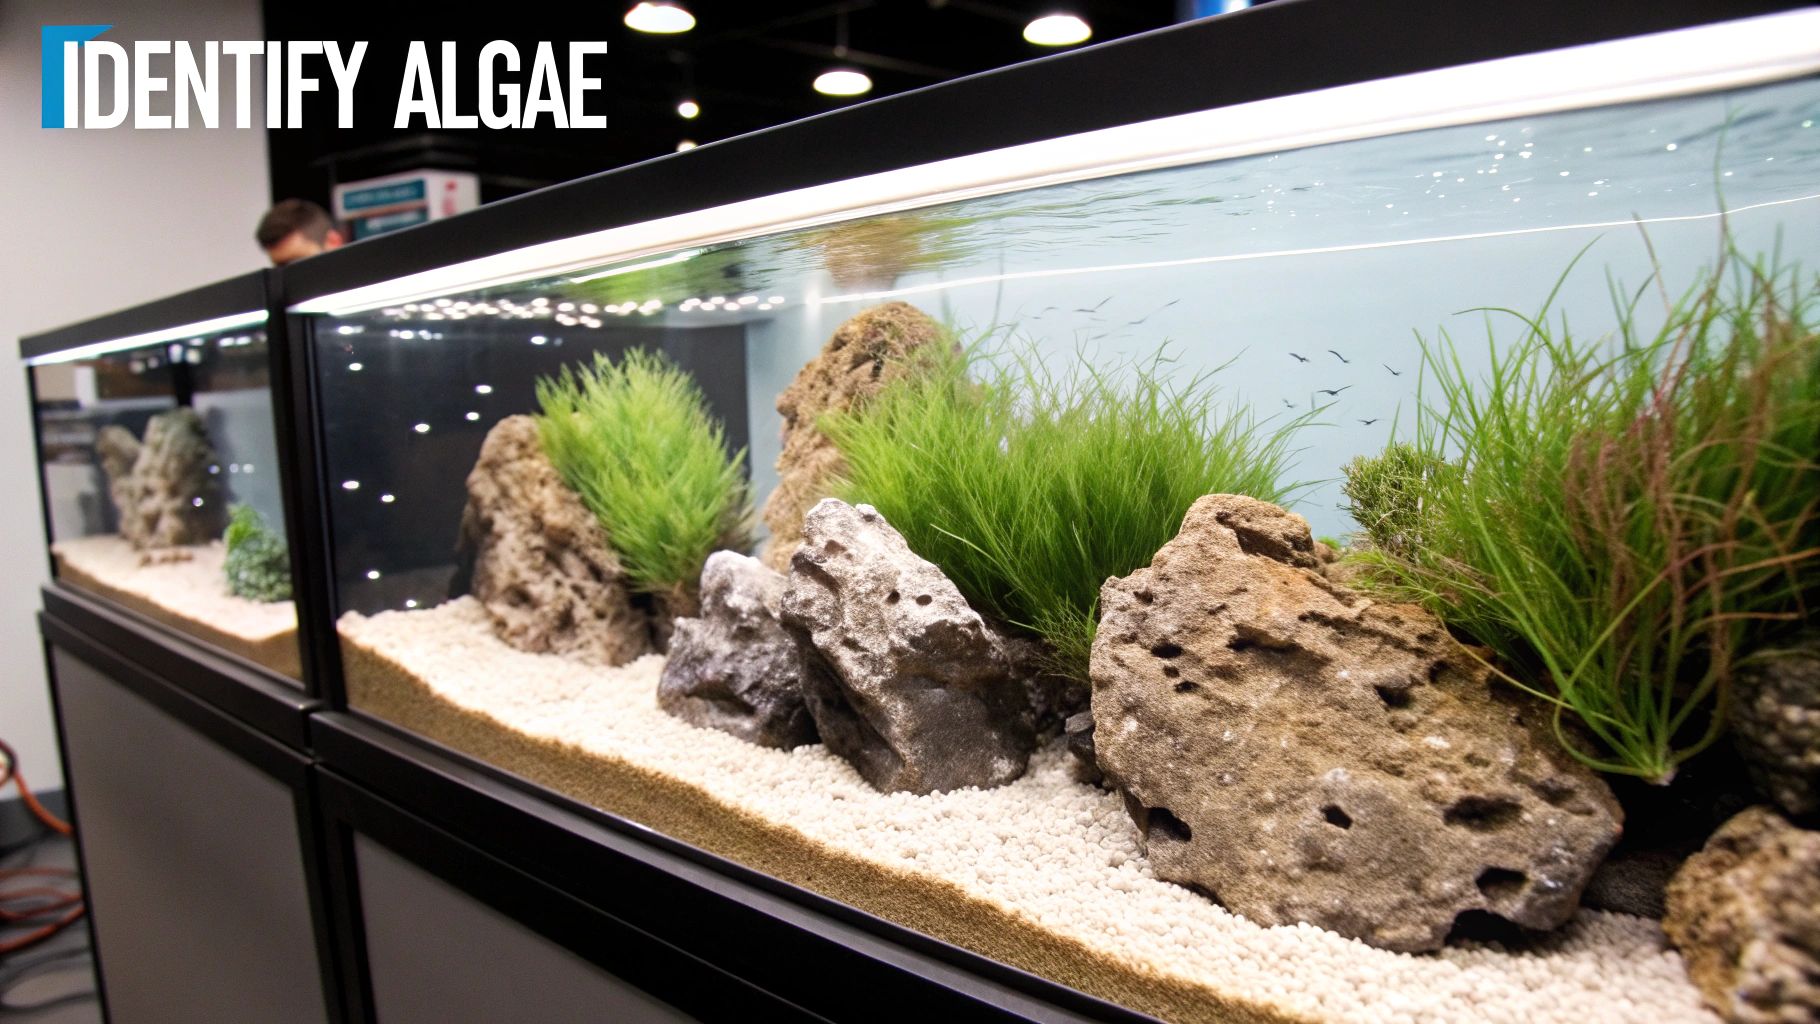
Before you can win the war against nuisance algae, you have to know exactly what you're fighting. This is non-negotiable. Trying to fix a Bryopsis problem with a GHA solution is like bringing a knife to a gunfight—it's just not going to work.
Every type of algae has a different playbook. They thrive on different things and, more importantly, have different weaknesses. Identifying the specific algae plaguing your tank is the critical first step. It lets you stop guessing and start targeting the root cause of the problem, saving you a ton of time, money, and frustration.
Green Hair Algae (GHA) vs. Bryopsis
At first glance, these two look like twins. Both show up as green, stringy growths that can quickly blanket your rockwork. But that's where the similarities end.
Green Hair Algae (GHA) is your garden-variety nuisance. It feels soft, grows in thread-like strands, and your cleanup crew—think snails and tangs—will usually mow it down without much fuss.
Bryopsis, however, is the more sinister cousin. Get up close, and you'll see a more complex, almost fern-like structure. This structure makes it tough for most herbivores to get a grip on. If you see your snails giving that green fuzz a hard pass, you're probably looking at Bryopsis. We go deep into this common pest in our definitive guide to beating hair algae in a saltwater tank.
Fuel for GHA: This one loves a dirty tank. Its primary fuel is elevated nitrates (NO3) and phosphates (PO4).
Fuel for Bryopsis: It also feeds on nitrates and phosphates, but it's notoriously stubborn and often requires more than just nutrient control to eradicate.
Cyanobacteria: The Red Slime
First thing's first: Cyano isn't actually algae. It's a photosynthetic bacteria that forms slimy, deep red or sometimes blackish-green mats across your sand, rocks, and even corals. You'll often spot tiny oxygen bubbles trapped inside its gross, slimy sheets.
Cyano is a total opportunist. It’s a huge red flag that something is out of whack in your tank, often pointing to low-flow areas where detritus and organic waste have built up. It can pop up in tanks with high nutrients or even in clean tanks that have poor flow.
An outbreak of Cyanobacteria is a clear signal that something is amiss with your tank's biological balance and flow. It often indicates an accumulation of dissolved organic compounds that beneficial bacteria aren't processing effectively.
Bubble Algae (Valonia)
You can't miss this one. Bubble Algae shows up as shiny, green, pearl-like spheres that pop up on rocks and around the base of corals. These "bubbles" can be tiny or grow to the size of a marble, but each one is a single-celled organism just waiting to spread.
The biggest mistake people make is popping them in the tank. When a bubble bursts, it releases thousands of spores into the water, and you can quickly go from a few bubbles to a full-blown infestation. The only safe way to remove it is to gently pluck the entire bubble from its base during a water change.
Dinoflagellates: The Dreaded "Dinos"
Ask any seasoned reefer what they fear most, and "Dinos" will likely be the answer. This pest is a nightmare. It can look like stringy, snot-like brown strands filled with air bubbles, or it might appear as a dusty brown film that coats everything during the day and vanishes at night.
Here’s the kicker: Dinos often show up in tanks that are too clean, where nitrates and phosphates have bottomed out to zero. This is where identification is everything. You treat most algae by lowering nutrients, but with Dinos, you often need to raise them to help beneficial bacteria and microfauna outcompete the dinoflagellates. A microscope is the only way to be 100% sure you're dealing with Dinos, but their unique behavior is a strong clue.
To help you get a quick read on what might be happening in your tank, here's a simple chart to get you started.
Saltwater Nuisance Algae Identification Chart
Algae Type | Common Appearance | Primary Fuel Source | Recommended First Action |
|---|---|---|---|
Green Hair Algae (GHA) | Soft, green, thread-like strands | High Nitrates & Phosphates | Manual removal & reduce nutrient input |
Bryopsis | Fern-like or feathery green tufts | Nitrates, Phosphates, Trace Elements | Manual removal, consider specific treatments |
Cyanobacteria | Slimy red, black, or green mats | Low flow, accumulated organics | Increase flow, siphon out mats, check nutrients |
Bubble Algae | Green, pearl-like bubbles/spheres | Light & available nutrients | Carefully pluck whole bubbles during water change |
Dinoflagellates | Brown, snotty strings with bubbles or dusty film | Zero Nitrates & Phosphates (usually) | Confirm with microscope, consider raising nutrients |
This chart is your starting point. Proper identification is the first, most crucial step in creating a targeted plan of attack to get your tank back to being pristine.
Your First Line of Defense: Manual Removal Tactics
When you spot that first unwelcome patch of algae, your immediate, hands-on response can be the difference between a minor cleanup and a full-blown tank takeover. Getting in there and physically removing the algae is your frontline defense. It's satisfying, gives you an instant visual win, and, if you do it right, can seriously slow down an outbreak.
But this isn’t about just scrubbing wildly. It's a tactical strike. The whole point is to get the algae and the nutrients it has consumed out of the tank, not just break it up and let it float around to seed new colonies elsewhere. Different types of algae demand different approaches, and having the right tools makes all the difference.
Gearing Up for the Algae Battle
Your toolkit doesn't need to be complicated, but a few key items will make the job much faster and more effective. Think of these as your essential weapons against unwanted green stuff.
Magnetic Glass Scrapers: A quality mag-float is your daily workhorse. It’s perfect for keeping the viewing panes crystal clear without getting your hands wet.
Blade Scrapers: For the really stubborn stuff like calcified coralline algae or tough green spot algae, nothing beats a long-handled scraper with a sharp blade. Just be extremely careful with acrylic tanks—these will scratch them in a heartbeat.
A Simple Toothbrush: Seriously. An unused, medium-bristle toothbrush is probably the best tool out there for scrubbing textured live rock. It gets into all the nooks and crannies without damaging the rock's surface or any of the beneficial life on it.
Tweezers or Hemostats: Long-handled tweezers are a lifesaver for plucking out stringy, stubborn algae like Bryopsis from tight spots around your precious corals.
A Siphon Hose: This is non-negotiable. You need this to suck out all the algae you dislodge, making sure it doesn't just resettle and start growing again somewhere else.
I see this all the time: someone scrubs their rockwork vigorously, clouds up the whole tank, and then wonders why the algae is back with a vengeance a few days later. The key is removal and export, not just displacement. Always, always plan to siphon out what you scrub off.
Techniques for Common Algae Types
How you remove the algae is just as important as what you use. A clumsy approach can release a cloud of spores and turn a small, localized problem into a tank-wide disaster.
Green Hair Algae (GHA) is best dealt with using the 'twist and pull' method. Grab a toothbrush or your tweezers and twirl the strands like you’re making a forkful of spaghetti. This helps you pull it off in larger clumps and minimizes fragmentation. The second it's dislodged, get your siphon in there and suck it right out.
Bubble Algae (Valonia) requires a surgeon’s precision. The absolute worst thing you can do is pop those little green bubbles in the tank, because that releases thousands of reproductive spores into the water. Instead, gently slide a tool under the base of the bubble and carefully pry the whole thing off intact. If one pops by accident, siphon that area immediately.
Cyanobacteria and Dinoflagellates are a different beast entirely. Since they form slimy mats, scraping just breaks them up and spreads them around. Your best bet is to siphon them out directly from the sand and rockwork. Pro tip: you can run the siphon hose into a filter sock placed in a bucket. This catches the slime but lets you pour the (now clean) saltwater right back into your tank, saving you a bit of mixing.
The Power of Timing and Teamwork
Want to make your manual removal efforts even more effective? Combine them with your other maintenance tasks for a powerful one-two punch. The single best time to do a major algae scrub-down is right before a scheduled water change.
This strategy lets you siphon out the maximum amount of dislodged algae and the nutrient-rich water it was feeding on. You're literally exporting the entire problem—the algae and its food source—right out of your ecosystem.
This isn't just a hobbyist trick; it's a strategy used to restore actual coral reefs. In a massive project in Hawai‘i, researchers manually removed over 40,000 pounds of invasive macroalgae using an underwater vacuum. They followed that up by releasing nearly 100,000 native sea urchins to graze on what was left. The result? They cut the invasive algae by about 85%. It's a perfect real-world example of how combining physical removal with biological control is the most powerful path to success. You can actually read up on the full details of this effective reef restoration method.
Starving Algae Out by Mastering Nutrients and Lighting
Scraping and plucking give you that satisfying, instant win, but let's be honest—it’s a temporary fix. Winning the long war against algae means cutting off its supply lines for good.
Think of your reef tank as a battlefield. Your corals and the nuisance algae are locked in a constant fight for two key resources: nutrients and light. Your job is to become the master strategist, tilting the odds so heavily in your corals' favor that algae simply can't compete. This is the real core of proactive algae control in a saltwater aquarium. It’s not about a sterile, lifeless tank, but a balanced one where your prized inhabitants flourish and pests just fade away.
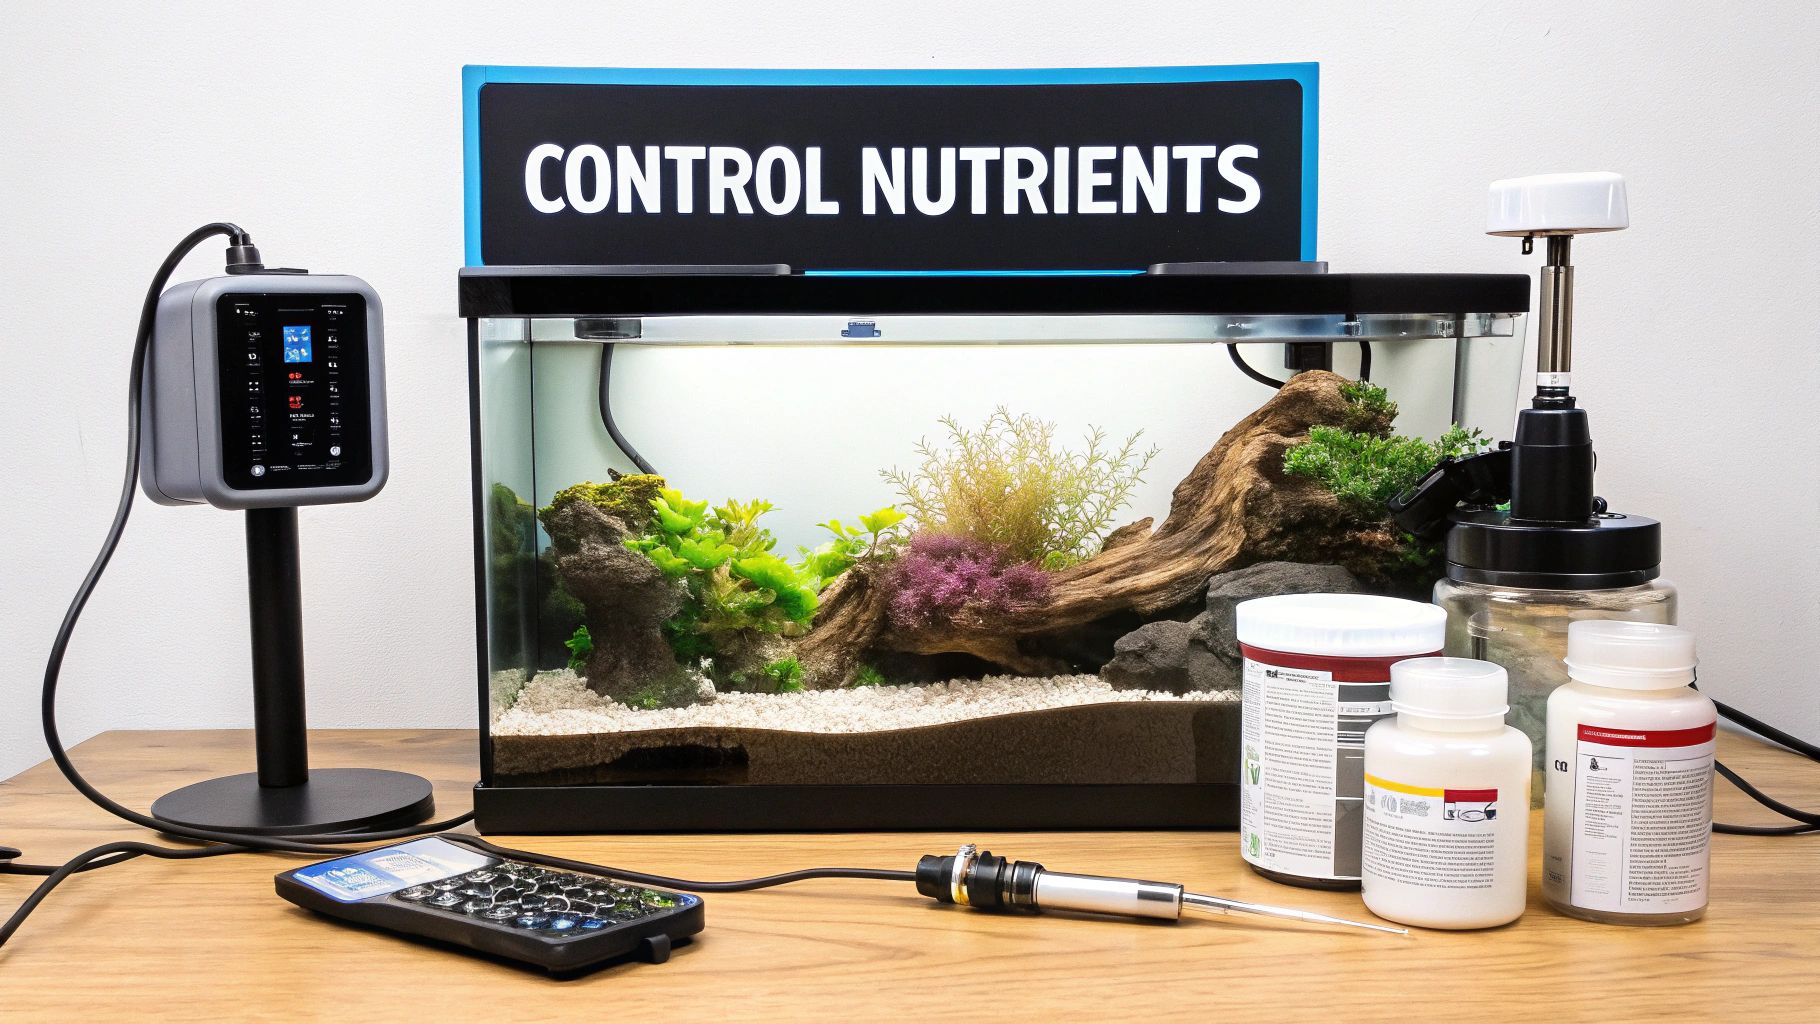
Pinpointing Your Nutrient Sources
The two main fuels for any algae bloom are nitrates (NO3) and phosphates (PO4). Before you can get them under control, you have to figure out where they're coming from. More often than not, the sources are hiding in your daily routine.
Overfeeding is the number one culprit. Every bit of uneaten food and excess fish waste breaks down directly into nitrates and phosphates. Likewise, if you're using unfiltered tap water for top-offs or water changes, you could be unknowingly pouring in a nutrient cocktail that algae loves.
A huge, often overlooked source of phosphates is the juice packed with your frozen foods. Rinsing frozen cubes in a small net with RODI water before feeding is a simple but incredibly effective habit to adopt.
Even your cleanup crew can turn against you. If a snail or crab dies in a hidden corner of your rockwork and starts to decompose, it releases a concentrated bomb of nutrients into the water column, easily triggering a new algae outbreak.
Effective Nutrient Export Strategies
Once you’ve clamped down on nutrient inputs, the next step is to aggressively export what’s already in the system.
Your protein skimmer is your single most important weapon here. A well-tuned skimmer pulls out dissolved organic compounds before they have a chance to break down into nitrates and phosphates.
Protein Skimmer: Don't settle for watery, light-tea-colored liquid in the cup. You want a consistent, dark, stinky "skimmate" that shows it's pulling out the nasty stuff effectively.
Water Changes: This is non-negotiable. A consistent schedule of 10-20% weekly water changes is fundamental for diluting accumulated nutrients and replenishing the trace elements your corals need.
Filter Media: Granular Ferric Oxide (GFO) used in a reactor is a powerhouse for chemically binding and removing phosphates. Just be sure to start with a small amount and increase it slowly to avoid shocking your system.
Managing these nutrients is what it's all about. As a general rule, aim to keep your nitrate levels below 10 ppm and phosphate levels below 0.05 ppm for a happy reef. This is a widely accepted target that keeps most nuisance algae at bay.
Nutrient Control Methods Comparison
Choosing the right nutrient export method depends on your tank's specific needs, your budget, and how much time you're willing to invest. Here’s a quick breakdown of the most common strategies to help you decide.
Method | Primary Target | Pros | Cons |
|---|---|---|---|
Protein Skimmer | Dissolved Organics | Removes waste before it breaks down; highly effective. | Initial cost can be high; requires regular tuning. |
Water Changes | Nitrates & Phosphates | Simple, reliable; replenishes trace elements. | Can be labor-intensive; cost of salt adds up. |
GFO Reactor | Phosphates | Extremely effective at phosphate removal. | Can strip phosphates too quickly; media needs replacing. |
Refugium | Nitrates & Phosphates | Natural, self-sustaining; hosts beneficial microfauna. | Requires dedicated space and lighting; slower to act. |
Carbon Dosing | Nitrates & Phosphates | Very effective at lowering nutrients to near-zero levels. | Requires a powerful skimmer; can cause bacterial blooms if overdosed. |
Ultimately, most successful reef tanks use a combination of these methods. A great skimmer and regular water changes form the foundation, with other methods like GFO or a refugium added to tackle specific nutrient issues.
Dialing In Your Aquarium Lighting
Lighting is the other half of the algae equation. Both algae and your corals are photosynthetic, which is where things get tricky. The goal is to provide enough light in the perfect spectrum for your corals to pop, without accidentally creating an ideal growing environment for algae.
Modern LED lights offer incredible control, which is both a blessing and a curse. It's all too easy to run them for too long or with the wrong spectrum, turning your tank into an algae farm overnight. Most reef tanks thrive on a total photoperiod of 8-10 hours, and that includes a gradual ramp-up and ramp-down to mimic dawn and dusk.
A classic mistake is blasting the white channel at a high intensity all day. While it makes the tank look bright and crisp to our eyes, many types of nuisance algae absolutely love it. Try prioritizing the blue and violet spectrums—not only does this make your corals' fluorescence look amazing, but it can also help discourage the growth of certain algae. If you're serious about it, a PAR meter is a fantastic tool for ensuring you're hitting the right numbers for your corals without going overboard.
Getting your nutrients under control is a huge piece of this puzzle. For more in-depth strategies, our guide on how to reduce nitrates in a saltwater aquarium offers a ton of practical tips.
Assembling Your Ideal Algae Clean-Up Crew
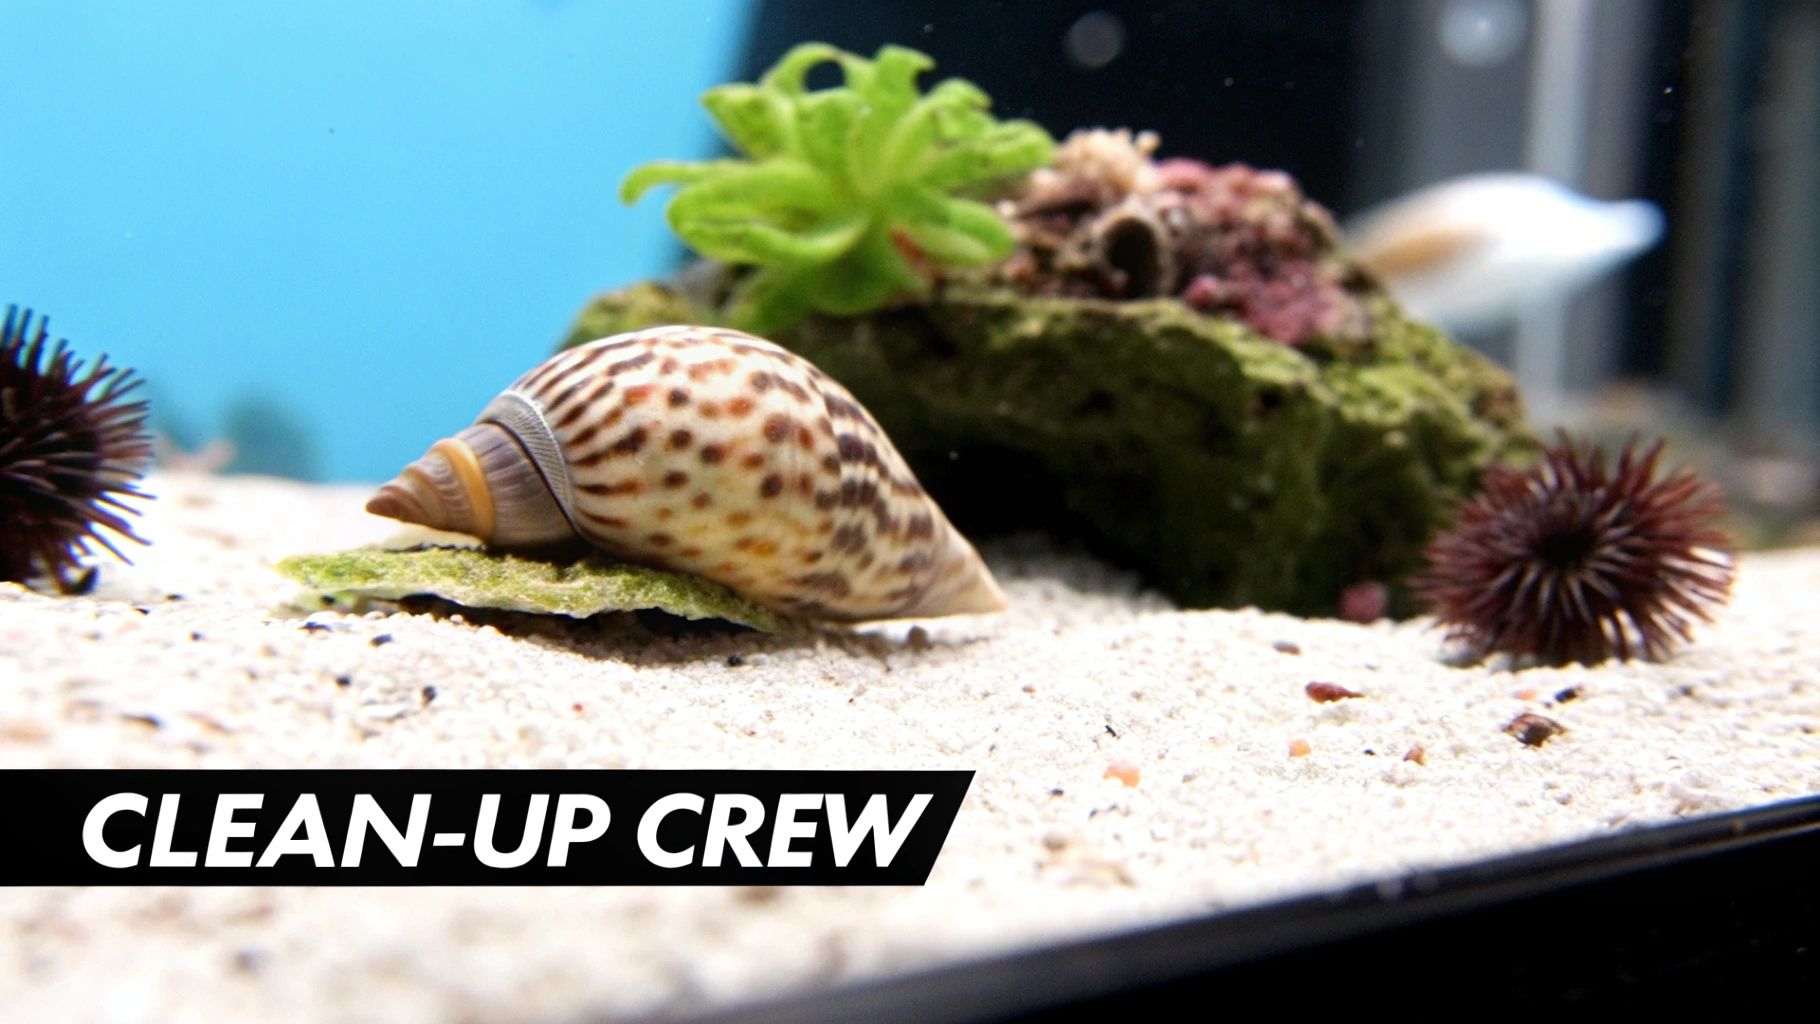
While you’re tweaking nutrients and dialing in your lights, your clean-up crew (CUC) is the boots-on-the-ground, 24/7 maintenance team. A well-chosen CUC is one of the absolute cornerstones of keeping algae in check. But here's the thing: building an effective crew is more art than science. It's about hiring specialists for specific jobs, not just dumping in a generic "reef pack" and hoping it works out.
A rookie mistake is thinking a snail is a snail or a crab is a crab. Couldn't be further from the truth. A diverse team with specialized roles will always outperform a huge group of a single species, ensuring every surface—from the glass to the tiny crevices in your rockwork—gets the attention it deserves.
Snails: The Bedrock of Your Crew
Snails are the undisputed workhorses of any CUC, but you need to know who you’re hiring for the job. You need a mix of glass cleaners, rock grazers, and sand sifters to get total coverage. A balanced snail population is your first and most critical investment.
Here are some of my go-to performers and their roles:
Trochus Snails: These guys are all-stars for wiping diatoms and film algae off your glass and rocks. A huge bonus is that they can flip themselves back over if they fall, which is a common problem for other snails.
Astrea Snails: Very similar to Trochus, Astrea snails are fantastic on rocks and glass. Their star-shaped shells let them wedge into tighter spots, but they're notoriously bad at righting themselves if they fall upside down.
Turbo Snails: When you have a serious hair algae problem, a Turbo snail is your heavy artillery. They have a massive appetite for GHA but they're also clumsy giants, known for bulldozing small frags and unsecured corals. Use with care.
Cerith Snails: Think of these as your detailers for the sand and rocks. Their elongated shells allow them to burrow into the substrate and get into tight crevices, eating detritus and leftover food that others miss.
Nassarius Snails: The ultimate sand sifters. These snails spend most of their time buried, erupting from the sand like something out of a horror movie the second they smell food. This constant churning keeps your sandbed clean and aerated.
Your CUC is a living, breathing part of your reef's ecosystem. Stock slowly and watch how they do. Adding too many critters at once can lead to starvation, causing a bigger problem when they die off and pollute the tank.
Crabs and Other Specialized Invertebrates
While snails are the foundation, a few other specialists can fill some critical gaps. But these additions often come with tradeoffs, so you have to choose wisely based on what's in your tank and what kind of algae you're fighting.
Hermit Crabs, like the Blue Leg or Scarlet Reef varieties, are amazing scavengers, picking at leftovers and some types of algae. The catch? They’re opportunistic and notorious for killing snails just to steal their shells. If you keep them, always have plenty of empty, slightly larger shells available.
Emerald Crabs are famous for one thing: their appetite for bubble algae. If you have a Valonia outbreak, an Emerald Crab can be a lifesaver. Just be aware that they are opportunistic omnivores, and larger ones might start nipping at corals or even small fish if they get hungry enough.
For more extreme algae situations, you might look at a Sea Hare or a Pincushion Urchin. Sea Hares can wipe out a hair algae infestation in days, but they often starve once the job is done, meaning you’ll likely need to re-home them. Urchins are incredible grazers that keep rockwork spotless, but they're clumsy, knock over corals, and will happily munch on your prized coralline algae right along with the bad stuff.
Beyond these larger janitors, a healthy population of microfauna like copepods is crucial. These tiny crustaceans are constantly eating detritus and film algae at a microscopic level, outcompeting pests for resources and building the foundation of a healthy food web.
While your CUC handles the surfaces, don't forget that certain fish can be powerful allies. To learn more, check out our guide to saltwater aquarium algae-eating fish, which covers the best herbivores to add to your team. By combining all these biological controls, you create a multi-layered defense that keeps nuisance algae from ever getting a foothold.
A Consistent Maintenance Routine Is Your Best Weapon
Winning the long game against nuisance algae isn't about some secret formula or a dramatic, one-time tank teardown. The real key to a clean, thriving reef tank is something far less glamorous but infinitely more powerful: consistency.
By building a simple, repeatable maintenance routine, you shift from constantly fighting fires to proactively managing your tank's ecosystem. This isn't about spending hours a day with your hands in the tank. It's about small, efficient habits that prevent problems before they even start. A solid routine is the foundation that makes every other strategy—from nutrient control to your clean-up crew—actually work.
Your Daily 5-Minute Check-In
Think of this as your morning coffee ritual for your reef. It’s a quick visual scan that tells you an incredible amount about the health of your system and acts as your first line of defense.
Quick Livestock Scan: Look over your fish, corals, and inverts. Are the fish out and active? Corals have good polyp extension? This simple headcount ensures everyone is safe and behaving normally.
Equipment Check: Is the skimmer pulling gunk? Are all the pumps humming along as they should? A silent powerhead or an overflowing skimmer cup is an easy fix when caught early but can snowball into a major headache if ignored.
Feeding Time Observation: Watch your fish when you feed them. Do they gobble everything up in a minute or two? If you consistently see food drifting down to the sandbed, you're overfeeding—and that's a direct delivery of nitrates and phosphates to your algae.
The Weekly Reset
This is the core of your maintenance schedule. It's where you actively pull nutrients out, reset your water chemistry, and keep your life support systems running at peak efficiency. Block out an hour every week—maybe Sunday afternoon—and make it a non-negotiable habit.
Test Your Water: This is mandatory. Test your core parameters: Alkalinity, Calcium, Magnesium, Nitrate, and Phosphate. Logging these numbers is the most important part. It helps you spot a slow creep in your nutrients long before the algae does.
Do a Water Change: A 10-20% water change is one of the best things you can do. It physically removes nitrates and phosphates while replenishing the trace elements your corals consume. It's a hard reset for your water chemistry.
Clean the Glass: Scrape every viewing pane, even if it looks clean. This stops stubborn green spot or coralline algae from getting a permanent foothold.
Service the Skimmer: Empty and clean the collection cup. A dirty skimmer neck is shockingly inefficient. A quick wipe-down ensures it's pulling out the maximum amount of nasty organic waste.
A maintenance log isn't just for data nerds. It's your tank's health record. Seeing your phosphate level slowly creep up from 0.03 ppm to 0.08 ppm over a few weeks is the early warning sign you need to prevent the hair algae outbreak that would otherwise follow.
Monthly System Deep Clean
Once a month, it’s time to give your hardware some love. Over time, pumps get clogged with biofilm, coralline algae, and other gunk, which can seriously reduce their flow.
Clean Your Pumps: Take apart your powerheads and return pump. A good soak in a vinegar or citric acid bath will dissolve all the crusty calcium buildup. A quick scrub with a brush, and they'll be running like new again.
Refresh Your Filter Media: If you're running GFO, carbon, or other chemical media, now's the time to check and replace it. Exhausted media is useless at best, and at worst, it can start leaching the very nutrients it trapped right back into your water.
Siphon Out the Gunk: Use a turkey baster to blast detritus off your rockwork. Let it settle in your sump or other low-flow spots, then siphon it out. Get that decaying junk out of your system for good.
By locking in these simple daily, weekly, and monthly tasks, you completely change your relationship with your reef tank. You stop being a firefighter, constantly battling the next algae flare-up. Instead, you become the architect of a stable, thriving ecosystem where nuisance algae simply can't find a place to grow.
Got Questions About Algae Control? We’ve Got Answers.
When you're fighting nuisance algae, a million questions can pop into your head. Let's tackle some of the most common ones that reefers ask, especially when it comes to popular "quick fixes" and the natural cycles of a new tank.
Can I Just Use a Chemical Algae Remover in My Reef Tank?
Look, I get the temptation. You see a bottle promising to wipe out algae and it sounds like an easy win. But for a reef tank, chemical treatments are almost always a bad idea.
Think of it this way: they’re a band-aid on a bigger problem. They might knock back the algae you can see, but they do absolutely nothing about the excess nutrients that are fueling its growth in the first place. Worse yet, many of these chemicals are a serious threat to your corals, inverts, and the beneficial bacteria that are the lifeblood of your biological filter. A natural, ecosystem-first approach to algae control in a saltwater aquarium isn't just safer—it's the only way to win the war for good.
Will a UV Sterilizer Get Rid of My Hair Algae?
This is a common misconception. A UV sterilizer is a fantastic piece of equipment for zapping free-floating nasties in the water column. It's your go-to for clearing up green water (a phytoplankton bloom) or keeping certain parasites in check.
But for algae that’s already taken hold on your rocks, sand, or glass—like that stubborn Green Hair Algae—it will have zero effect. The algae isn't passing through the UV unit, so it's completely out of reach.
Remember: A UV sterilizer treats the water, not the surfaces. It's a tool for water clarity and parasite management, not for established algae on your rockwork.
Is It Normal for My New Tank to Be Covered in Algae?
Yes, absolutely! Just about every new saltwater tank goes through what we call the "ugly phase." It’s practically a rite of passage.
This often kicks off with a bloom of diatoms, which looks like a brown, dusty film, and can be followed by all sorts of green algae taking their turn. This is a completely normal part of your tank's maturation process. The ecosystem is brand new, and it's still finding its biological footing. The best things you can have during this stage are a consistent maintenance routine and a whole lot of patience. It will pass!
A healthy, diverse population of microfauna is your best natural defense against nuisance algae. At PodDrop Live Aquarium Nutrition, we provide high-quality, lab-cultured copepods and phytoplankton to seed your reef and build a resilient ecosystem from the ground up. Explore our live nutrition blends today.
Comments