


A Complete Guide to Nitrate Removal from Aquarium Ecosystems
- fabianbehague
- Dec 7
- 16 min read
If you've been in the reefing hobby for any length of time, you've heard the word "nitrates." It's one of those core water parameters we're always chasing. Effective nitrate removal from an aquarium really boils down to one thing: understanding where they come from and how to keep them in check.
Think of nitrates as the final, least-toxic exhaust from your tank's biological engine. They start as fish waste and leftover food, and while seeing them on a test kit means your cycle is working, letting them get out of hand is a recipe for nuisance algae and stressed-out livestock. Getting a handle on nitrates is a cornerstone of successful reef keeping.
Understanding Aquarium Nitrates and Why They Matter
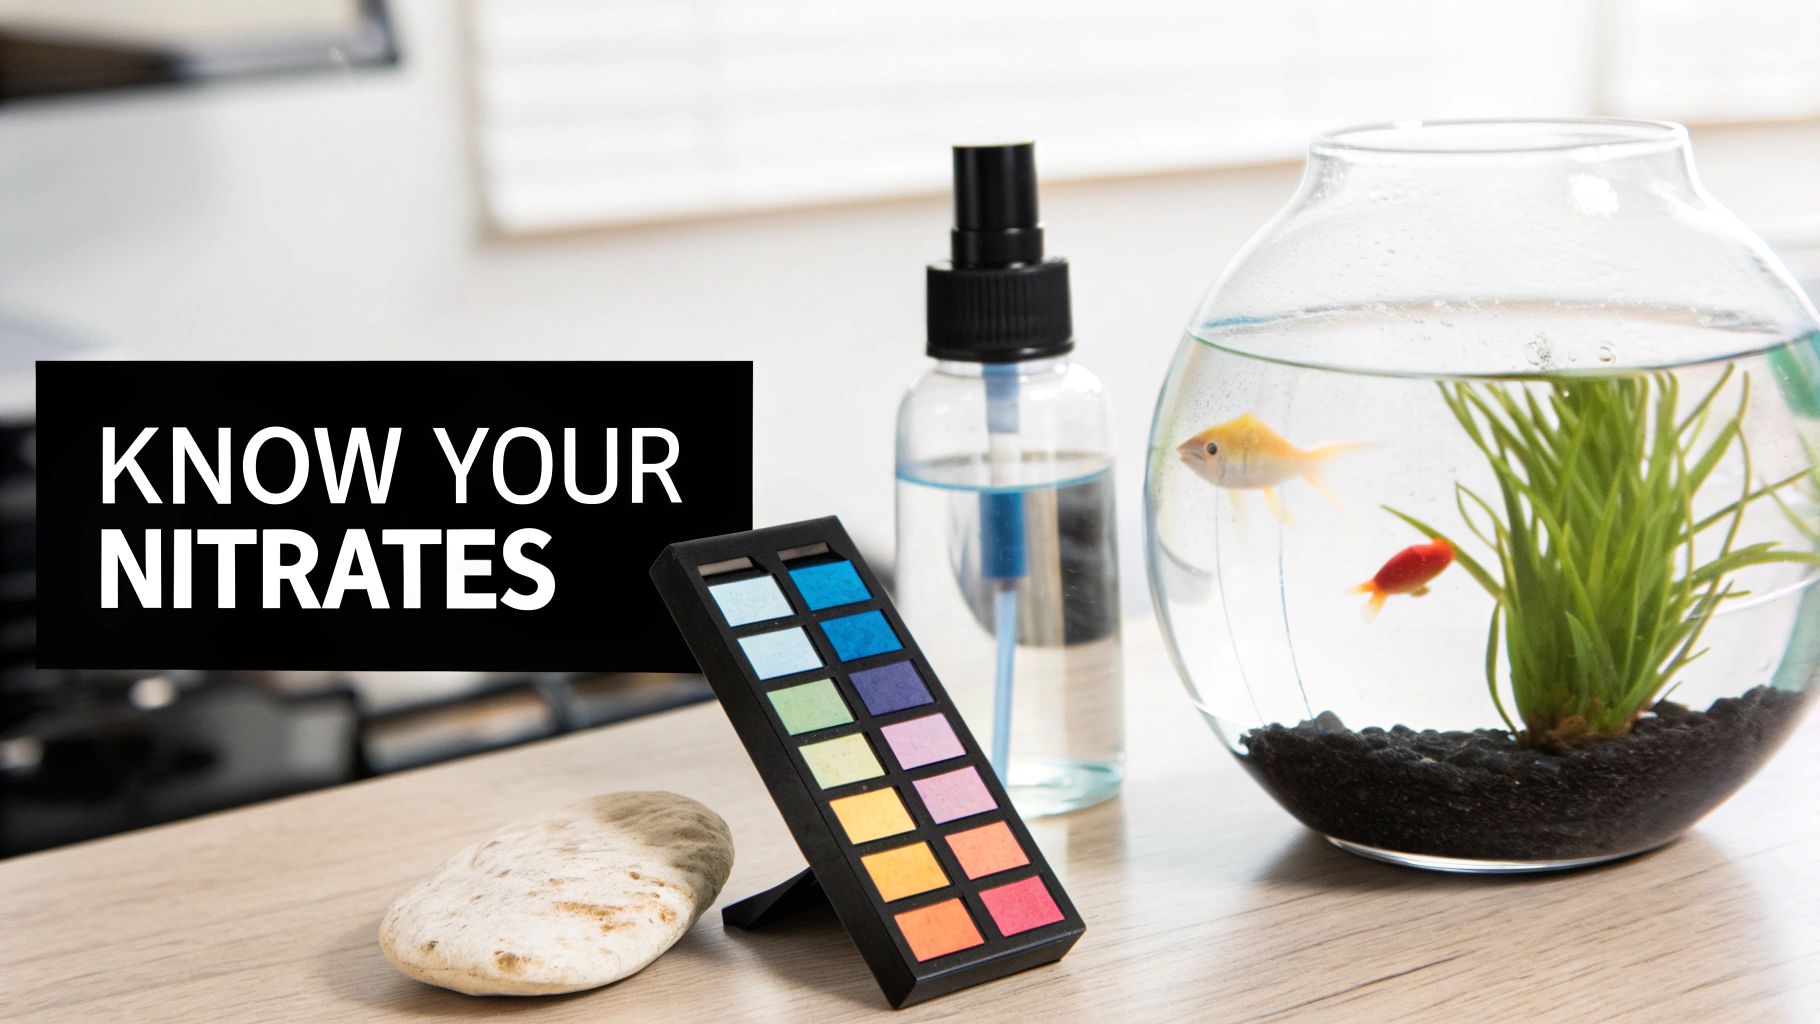
So, what exactly is Nitrate (NO3)? It’s a compound that naturally builds up in every saltwater tank as the final stop on the nitrogen cycle. This whole process is what makes a glass box habitable in the first place. It all begins with waste—fish poop, uneaten food, any decaying organics—which breaks down and releases super-toxic ammonia (NH3).
From there, beneficial bacteria (Nitrosomonas) get to work, converting that ammonia into nitrite (NO2), which is also nasty stuff for your tank's residents. Finally, a second group of bacteria (Nitrobacter) steps in and converts the nitrite into the much less toxic nitrate. Seeing some nitrates on your test kit is actually a good sign! It confirms your biological filter is doing its job.
Why High Nitrates Are a Problem
While nitrates are way less dangerous than ammonia or nitrite, they are far from harmless, especially when the numbers start creeping up. In the vastness of the ocean, nitrates are diluted to almost nothing. In our closed systems, they have nowhere to go and will steadily accumulate if we don't intervene.
When nitrate levels get too high for too long, they can cause some real headaches:
Fuel for Nuisance Algae: This is the big one. Nitrates are rocket fuel for ugly stuff like hair algae, bubble algae, and that slimy red cyanobacteria. An outbreak can quickly smother your rockwork and corals, stressing them out and ruining the look of your tank.
Stress on Fish and Invertebrates: Fish are tougher than corals, but chronic exposure to nitrates above 40-50 ppm can weaken their immune systems, slow their growth, and just generally reduce their vitality.
Inhibition of Coral Growth: For a reef tank, especially one with stony corals, nitrate control is non-negotiable. High levels can choke the calcification process SPS and LPS corals need to build their skeletons. This leads to slow or stalled growth, browning out (from an overpopulation of their symbiotic zooxanthellae), and even tissue recession.
Finding the Right Nitrate Level for Your Tank
There's no single magic number for nitrates that works for every tank. The "perfect" level really depends on what you're keeping. In fact, chasing absolute zero can do more harm than good, as many corals actually use a small amount of nitrate for nourishment.
A classic rookie mistake is stripping the water of all nitrates. This can literally starve your corals, causing them to look pale and unhealthy. The goal isn't total elimination; it's stabilization at a low, consistent level that suits your aquarium's inhabitants.
Here are some solid guidelines for target nitrate levels:
Fish-Only Tanks: You have a lot more wiggle room here. Keeping it below 40 ppm is a good general rule.
Soft Coral and LPS Tanks: Aim for a stable range between 5-10 ppm. Many of these corals appreciate a little bit of nutrient in the water.
SPS-Dominant Reefs: These are the most sensitive. SPS corals thrive in ultra-low nutrient water, so keeping nitrates between 1-5 ppm is ideal.
Ultimately, you should see your nitrate reading as a vital sign for your tank's overall health. It gives you a clear window into the balance between the nutrients going in and the nutrients being exported. Mastering this single parameter is a massive step toward building a thriving, self-sustaining aquarium ecosystem, a topic we dive into deeper in our quick-start guide to a balanced reef.
Immediate Actions for Lowering High Nitrates
We’ve all been there. That sinking feeling when your nitrate test vial turns a deep, angry red. Whether it’s from a weekend of overfeeding, a missed water change, or a fish that decided to play hide-and-seek permanently, sky-high nitrate levels demand a swift, decisive response. When you’re in crisis mode, the goal is simple: get those numbers down, fast.
The single most effective tool in your emergency kit is the humble water change. It’s your first line of defense, a manual reset button that physically removes nitrate-polluted water and replaces it with clean, fresh saltwater. It provides immediate dilution and relief for your tank's stressed-out inhabitants.
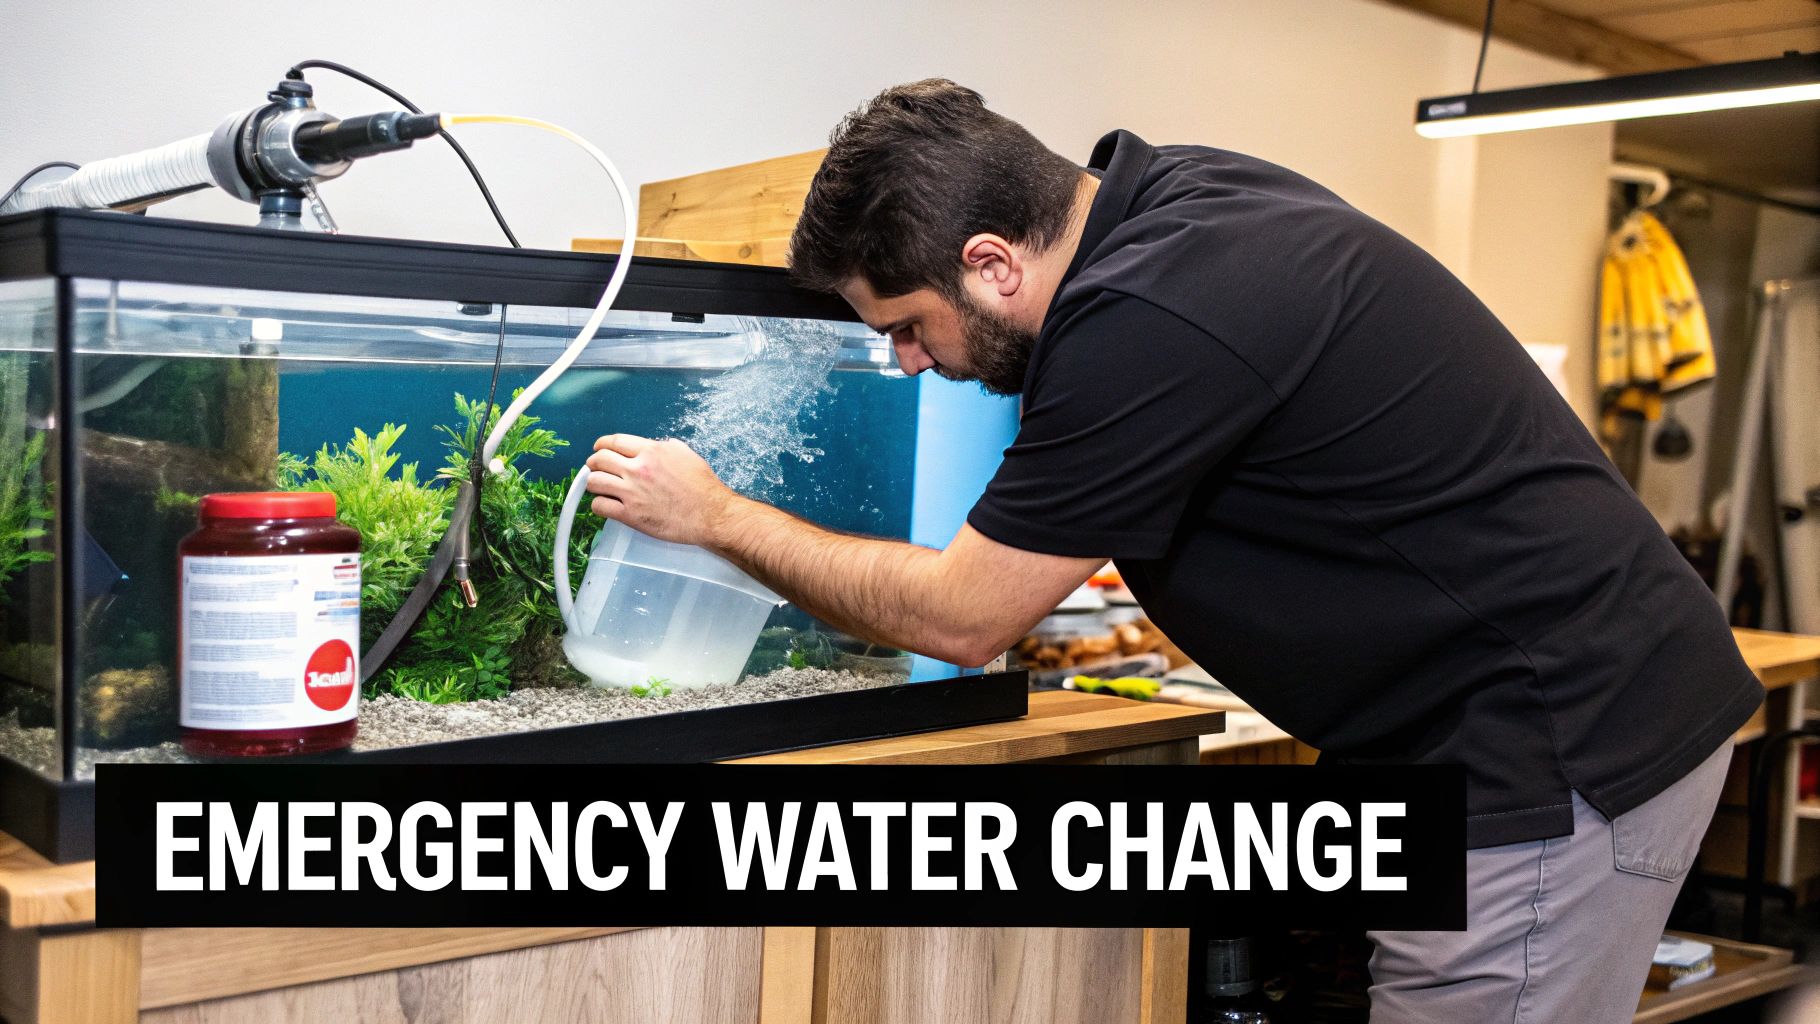
Performing a Safe and Effective Water Change
When your nitrates are screaming—say, over 80-100 ppm—your standard 15% water change isn't going to cut it. You need to think bigger, often in the 50% or more range. But pulling that much water out at once can be a shock to the system if you're not careful.
The absolute key to a safe, large water change is matching the new water's parameters to your tank's. Specifically, you need to nail the temperature and salinity. A sudden swing in either of these can be far more stressful to your fish and corals than the nitrates you're trying to fix.
Pro Tip: Never, ever use freshly mixed saltwater right after you've stirred it. You should be mixing your salt at least 24 hours ahead of time in a separate container. Keep a powerhead running for circulation and a heater in there to get the temperature locked in. This ensures the salt is fully dissolved and the water is stable before it even gets near your display tank.
Once your fresh saltwater is ready and its parameters are on the money, the process is pretty straightforward. Siphon out the old water, and while you're at it, use the siphon to vacuum up any detritus you see on the sandbed or in the rockwork. That gunk is a major nitrate factory. Then, slowly add the clean water back in, making sure not to pour it directly onto any corals or fish.
For truly astronomical nitrate levels, you might need to break it up. Instead of one massive, system-shocking change, consider a series of large changes over a few days. A 50% change today, followed by another 25-30% change two days from now, can bring levels down dramatically without causing undue stress. This measured approach is often the best way to handle a nitrate emergency.
Using Nitrate-Absorbing Filter Media
While water changes are your heavy artillery for dilution, chemical filter media can act as a powerful mop-up crew during a crisis. Think of these products as nitrate magnets that pull the compound directly out of the water as it flows past. They’re a fantastic supplement to water changes, helping to absorb the rebound that often happens as more organic waste breaks down.
You'll generally run into two types:
Nitrate-Absorbing Resins: These are tiny, porous beads that work through an ion-exchange process, chemically grabbing nitrate molecules and trapping them. They're incredibly effective and can sometimes be "recharged," though their potency fades over time.
Nitrate-Absorbing Pads: These are simple fibrous filter pads that have been treated with nitrate-absorbing compounds. You just cut them to fit and place them in your sump or filter. They're typically a one-and-done product; toss them once they're used up.
To get the most out of these media, you need to put them where the water is moving. A dedicated media reactor is ideal, but a high-flow chamber in your sump—right after the filter socks and skimmer—works great too. Always follow the manufacturer’s directions for how much media to use for your tank size.
These immediate actions are your emergency toolkit. They're designed to bring dangerous levels down quickly but remember, they are just temporary fixes. Once the fire is out, you have to shift your focus to finding the root cause and building up the biological defenses to make sure it doesn't happen again.
Building a Biological Nitrate Reduction Engine
While big water changes and fancy media can knock down a nitrate spike in a hurry, that’s just playing defense. The real long game in reefing is building a system that polices nitrates for you, 24/7. Instead of constantly reacting to bad test results, you create a natural, self-sustaining engine for nutrient export. This is the absolute cornerstone of a stable, low-maintenance reef tank.
The concept is beautifully simple: set aside dedicated real estate in your system where natural processes can consume nitrates faster than your display tank can produce them. We’re going beyond the typical bacteria on your live rock and empowering the organisms that truly complete the nitrogen cycle.
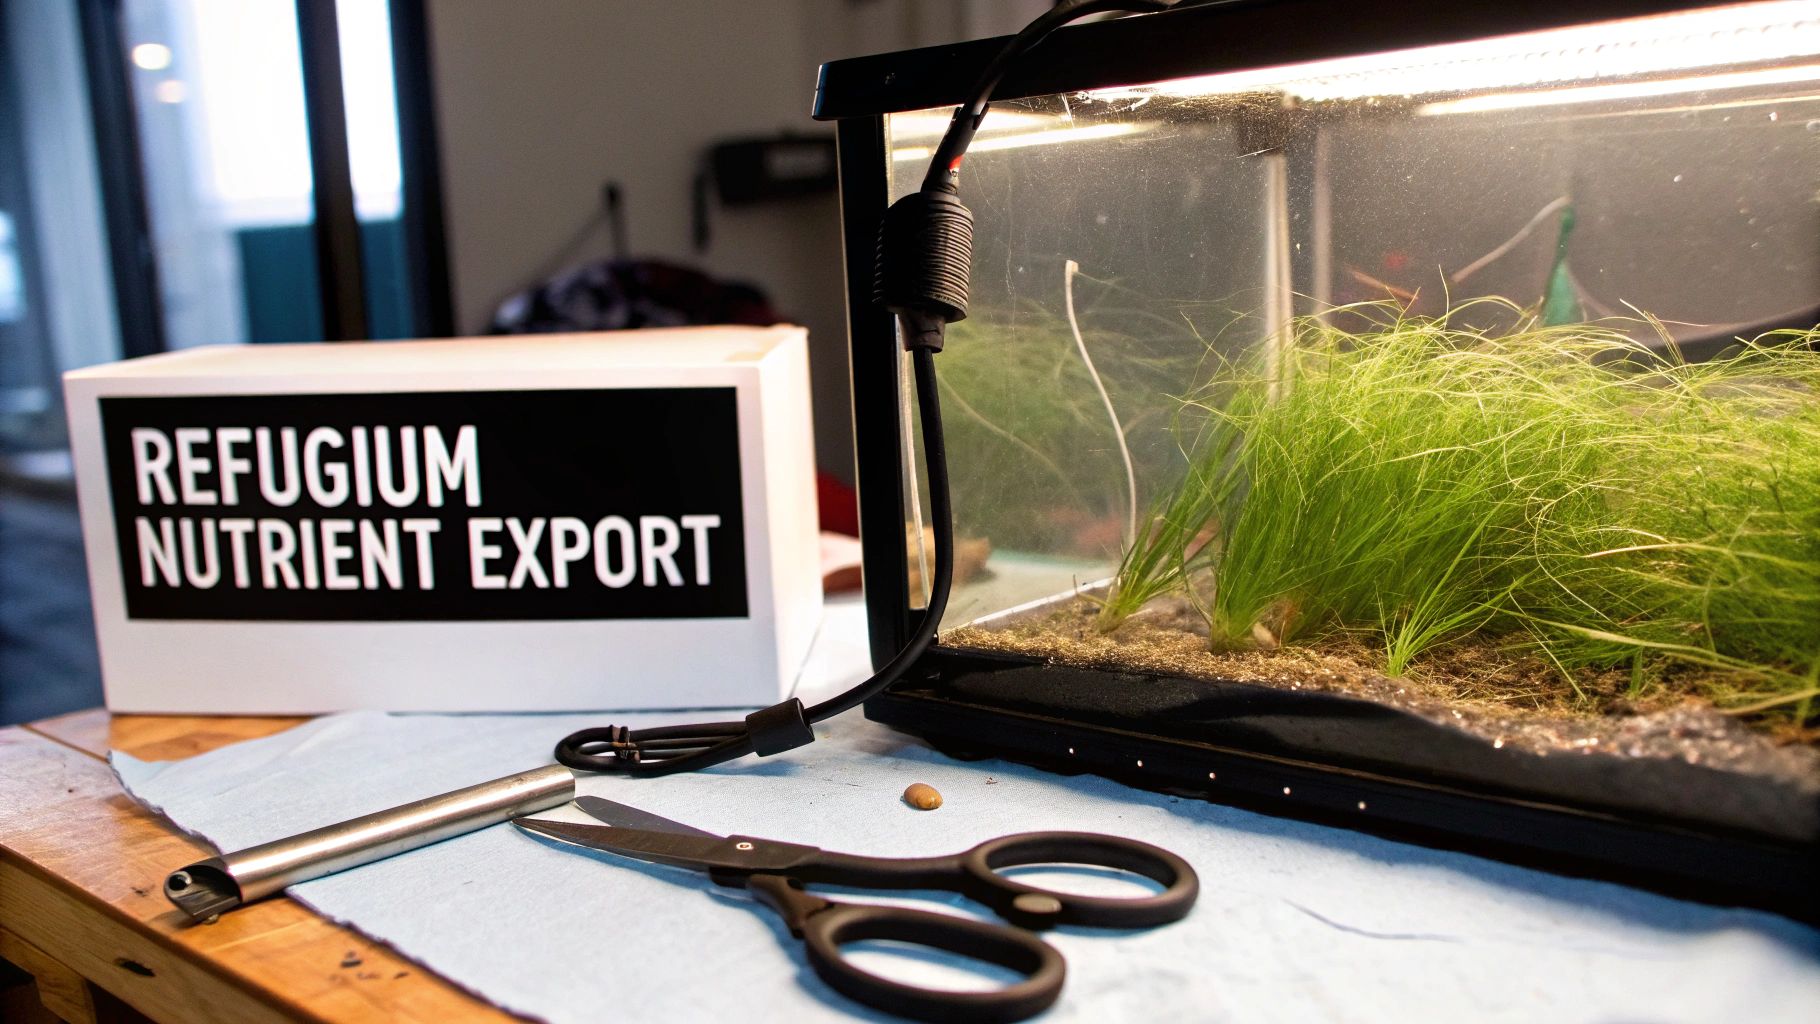
The Workhorse: Your Refugium
When it comes to biological nitrate removal from an aquarium, a refugium is arguably the most powerful tool in our arsenal. It’s just a protected area—usually a chamber in your sump—where you can grow beneficial organisms without them getting munched on by your display tank inhabitants. Its main job? Growing a big ball of macroalgae that acts like a living nutrient sponge.
As macroalgae photosynthesizes and grows, it pulls nitrates and phosphates directly out of the water, locking them up in its plant tissue. The magic happens when you physically remove those nutrients by simply trimming the algae. It’s an incredibly effective and all-natural form of filtration.
Chaetomorpha, or "chaeto" as we all call it, is the undisputed king of refugium algae. It's tough, grows like a weed into a dense ball, and won't suddenly "go sexual" and nuke your tank by releasing everything it absorbed.
To get your refugium really cranking, you need to give that chaeto exactly what it wants:
A Dedicated Light: The algae needs its own light, which you should run on a reverse schedule to your display tank (on when the main lights are off). This is a huge bonus for stabilizing pH, as the algae consumes CO2 at night and prevents that typical pH dip.
Decent Flow: You want just enough flow to gently tumble the chaeto ball. This ensures all sides get light and prevents detritus from settling in dead spots.
Regular Haircuts: Once that chaeto fills its space, you need to harvest it. Pull out about 30-50% of the mass. This is the moment you’re actually exporting the trapped nitrates from your system.
A well-run refugium does so much more than just eat nitrates. It becomes a five-star hotel for beneficial microfauna like copepods and amphipods, which then spill into your display and provide a constant, nutritious food source for your fish and corals.
Deep Sand Beds and Anaerobic Zones
Another potent biological method harnesses a totally different type of bacteria. The bacteria covering your live rock are aerobic—they love oxygen. But there's another crew, the anaerobic bacteria, that thrives in oxygen-poor environments. These are the bugs that perform denitrification, the holy grail process that converts nitrate (NO3) into harmless nitrogen gas (N2), which simply bubbles out of your tank.
The trick is creating these low-oxygen zones. The two most common ways are:
Deep Sand Bed (DSB): This means a sand bed at least 4-6 inches deep. While some do this in their display, it’s much safer and more common in a dedicated section of the sump. The top layer stays oxygenated, but deep down, oxygen is scarce, creating the perfect home for denitrifying bacteria.
Porous Live Rock: Really large, dense pieces of live rock can develop anaerobic zones deep inside their core. A mature, stable rockscape makes a real contribution to denitrification over time.
A DSB is powerful, but it comes with a major rule: leave it alone. Stirring it up can release nasty trapped compounds. That’s why keeping it in the sump is the popular choice. For anyone planning a new system, our refugium in sump guide for a thriving reef tank dives deep into how to integrate these biological powerhouses.https://www.getpoddrop.com/post/refugium-in-sump-guide-for-a-thriving-reef-tank
Carbon Dosing: Fueling the Bacteria Engine
For reefers chasing ultra-low nutrient levels, especially in SPS-dominant tanks, carbon dosing can feel like a cheat code. This technique involves adding a liquid organic carbon source—like vinegar, vodka, or a commercial product—to the tank in tiny, controlled doses.
This carbon is food for nitrate-consuming bacteria, triggering a massive population boom. The bacteria form a biofilm that gets skimmed out by your protein skimmer or eaten by tank inhabitants, effectively taking the nitrates they consumed with them.
This is not a beginner’s method. It carries significant risks if you get it wrong.
Oxygen Depletion: That bacterial bloom sucks up a ton of oxygen. You absolutely must run a powerful protein skimmer and ensure great surface agitation to avoid suffocating your fish.
Slimy Mess: Overdose even a little, and you can wake up to cloudy water and a slimy coating on everything.
Nutrient Bottom-Out: It’s incredibly easy to strip all nitrates and phosphates, which can starve your corals.
If you go down this path, start with a tiny fraction of the recommended dose. Increase it painfully slowly over weeks, testing your water daily. Patience and precision are non-negotiable here.
Choosing the right long-term biological strategy depends entirely on your tank's needs, your budget, and how much you enjoy tinkering. Here’s a quick breakdown of the most common approaches.
Comparison of Biological Nitrate Removal Methods
Method | Effectiveness | Setup Cost & Complexity | Ongoing Maintenance | Best For |
|---|---|---|---|---|
Refugium with Macroalgae | High | Moderate (requires light, pump, and space) | Low (harvest algae weekly/bi-weekly) | All tank types, especially those wanting a natural pod source. |
Deep Sand Bed (DSB) | Moderate to High | Low to Moderate (cost of sand, needs dedicated space) | Very Low (must be left undisturbed) | Mature systems; often placed in a sump for safety. |
Carbon Dosing | Very High | Low (cost of carbon source) but High Complexity | High (requires daily dosing and constant testing) | Advanced reefers with SPS-dominant tanks seeking ultra-low nutrients. |
Porous Live Rock | Moderate | High (cost of quality live rock) | None (part of the aquascape) | All tanks, provides a foundational level of denitrification. |
Ultimately, many of the most stable and successful reef tanks use a combination of these methods. A system with a good refugium and a mature rockscape often finds a natural, sustainable balance that requires very little intervention, which is the goal we're all shooting for.
When Technology Is the Right Tool for the Job
While natural, biological methods are the bedrock of long-term nitrate stability, some tanks just need more firepower. A system with a heavy bioload, or one dedicated to ultra-sensitive SPS corals, often demands a more direct and powerful approach to nitrate control. This is where specialized equipment comes into play, offering a level of precision that can be a game-changer for the right aquarium.
These high-tech solutions aren't necessary for every reefer, but for certain tanks, they are exactly what's needed for nitrate removal from an aquarium.
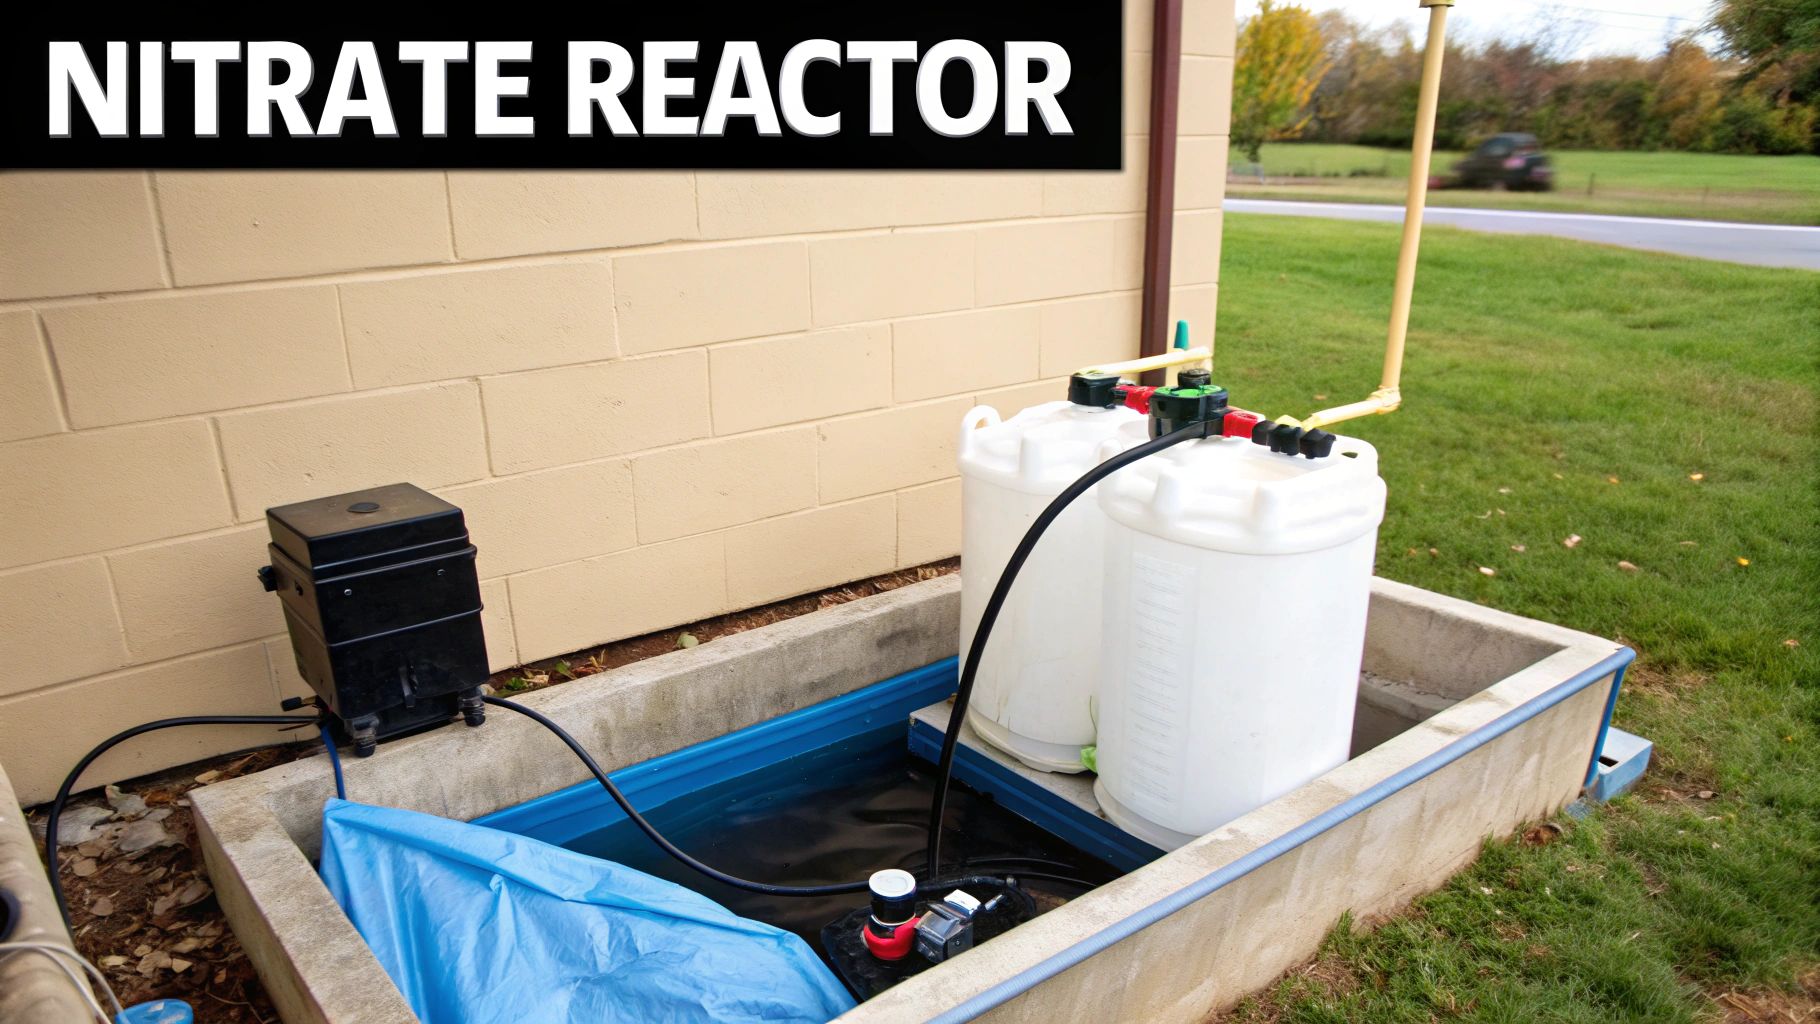
What Are Nitrate Reactors?
A nitrate reactor, also called a denitrator, is basically a five-star hotel for anaerobic bacteria. It's a sealed chamber where you can dial in the water flow to create a low-oxygen zone—the perfect environment for the bacteria that perform denitrification, which is the process of converting nitrate (NO3) into harmless nitrogen gas (N2).
These devices work by very slowly dripping tank water through special media. This media gives the bacteria a place to live and a carbon-based food source. By controlling the drip rate, you intentionally starve the chamber of dissolved oxygen. This forces the bacteria to turn to nitrate as their oxygen source, effectively stripping it from the water before it returns to your sump.
Getting a nitrate reactor running isn't a plug-and-play affair. It takes patience. You have to "seed" it with a bacterial culture and then slowly tweak the flow rate over weeks, testing the water coming out until it reads zero nitrates.
Reactor Media vs. Filter Resins
The horsepower of a reactor or specialized filter comes entirely from the media you put inside it. For this kind of targeted nitrate removal, there are two main players on the field.
Bio-pellets and Denitrifying Media: Think of these as biodegradable plastics or porous rocks that act as both a home and a food source for denitrifying bacteria inside a reactor.
Nitrate-Removing Resins: These are synthetic polymers that work through ion exchange. They don't rely on bacteria at all. Instead, they act like tiny magnets, chemically grabbing and trapping nitrate molecules as water flows past. You typically use them in a media bag or reactor, and they need to be replaced or recharged when they're full.
The demand for these targeted solutions is growing. Looking just at the aquarium nitrate removal niche, the market has seen some serious growth. The global market for nitrate remover resins in aquariums hit around $265.8 million in 2024, and the aquarium nitrate reactor market was valued at about $312.5 million in the same year. It makes sense, considering that nitrate levels above 40 to 50 mg/L can be harmful to many aquarium animals. You can dig deeper into these numbers in this detailed report on aquarium nitrate removal products.
One classic rookie mistake with nitrate reactors is setting the flow rate too slow. If you do, you might get that rotten egg smell of hydrogen sulfide, a sign the chamber has become too anaerobic. Slow, steady, and patient adjustment of the drip rate is absolutely critical to keep the reactor running safely and doing its job.
Is This Advanced Gear Right for Your Tank?
So, should you invest in a nitrate reactor or specialized resins? It really boils down to your tank's specific needs and your goals as a hobbyist.
If you have a heavily stocked fish-only-with-live-rock (FOWLR) system full of big, messy eaters, a nitrate reactor could be a lifesaver for keeping up with that massive bioload. Likewise, an advanced SPS keeper chasing those pastel colors that only come with near-zero nutrient levels might find these tools give them the final degree of control they need.
But let's be clear: these are not set-it-and-forget-it gadgets. They come with a price tag, they take up precious sump real estate, and they absolutely require regular monitoring and maintenance to work properly. For a moderately stocked mixed reef with a healthy 'fuge, the extra complexity and cost are probably overkill.
Additives and Dosing: A Direct Approach to Nitrate Management
Beyond setting up equipment like refugiums and reactors, we can dive right into the water column to tackle nitrates. This is where liquid and powdered additives come into play. These products give you a way to directly influence the nitrogen cycle, either by giving your tank's natural biological processes a major boost or by fueling them to work much, much harder.
Let's be clear: these aren't magic potions in a bottle. If your nitrates are chronically high because the tank is overstocked or you're skipping water changes, you can't just dose your way out of the problem. That's a losing battle. But when you use them correctly as part of a bigger, more balanced strategy, they can be surprisingly effective tools.
Bolstering Your Biological Filter with Bacteria
The most common additives you'll see on store shelves are bottled bacterial supplements. What are they? Essentially, they're concentrated doses of specific strains of live, dormant bacteria. Once you add them to your tank, they "wake up" and get straight to work, reinforcing your aquarium's existing bacterial colonies to process waste more efficiently.
These supplements usually contain a mix of nitrifying bacteria (think Nitrosomonas and Nitrobacter) and other microbes that are champs at consuming organic sludge. By breaking down waste before it even has a chance to start the nitrogen cycle, these additives help cut off nitrate production at the source. This is a much more proactive way of handling nitrate removal from an aquarium, rather than just reacting once levels are already high.
Key Takeaway: Think of a quality bacterial supplement as bringing in reinforcements for your biological filter. It won't replace good old-fashioned tank maintenance, but it can seriously speed up the processing of organic waste, leading to lower, more stable nitrate levels over time.
The Lowdown on Commercial Carbon Dosing
We've talked about the DIY carbon dosing route with vodka or vinegar, but the hobby has evolved, and now the market is full of refined, commercial liquid carbon sources. These products offer a much safer and more predictable way to supercharge the growth of nitrate-gobbling bacteria.
Unlike the DIY stuff, commercial formulas are blended specifically for aquarium use. They often contain several types of carbon that are more easily consumed by bacteria, giving you a more stable and controlled effect. That precision is a big deal. As we've mentioned, overdosing carbon can strip the oxygen from your water in a hurry and create a serious tank emergency.
When you're picking out a carbon dosing product, keep a couple of things in mind:
Concentration: These products are not all created equal; some are way more potent than others. It's always smart to start with one aimed at beginners and live by the "start low and go slow" mantra.
Consistency: The real secret to success with carbon dosing is a stable, daily dose. The best way to nail this is by using a reliable product hooked up to an automated dosing pump.
The popularity of these additives points to a bigger trend in the hobby. Biological and chemical additives are a huge focus for sustainable nitrate management. Just look at the numbers: the global market for fish tank water additives was valued at nearly $985 million in 2024 and is expected to blow past $1.5 billion by 2032. Biological additives, in particular, are leading the charge because they enhance the tank's natural cycle. You can read more about the aquarium industry's move toward eco-friendly solutions to see where things are headed.
Some of the more advanced products even bundle a carbon source and bacterial strains into one convenient bottle. And speaking of a healthy reef, another key piece of the puzzle is phytoplankton; if you're interested, we have a great post that details how to culture phytoplankton for your reef tank.
No matter what you choose—a bacterial booster, a carbon source, or a combo product—remember that these are supplements. They're meant to work alongside your primary nutrient export methods, not replace them.
Your Top Questions About Nitrate Removal, Answered
Even with a solid game plan, specific questions about nitrate control always seem to pop up. Every aquarium has its own quirks, and sometimes you run into a head-scratcher that doesn't fit neatly into a guide. Let's tackle some of the most common ones I hear from fellow reefers.
Can I Have Zero Nitrates in My Reef Tank?
It's tempting to chase that "perfect" zero nitrate reading on your test kit, but for most reef tanks, this can actually do more harm than good. A lot of corals, especially your LPS and softies, actively absorb small amounts of nitrate and phosphate directly from the water as part of their diet.
If you strip the water completely clean of these nutrients, you can literally starve them. The result? Pale, unhappy corals that just won't thrive.
A much healthier approach is aiming for stability at a low, detectable level. Shooting for a consistent range, like 2-5 ppm, gives your corals just enough to snack on without handing nuisance algae an all-you-can-eat buffet. Chasing an absolute zero reading is really only something advanced hobbyists do for very specific SPS coral coloration goals.
The goal isn't total eradication of nitrates; it's about finding a sustainable balance. Your corals will thank you for leaving a little something on the dinner table for them.
How Often Should I Be Testing for Nitrates?
There’s no single right answer here—it really depends on how mature and stable your tank is. But here are some reliable guidelines that I follow:
For a New Tank: If your aquarium is still cycling or you're in the first six months, test your nitrates once or even twice a week. This lets you keep a close eye on your biological filter as it finds its footing.
For a Mature Tank: In a well-established system where you've got your maintenance routine dialed in, checking every one to two weeks is usually enough to stay on top of things.
When You're Fighting a Problem: If you're actively battling high nitrates or just made a big change (like adding a bunch of new fish), ramp up your testing to every 2-3 days. This is the only way to know if your efforts are actually making a difference.
My Tap Water Has High Nitrates. What Should I Do?
This is one of the most frustrating problems in the hobby, and it's surprisingly common. If your source water is already loaded with nitrates, every water change you do is just adding more fuel to the fire. You're taking one step forward and one step right back.
The single best solution is to stop using tap water and invest in a Reverse Osmosis/Deionization (RO/DI) unit.
An RO/DI system is a game-changer. It filters your tap water down to its purest form, stripping out virtually everything—nitrates, phosphates, heavy metals, chlorine, you name it. It gives you pure, 0 TDS (Total Dissolved Solids) water to start with.
When you use pure RO/DI water for mixing your salt, every single water change becomes an act of exporting nutrients, not reintroducing them. It puts you in complete control, which is the cornerstone of successful reef keeping. It's an upfront investment, but the long-term stability it brings is priceless.
A healthy, diverse population of microfauna is your first line of defense against nutrient buildup. At PodDrop Live Aquarium Nutrition, we provide pure, lab-cultured copepods and phytoplankton to establish the natural biodiversity that keeps your ecosystem in balance. Seed your reef with life and watch it thrive.
Comments